How to Get Started Recording Bass at Home
Thanks to technology, recording bass at home is easier than it has ever been. Here are a few tips to help you get started.
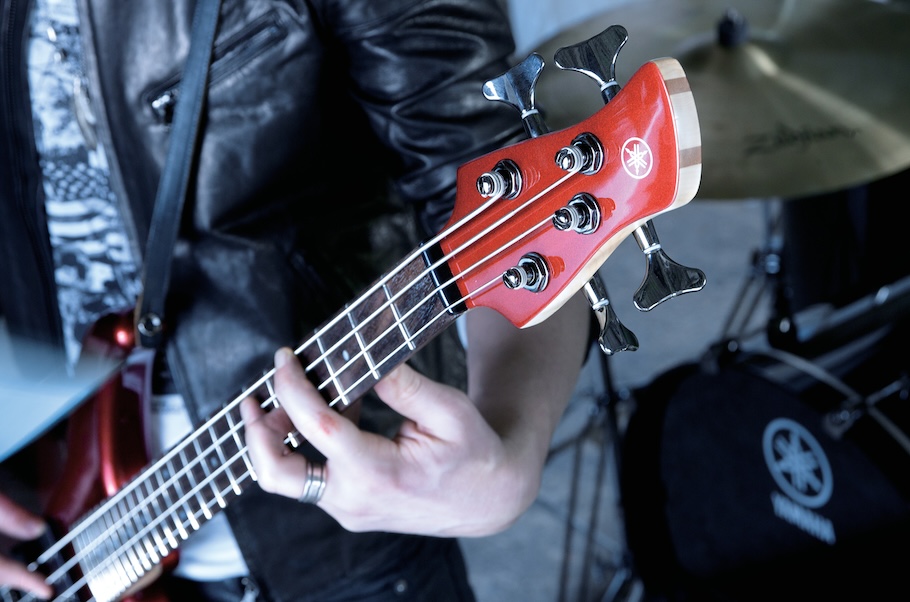
MAKE SURE YOUR BASS IS READY TO GO
Before you even start recording, make sure your bass is ready to go:
- If necessary, get your bass set up and intonated. This will ensure that the string height is just right and that the instrument is in tune all the way up the neck.
- Put on a fresh set of strings and break them in so that they’ll stay in tune as you record.
- If your bass is active, replace the battery.
- Dial in the right bass tone for the song, with the understanding that getting the bass to sit nicely in a mix might mean having to remove some of the low end.
- Plug in and make sure your input level isn’t too high.

Recording puts a magnifying glass on your technique, so warming up before a session by practicing with a metronome is also always a good idea.
GATHER THE NECESSARY HARDWARE
Most of today’s computers have enough processing power to run DAW (Digital Audio Workstation) software such as Steinberg Cubase, but make sure you have enough disk space to save your recordings, whether on your internal hard drive or any connected external hard drives. To connect your bass to your computer, however, you’ll need an audio interface; these come in all shapes and sizes. Some amplifiers, like the Yamaha THR10II desktop amp, have a built-in audio interface. The THR10II is designed primarily for use with guitar, but does a superb job with bass too.

In addition, in order to ensure you’re hearing your bass accurately while recording it, you’ll want to be sure you’re listening through high-quality headphones like the Yamaha HPH-MT7 and/or monitor speakers like the Yamaha HS Series.
In both professional recording studios and onstage, the engineer will likely plug your bass into a DI (“direct injection”) box, so you should have one in your home studio too. One of the advantages of recording through a DI is avoiding audio gremlins like ground hum.
In addition to taking this direct signal from the bass, many engineers also place a microphone in front of the bass player’s amp. A well-recorded DI will capture solid tone with excellent definition, but miking your amp will give you the sound of that amp (which can be used to bolster low end, especially if it’s connected to large speakers), plus some of the “air” in the room. Both sounds are useful, and many engineers blend the two together.
Here are three audio clips (all played on a Yamaha BB435) that demonstrate this. First, a DI signal on its own:
Next, the same bassline recorded by putting a mic in front of an amp:
And finally, the sound of the two combined:
USING EQ, COMPRESSION AND EFFECTS
Equalization (“EQ”) and compression can be applied to your bass during recording, during mixdown, or both. The advantage of doing it during recording is that future overdubs are made to a more-or-less finished bass sound; the disadvantage is that you’re pretty much stuck with that sound if you later decide that it doesn’t fit in with the other instruments. On the other hand, if you leave EQ and compression solely to the mixdown stage, overdubs are being done to a bass sound that may not be quite polished. The decision is yours to make; experiment until you come up with the technique that works best for you.
To record an effect, you can plug into a pedal before your interface or use a software plug-in, again. As with EQ and compression, this can be done during recording, during mixdown, or both. A plug-in will be cleaner and introduce less noise than a pedal. In addition, it might have cool presets, and you can always change how much of the effect you hear. Consider recording both a clean track and an effected one so you can blend the two as desired during mixdown.
PLAN AHEAD
Decide whether you want to record all the way through the song or go section by section. It may be easier to record one section at a time, but playing all the way through can impart a better overall feel. When it’s time to record, back up a couple of measures so you have time to come in. Some people like to record in a “cycle” mode (your DAW may call it something different), which repeats a section over and over, allowing you to record multiple takes without stopping.
RECORDING FOR OTHERS
If you’re adding bass to someone else’s track, send them a few choices. Be sure to include both the complete track with your bass part and just your bass part on its own. This “soloed” bass track should be the same length as the complete song, even if your part is shorter or you only play on certain sections. Doing this makes it easy for the recipient to place the track in their DAW, hear it in context and mix it. If you export MP3 files, they may be small enough to attach to an email, but if not, use a file transfer application like Dropbox, WeTransfer or whatever service works best for the recipient.
OVERCOMING RED-LIGHT JITTERS
Many players experience pre-performance anxiety when they see the red “record” light. If you’re nervous before a session, take a deep breath, acknowledge it, and remember that, unlike highly paid professional studio bassists, you’ll most likely have plenty of chances to get it right — as well as the tools to fix most mistakes in your DAW. So play with confidence!
Keep reading