Constructing Basic Guitar Chords, Part 1
When we invest our time in learning new chord shapes on the guitar, we broaden our musical vocabulary. Understanding that these shapes can further expand into new chords by simply moving one finger empowers us to conquer new territory until we’ve unlocked the entire fretboard.
I often think of this expansion as “shapes within shapes.” Triads can be found within seventh chord structures, double-stop fragments within the triads, and single-note melodies and bass lines can simply be the chords broken into each of their individual tones.
We’ll explore all these concepts in this article, the first of a two-part series. In Part 2, we’ll talk about adding chord extensions for additional harmonic spice.
STANDARD MAJOR TRIAD SHAPE
Once you learn a standard major triad shape, you can then move one note at a time within that shape to create minor, diminished and augmented triads. To demonstrate how this works, let’s start with a G major chord shape that uses the F open-position shape moved up to the fifth position, as shown below. (The fifth position is where you can locate the root note, G.)

From here, you can easily create the following triad chords:
G Major (Gma): Root – Major Third – Perfect Fifth
The G major triad chord contains the notes G (root), B (major third) and D (perfect fifth), in that order (i.e. in that voicing), which means it’s a root position triad.
G Augmented (G+): Root – Major Third – Augmented Fifth
To create a G augmented triad chord, simply raise the fifth (the top note D) up one fret (to D#). I suggest using your first finger to barre the third and second strings at the fourth fret, and your second finger to play the root note (G).
G Minor (Gmi): Root – Minor Third – Perfect Fifth
If you lower the second note in the major chord by one fret, it becomes a minor third. This creates a G minor chord. Use your first finger to barre the third and second strings at the third fret. Your third finger remains on the root note (G).
G Diminished (G0): Root – Minor Third – Diminished Fifth
To create a G diminished triad chord, lower the top note (D) by one fret (to D♭). Continue to use your third finger for the root note, your second finger for the minor third (B♭) and your first finger for the D♭.
Note that the major and minor chords are consonant (resolute), while the augmented and diminished chords are dissonant (unresolved). Once you know the shapes for these four main triad types, you can easily change keys by simply locating the appropriate root note and moving the shapes into those fretboard locations.
By the way, it’s highly unlikely that you’ll use all four of these triads with the same root note within a progression, although I’m going to show you a cool blues jam using just these four chord types later in this article. First, however, let’s create the four main seventh chords using the same approach.
Seventh Chords
Seventh chords are built by adding a seventh on top of triad chords. Let’s use the same root note, G, to build four different seventh chords, as shown in the illustration below.

Once again, from here, you can easily create the following chords:
G Major Seventh (Gma7): G (Root) – B (Major Third) – D (Perfect Fifth) – F# (Major Seventh)
Major seventh chords have a sweeter, more complex sound than triads. The G major seventh chord utilizes the basic triad shape and adds the note F# on top of the chord. Note that we’ve retained the original voicing within this shape.
G Minor Seventh (Gmi7): G (Root) – B♭ (Minor Third) – D (Perfect Fifth) – F (Minor Seventh)
Minor seventh chords contain both minor thirds and minor sevenths, so you’ll need to lower the top note within the G7 chord (from B to B♭) to get the flat third degree needed, as well as lowering the major seventh from F# to F.
G Dominant Seventh (G7): G (Root) – B (Major Third) – D (Perfect Fifth) – F (Minor Seventh)
This a major triad chord with an added flattened seventh (that is, a minor seventh) above the fifth. To create this from the major seventh shape, simply locate the major seventh (7th fret, second string) and flatten (lower) it by a semitone, from F# to F. Again, the voicing hasn’t changed: we’re simply changing the shape. (Knowing the voicing helps you locate the tones that need to change within a chord shape.)
G Minor Seventh Flat Five (Gmi7(♭5): G (Root) – B♭ (Minor Third) – D♭ (Diminished Fifth) – F (Minor Seventh)
Minor seventh flat five chords contain both minor thirds and minor sevenths, so you’ll need to lower the top note within the G7 chord (from B to B♭) to get the flat third degree needed, as well as lowering the perfect fifth from D to D♭.
Chord Progression
Now that we have a selection of chord qualities (major, minor, diminished, augmented), let’s use them to create a nice blues progression consisting of the following chords: G7 / G#dim7 / Ami7 / D+.
We’ll further enhance this progression by inverting the G#dim7 and D+ chords. Diminished chords will invert their own notes every three frets, so you can literally move them three frets and the same notes occur … just in a different order. The same thing happens with augmented chords, except you’ll need to move them four frets to naturally invert. This creates a wonderful movement within pretty much any chord progression.
Here’s our newly expanded blues chord progression:

The Video
I thought it would be cool to create a video that shows the full arrangement, starting with the drums and bass guitar lines.
As shown in the illustration below, the bass line consists of arpeggios that outline the four main chords in the progression. There’s no need to invert a bass line when the diminished and augmented chords invert, but you could if you wanted to.

I also overdubbed a simple triad chord arpeggio on the top three strings to outline the chord changes. Note that I left a lot of space for this guitar part.

I’m playing a fingerpicked 12/8 rhythm for the main rhythm guitar part since I felt that those subdivisions helped to move the track along.
For the solo, I thought it would be nice to follow the chord changes with double-stop sixths, as shown below. These are found within the triad chord shapes.

The single-note lines are played with a slide. I’m paying close attention to the changes and outlining the characteristic notes from within each chord — in particular, the G# and D in the G#dim7 chord, and the augmented fifth (A#) within the D+ chord. For the outro part of the solo, I’m using double-stop minor thirds, arpeggios and a nice mix of the G blues scale on bars one and two, and the A blues scale on bars three and four.
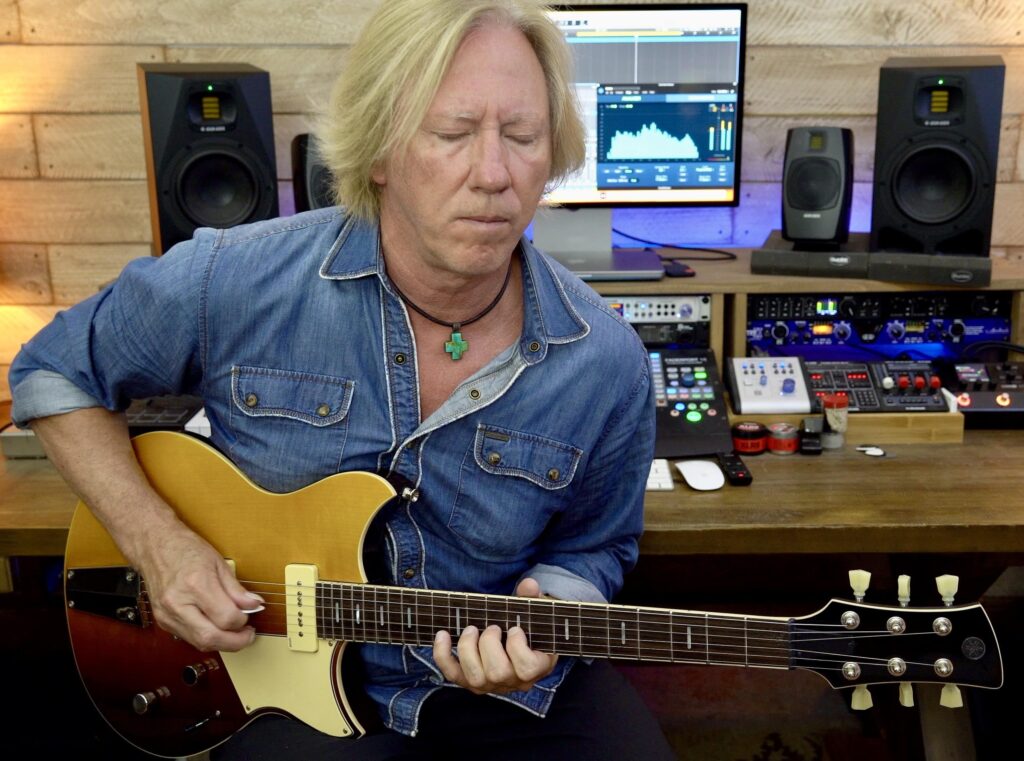
The Guitar
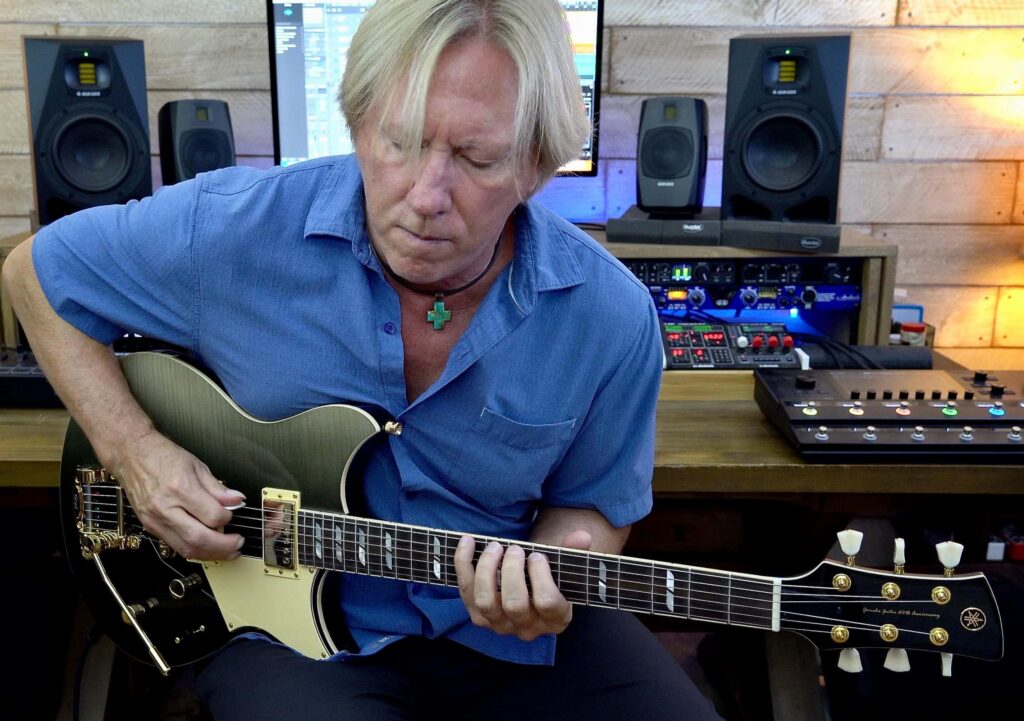
The Yamaha FSC-TA TransAcoustic guitar I’m playing in this video features incredible onboard reverb and chorus effects. I used a touch of its hall reverb on all the guitar parts in the video, as well as a sprinkle of delay from my DAW for the slide and single-note lines.

Rather than mic the guitar for this session, I decided to use its built-in piezo undersaddle pickup and record the signal direct. I think it authentically represents the sonic qualities of this concert body acoustic, which is A.R.E. (Acoustic Resonance Enhancement)–treated for a vintage tone.
In the video, you’ll notice that the cutaway on the FSC-TA allows me to easily reach the higher notes I’m looking for in the slide part — something that would certainly be a lot harder on a guitar that didn’t have a cutaway.
The Wrap-Up
With a little knowledge of music theory and a good memory for shapes, you can easily create all four triad types. By adding one more chord-tone, you can further extend those triads to create the main seventh chords. You can also move these shapes to other fretboard locations to create standard chord progressions, like the blues progression described above.
In Part 2, we’ll be enhancing the harmony further with chord extensions.
Photographs courtesy of the author.
Keep reading