How to Record Guitar and Build a Song Around It
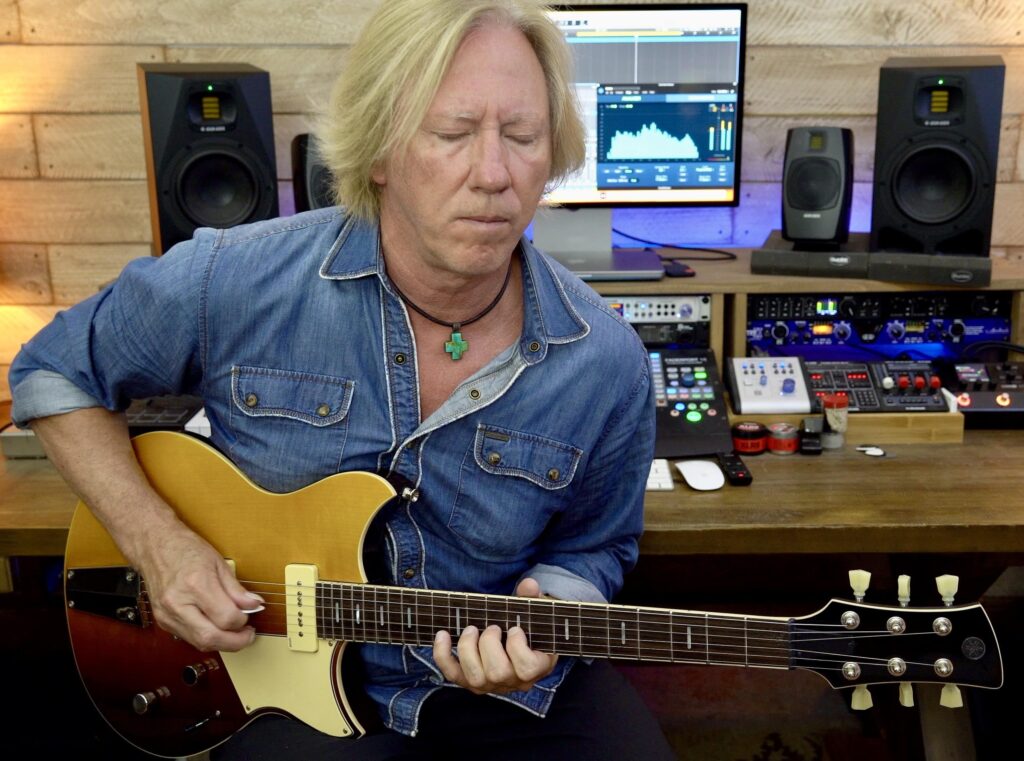
I’ve been composing and recording music professionally for the past 25 years. My creative process and the way I capture musical ideas evolves constantly with the latest advancements in digital recording software and hardware. There are a lot of high-quality options available for recording at home these days, and even the simplest of setups can yield release-ready audio that competes with that of a large commercial studio. All you need is an audio interface, quality DAW software (such as Steinberg Cubase, available in a variety of options) and a computer with reasonably fast processing power and enough disk space to host the recording software and store the audio files.
In this article, I’ll describe some best practices for recording guitar and then tell you how I typically build a song around the tracks I lay down. Let’s start with my …
Top Tips for Recording Guitar
1. Put on fresh guitar strings. The extra “bite” you’ll get from those shiny new strings is well worth the minimal cost and effort required.
2. Make sure the guitar is correctly intonated and in tune. If that E on the 12th fret isn’t a perfect octave above the open E, make any necessary bridge/neck adjustments or consult a professional luthier. You’ll hate yourself if you get the perfect take and the guitar is out of tune!
3. Monitor your input levels closely. Unity levels (0 db) or just below are the way to go. Digital clipping distortion isn’t musical in any way, and will ruin your recordings. If the guitar part you are tracking is extremely dynamic (that is, if the loudest parts are a lot louder than the softest ones), try using a compressor to even out the levels. You can also use a limiter set to a threshold several decibels below clipping to negate any transient peaks that may cause clipping problems.
4. Rehearse your guitar part until you can play it perfectly. It’s only then that you’re ready to record. Listen back to your recordings and be honest with yourself. If you could have played better, do it again. The playback doesn’t lie … and recording yourself is the absolute best way to determine how well you’re performing the music.
5. Take time to craft the guitar sound you are looking for. If you use effects, set the tempo to the tempo of the track in your session, then play around with tempo subdivisions to create the delay and modulation sounds you’re looking for.
6. Leave some of your guitar parts dry and unaffected. You can always add effects later if need be, but it’s quite difficult (and sometimes impossible) to remove them once they’re recorded.
7. Think like an arranger. If you plan on overdubbing multiple parts, orchestrate the textures and tones to complement one another and make sure the parts leave space for additional layers.
8. Save your work on a regular basis. If not, you could lose everything you’ve been working on. Most software will auto-save your projects, but that isn’t enough. I’ve lost hours of painstaking work when an unexpected power outage struck!
Optional Gear
There are some things you absolutely need in order to record guitar: the guitar itself and the aforementioned computer, DAW software and audio interface. But in addition to these must-haves, there are a few things you might also want to have on hand. These include:
1. One or two microphones. These aren’t strictly necessary for recording electric or electric-acoustic guitar (though they are required for recording fully acoustic guitars), but they are always great to have around, and they give you the option of plugging your electric or electric-acoustic into an amp and capturing the sound of the speaker … as well as recording vocals, of course. Some guitars, like Yamaha A Series models, offer onboard mic modeling that provides the sound of a high-quality microphone directly through the output jack. This is a great option if you don’t have any mics or if your recording space isn’t quiet enough for acoustic recordings.
2. Guitar modelers. These stompbox-like processors (such as the Line 6 HX Stomp, Helix and PODGo) allow for detailed guitar tone-shaping via the hardware units themselves and the software editing programs that come bundled with the products. You can record all those tones directly to your DAW via a simple analog or USB cable.

3. A guitar amp. It’s always great to have a quality amp or two on hand. Yamaha THR-II Series desktop amplifiers are compact enough to fit in any home studio, yet they pack a powerful punch — there’s even one model (the THR30IIA) designed specifically for acoustic guitar. They include Steinberg’s AI recording software, plus you’ll also be able to monitor the recording process and playback through the THR’s own built-in stereo speaker system.
4. Third-party plug-ins. Though many DAWs include a variety of effects and virtual instrument plug-ins, you might want to avail yourself of some third-party ones if they add extra control and sonic variety. For example, the Line 6 Helix Native is basically a full-blown Helix amp/cabinet/mic modeler without the physical hardware.

Developing Guitar Parts
I usually begin by finding a drum loop that gives me a good groove and playing ideas over it until I come up with something I like — typically a four-bar phrase. Before laying down any tracks, I’ll experiment with different tempos until I find the one that works best and is comfortable to play over. I then tweak the levels until I have a good balance between guitar and percussion before adding effects sparingly (again, if I use any delays or modulations, I make sure they are set to the selected tempo).
One last re-tune of the guitar, and I hit the record button.
If my performance was good, I’ll continue to play over the part to explore options and find the next layer. I may record several parts to see how they develop my original idea into a complete composition. I think of this initial recording process as a kind of note-pad sketch before committing to the larger arrangement.
The Video
In this video, you’ll see me perform four parts: two acoustic guitar parts, one electric rhythm part and a solo. More information about each part is provided below.
Acoustic Guitar – Initial Part
The initial rhythm part is carrying the full harmonic structure of my idea, including those nice single-note embellishments. It’s crucial that this first part be performed perfectly, as it creates a solid foundation for the additional layers. For this part, I used a Yamaha AC5R acoustic guitar and chose the onboard Neumann microphone model, then recorded it directly to my DAW software via an audio interface. Using the onboard modeling negates the need for expensive microphones, preamps and an acoustically treated recording space … yet it sounds very clean and expressive.
Acoustic Guitar – Layer 2
As you may notice, I have a capo placed at the fifth fret for this overdub. I’m a huge fan of using the capo when layering to create alternate voicings and frequency separation from the original part. I’m also playing “spread” chords every two beats to accent the downbeat of the chord changes. I selected the Royer ribbon microphone model for this because I liked how its tonal variation helped the part stand out from the original acoustic tone.
Electric Rhythm – Layer 3
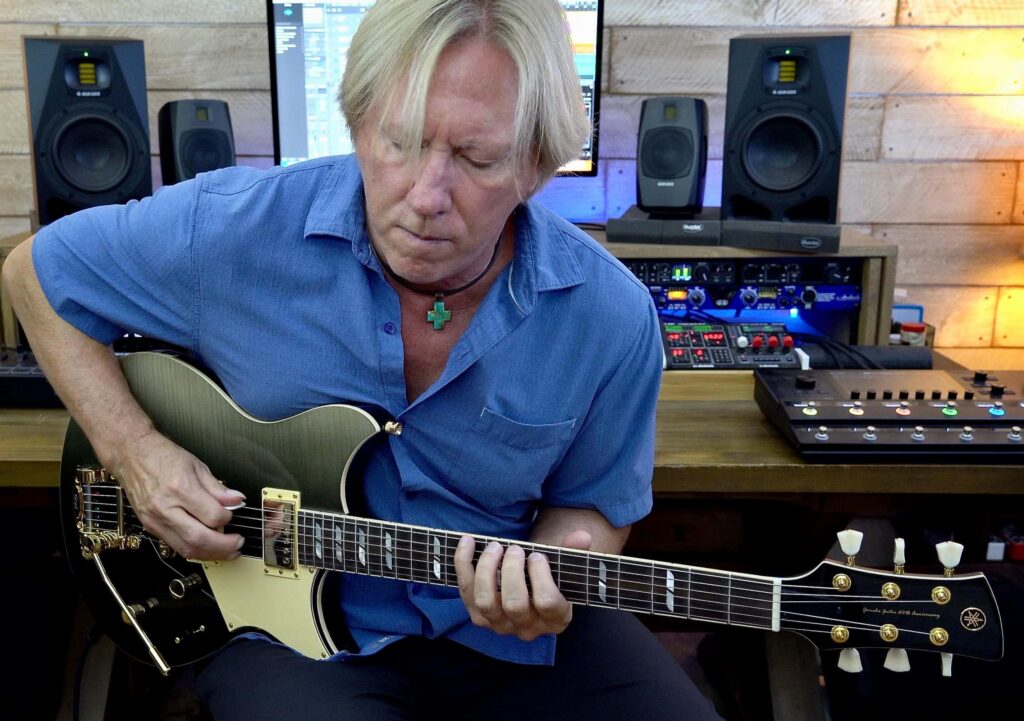
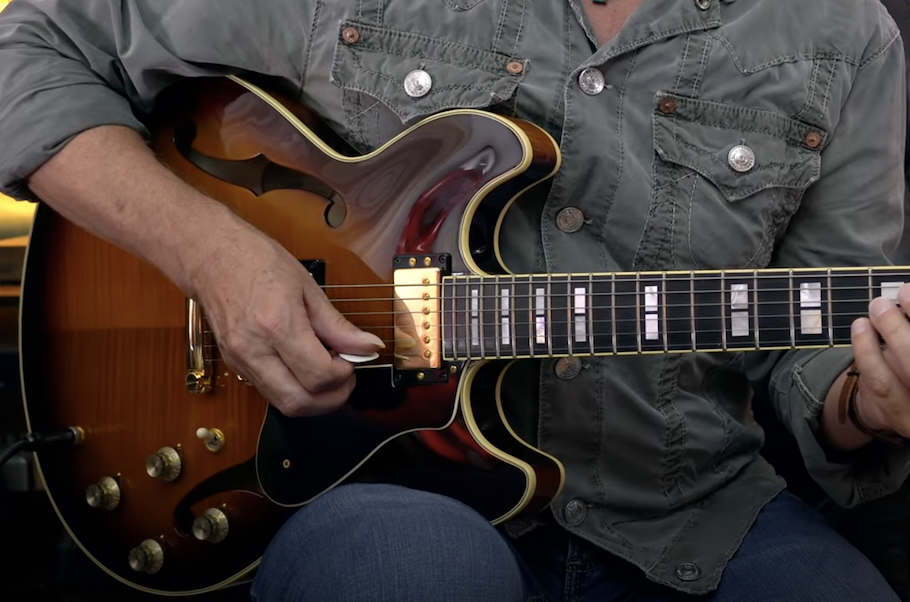
I’m playing this arpeggiated eighth-note guitar primarily on the top three strings to help it cut through the mix and sit between the other guitar parts for further rhythmic and sonic variation. For this part, I used a Yamaha PAC1611MS Mike Stern signature model electric guitar (using the bridge pickup only) and employed a Line 6 Helix for a stereo delay, adding a little overdrive to the signal chain to give it some “edge.” The delay is set to a quarter-note repeat on the left and a dotted-eighth on the right, which further widens the stereo field.
Electric Solo – Layer 4
You really do have to think like an arranger when recording music, and recording a solo should be no different. As you may know if you’ve read some of my previous blog postings, I like to create motifs (short melodic phrases that repeat) when building a solo line. Each defined phrase in this final overdub is placed on the downbeat of two, and I’m leaving space between those phrases to let the melody “breathe.” Here, I used the neck pickup because of its warm, full-bodied tonality when playing melodies past the twelfth fret. Single notes can become a little shrill in these upper frequency ranges, so this is a good way to soften those tones.
The Guitars
The Yamaha AC5R acoustic guitar features all-solid tonewoods, including rosewood back and sides, an A.R.E.-treated (Yamaha’s unique wood-torrefaction technology) solid Sitka spruce top, a mahogany neck and an ebony fingerboard and bridge. The aforementioned onboard microphone models are unique to A Series guitars, and can also be blended with the built-in SRT2 preamp for extra versatility.

The Yamaha PAC1611MS Mike Stern signature model electric guitar features a light ash body that’s been treated with Initial Response Acceleration (I.R.A.), a proprietary technology that reduces the stress often found in new guitars and makes them extremely vibrant and responsive. The pickups are both Seymour Duncan: a super-smooth ’59 humbucker in the neck position and a hot-rails humbucker in the bridge.

The Wrap-Up
As you develop your recording skills, you’ll start to hear creative ways to shape the music through tone, dynamics and orchestration. These will refine your musicality and improve your playing … all for the greater good of the song.
Check out Robbie’s other postings.
Click here for more information about Yamaha A Series acoustic guitars.
Click here for more information about the Yamaha AC5R acoustic guitar.
Click here for more information about the Yamaha PAC1611MS electric guitar.
Click here for more information about Line 6 guitar products.
Keep reading