How to Use Steinberg WaveLab for Mastering
The combination of this powerful software with analog processing gives me the results I need.
Each engineer’s mastering process is a bit different. While most of my projects involve a significant amount of analog processors, the way I integrate that gear with Steinberg WaveLab software is critical to my overall process. Here’s how the workflow will typically go on an album project: My assistant will load the tracks into WaveLab and I will then take the raw mixes and sequence them as the client requests in the Audio Montage window. Next, I will do rough spacing and rough fades as I listen, tweak and take notes of my analog gear settings.
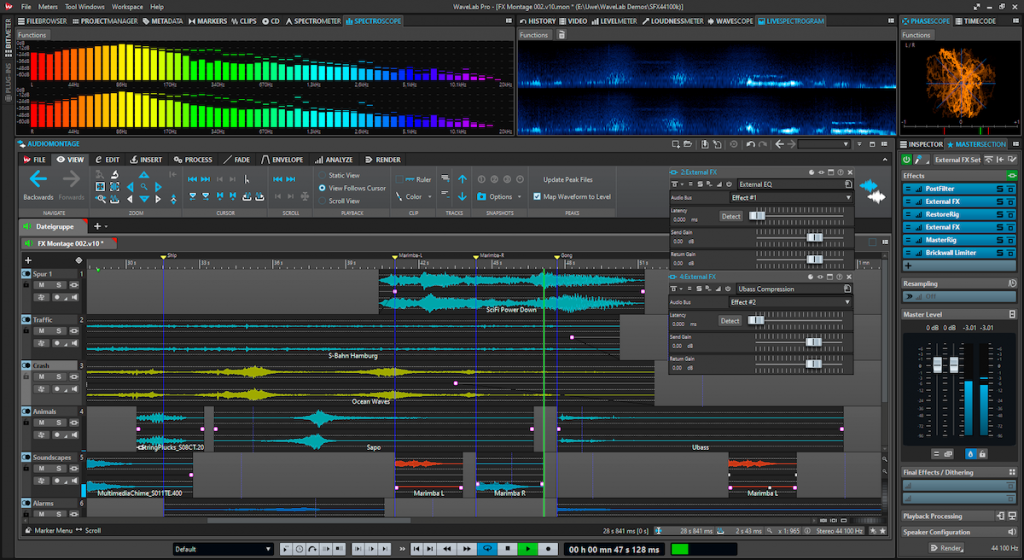
Once that’s done, I like to listen to the album passively all the way through, maybe while I am answering emails or doing something else, just to absorb it as a whole. Then I go back and really concentrate on the individual tracks, roughing stuff in until I get each to a happy place. At that point I start doing captures in WaveLab (complete with the analog gear inline), on the lane right underneath the raw mixes.
As I continue playing back the tracks, I’ll do any peak limiting or selective de-essing, and make fine tweaks digitally, including any equalization I might want to add after the analog gear. Finally, I render one continuous track and insert it into the same audio montage. From there, I can generate different versions and formats — say, 16-bit, 44.1 kHz, BWAV, MP3, high resolution or anything the client needs, as well as inserting metadata such as track title or ISRC (International Standard Recording Code). WaveLab helps make this process really fast and easy.
One WaveLab feature that I really love is Workspaces. These are layout templates that include the snapshots and the files you’re working with. As I’m doing a mastering project I tend to save a lot of different Workspaces. One, for example, will typically have the loudness meters up so I can see my unprocessed versus my processed levels. The metering in WaveLab is excellent, by the way. I always have the level meter, spectrograph and phase scope up on a secondary screen. They, along with my analog VU meters, are really all that I need.

I’ve been mastering with WaveLab for almost 20 years and over that time, I’ve developed a workflow that is very effective for me. It will open almost any file, and I like the layout — it’s really smooth and intuitive. If I need to remove anything spectrally, it’s really easy to do with a key command or by quickly pulling it down from the menu. And having a track underneath your unprocessed audio is great for easy A/B comparison listening. Plus, the ability to completely customize any window inside WaveLab is quite powerful: it lets me hide the features I don’t use on a daily basis to get rid of onscreen clutter.
I do pretty much everything in WaveLab, and I’ll be talking more about other ways I utilize it in future articles. Stay tuned!
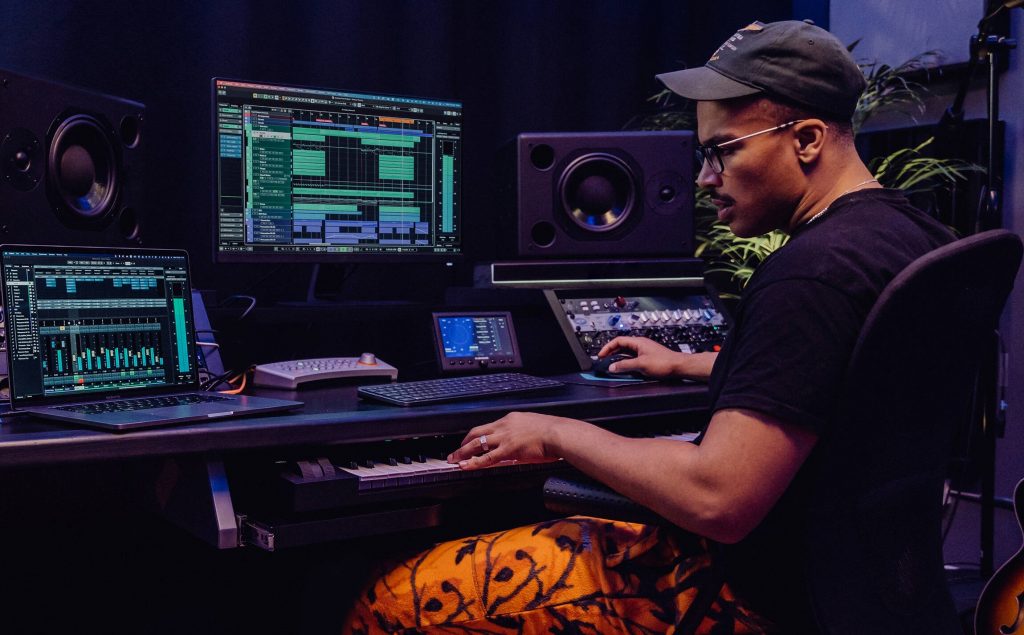
Photograph courtesy of the author.
Click here for more information about Steinberg WaveLab.


