How Not to Over-Process During Mastering
My whole philosophy as a mastering engineer first and foremost is to do the least amount of processing possible to get the best result. When I know someone is about to deliver files to me for mastering, I suggest they first use whatever tools they have in their arsenal to get their mix sounding great … but without crossing the line into over-processing.
Better Safe Than Sorry
If a client is unsure of the processing that they want to apply, I tell them to print a backup without it — that way, we have options. But if they’re certain the processing is adding something to the mix, I tell them to go ahead and use it. For instance, if you’re applying a dB or two of mix bus compression and you’re making changes based upon how the song is sounding going through that compressor, don’t take that compressor off. Send it to me that way, because without that compression, I’m not going to be able to hear the mix as you hear it.
Nonetheless, I always advise clients to be careful that they are not painting themselves into a corner. Mix bus EQ and compression is usually fine, but I’m always a little leery of mix bus digital brickwall limiting, because it can place restrictions on what can be done at the mastering stage. For instance, if you’re mixing into a brickwall limiter and there are low frequency issues, that might cause the limiter to pump in an unpleasant way. Even though I might be able to EQ some of those frequency issues out in mastering, it’s really hard to fix limiter pumping; in fact, it’s usually impossible. That said, there are a lot of great engineers that mix into limiters, and if you know what you’re doing, it can be very effective.
Start Slow
For newer engineers that are experimenting with mastering at home with Steinberg WaveLab, the best way to do it is to pull up the MasterRig … but don’t activate all of the functions. Try instead by starting with just the EQ and the Limiter. Most of your mastering could potentially be done with those two modules alone. There’s no need to get fancy with a bunch of multiband compression right off the bat, for example. In fact, I would argue that multiband compression should only be used to fix any serious problems that you can’t fix with EQ. Even then, you might only need to compress one or two bands. Note also that if you pull up a preset, it may be useful for some things, but it may not apply to your specific track.
The best approach is to start with EQ and get the track sounding the way you want it. From there, start working on the overall level. As you are doing so, you may find yourself adjusting the EQ a little — things sometimes change slightly when you start making the track louder.

After that, try some limiting for loudness. Keep it simple, and try to get the result you want with just those two tools. If you’re not sure about what you’re doing, you may be doing damage, so think about every move you make, and ask yourself: Is this helping the track, or hurting it? Don’t pull out the saturation and tape emulators quite yet. Those are a bit more advanced, and frankly most mastering engineers aren’t using them, at least not on a daily basis.

Don’t Get Over-Loud
It’s also important to not make things too loud. Obviously, over the last 20 years, tracks have continued to get louder and louder as people push the envelope of what they can achieve in the digital realm. My take on this is different than people who get outraged about loudness, over-limiting and over-compression. While it’s not my first choice to set something on stun, I believe my job as a mastering engineer is to give the client what they ask for. So if someone specifically requests a really loud master, then I am going to figure out the most elegant and cleanest way to deliver that to them.
Where a lot of inexperienced people fail at this is that they assume loudness is achieved by using just one brickwall limiter and slamming their mix into it. They don’t understand that, with that kind of approach, they are not going to be able to get the clean result that I or other mastering engineers might, because it’s really all about gain staging. The key is to pick up a little bit of loudness here and there through different parts of your chain. This principle works whether you’re using a completely in-the-box software mastering chain or an analog hardware chain, or a combination of the two. It’s best to pick up a couple of dB at a time using different plug-ins or different devices to get the cleanest sound, as opposed to achieving 10 dB of gain reduction on a single limiter. It’s not as easy as a lot of people think … not if you want the result to be comparable to a commercially mastered track.
Frankly, I’m of the opinion that track loudness is simply not important. I have mastered many records that have won Grammys that aren’t loud at all. Loudness seems to be driven by artist insecurity and A&R label-based insecurity. Consumers are not getting mad that a track or a record isn’t loud. It’s not an issue to them. Everyone knows there’s a volume knob. Turn it up and let’s start making better-sounding records!
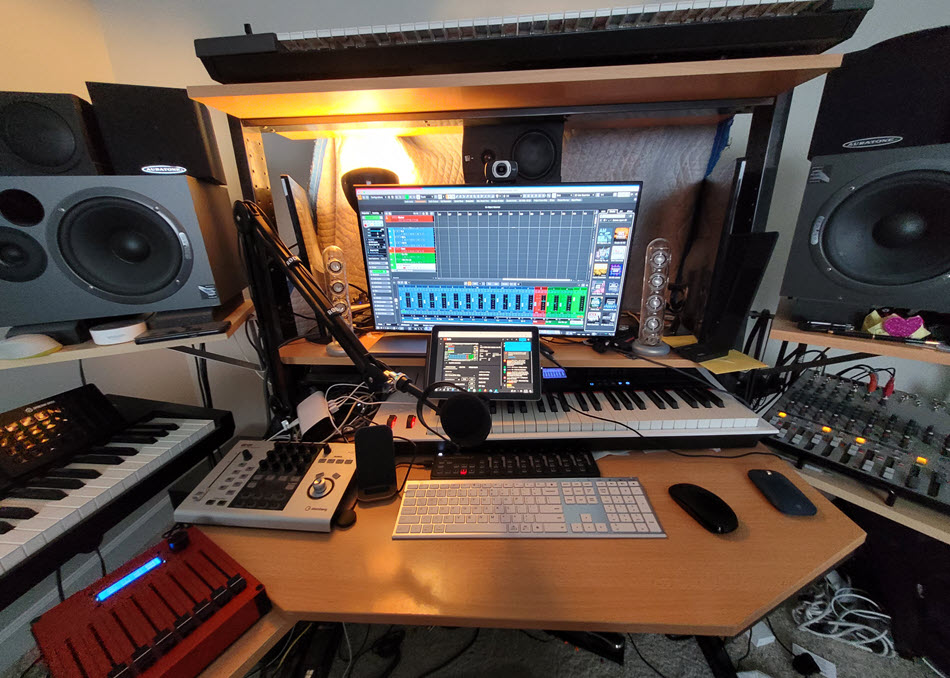
Photograph courtesy of the author.
Click here for more information about Steinberg WaveLab.
Keep reading