Tagged Under:
Master Bus Processing
Ready to add a finishing touch to your mix? Here’s how.
The master bus, the mix bus, the 2-bus, the stereo bus and the stereo out are all different terms for the same thing: the left-right channel that’s the final destination in your DAW’s console when you’re mixing a multitrack project. All your tracks are routed to the master bus, summed to stereo and then bounced to disk from there.
Because the master bus is the only point where all the tracks are combined, it’s the place to insert plug-ins if you want to to add polish to the overall sound by applying global processing such as compression, EQ and saturation.
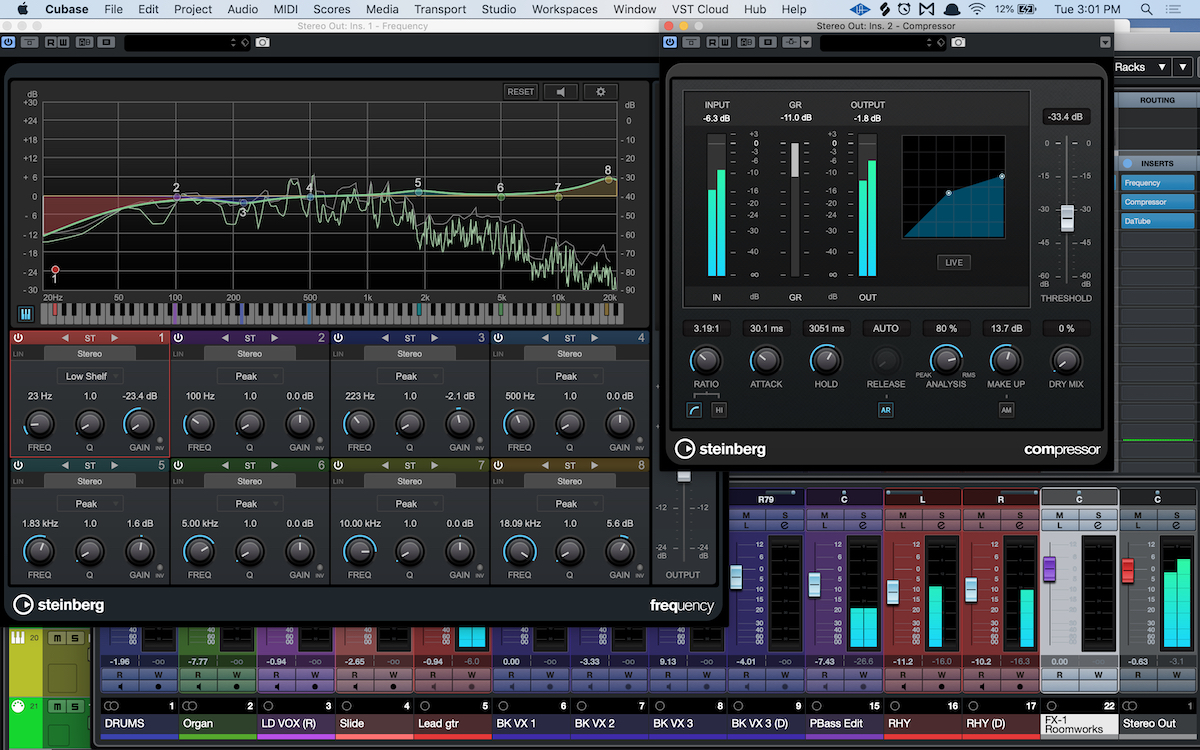
A word of caution, however: This is not a panacea, and it won’t fix a poorly mixed song. If there are noticeable problems with your mix, you’re better off addressing them at the track level. That said, let’s take a closer look at how master bus processing works.
Who’s First?
As with standard track-based processing, the order in which you insert effects during master bus processing will have an impact on the sound. Most engineers tend to start with EQ or compression. Which of those should come first is a matter of deciding whether you want to compress the audio after it’s been EQed, or EQ it after it’s been compressed.
There’s no reason you can’t experiment with both options if you’re not sure. Many times the decision is song-dependent, and in many cases, the difference will be quite subtle. However, there is one rule of thumb: If you’re applying saturation as well, you’ll probably want to put that last in the chain.
All Things Being Equalized
Most of the equalization in a mix takes place on individual tracks. EQ on the master bus should generally be subtle and intended for outcomes like adding a little extra low-end thump, creating some more energy, making the mix brighter, or reducing muddiness.
Here are some suggestions for EQ adjustments you might try applying to the master bus:
– Add a little boost somewhere between 60 – 150Hz to accentuate the kick and bass.
– Reduce muddiness with a small cut in the 250 to 500Hz range.
– Add presence with a small boost between about 4kHz and 7kHz.
– Create a little air on top with a boost between 10kHz and 15kHz using a high-shelf filter.
– Get rid of unneeded subharmonic information with a high-pass (aka “low-cut”) filter to roll off frequencies below about 30Hz. Unless you’re mixing dance music, these ultra-low frequencies are probably unnecessary and not audible anyway, except on systems with large subwoofers.
That said, the rule of thumb here is: when in doubt, leave it out — or at least print a version of your mix without any master bus EQ. That will leave your mastering engineer the leeway they need to make those kinds of decisions.

Add Some Glue to Your Mix
Compression is probably the most common type of processing that’s applied to the master bus. Why would you need master compression when you’ve likely inserted it on most of your individual tracks? Probably the most crucial reason is to create what’s referred to as the “glue” effect. Compressing the whole mix through a single processor imparts a cohesiveness to the overall sound that can really make it sound polished and professional.
For glue-type compression, set the ratio pretty low — around 2:1 or 3:1. Use the threshold to control how much compression you’re getting. You probably want no more than about 2 to 5dB of gain reduction. Keep the attack parameter relatively slow, or you run the risk of squashing the parts of the mix that tend to come from the most important components, such as lead vocals and kick and snare drum. Fast attacks on master bus compressors can also have the unwanted effect of reducing the mix’s overall energy.
The nature of a compressor is that it’s constantly going on and off based on when the audio is exceeding and going below the threshold. The goal is to have its cycle of attenuation and release feel like it’s working in time with the music and not against it. You can control this with the release time, which governs how quickly the compressor lets go after attenuating a transient (signal peak). Either experiment with different release times to see what feels best or activate your compressor’s auto-release function if it has one. Auto-release will usually give you a usable setting.
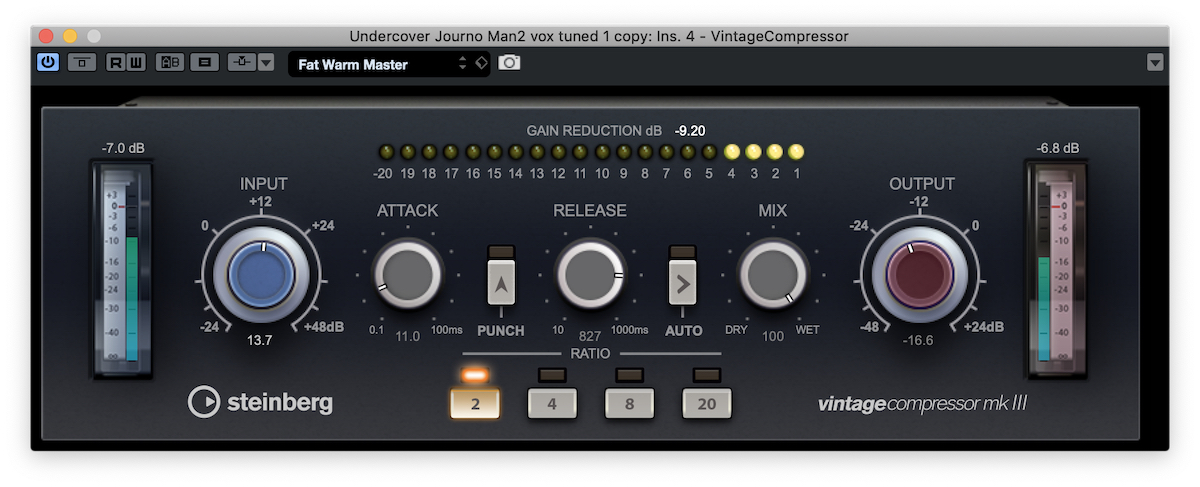
All types of compressor plug-ins are used for master bus compression, but probably the most common are those based on VCA compressors — for example, Steinberg’s Vintage Compressor mkIII. These kinds of plug-ins can be used to not only compress but to add some analog-style “color” to your mix.
Steinberg Cubase includes an excellent built-in Compressor plug-in, which gives you plenty of control, including an auto-release function.
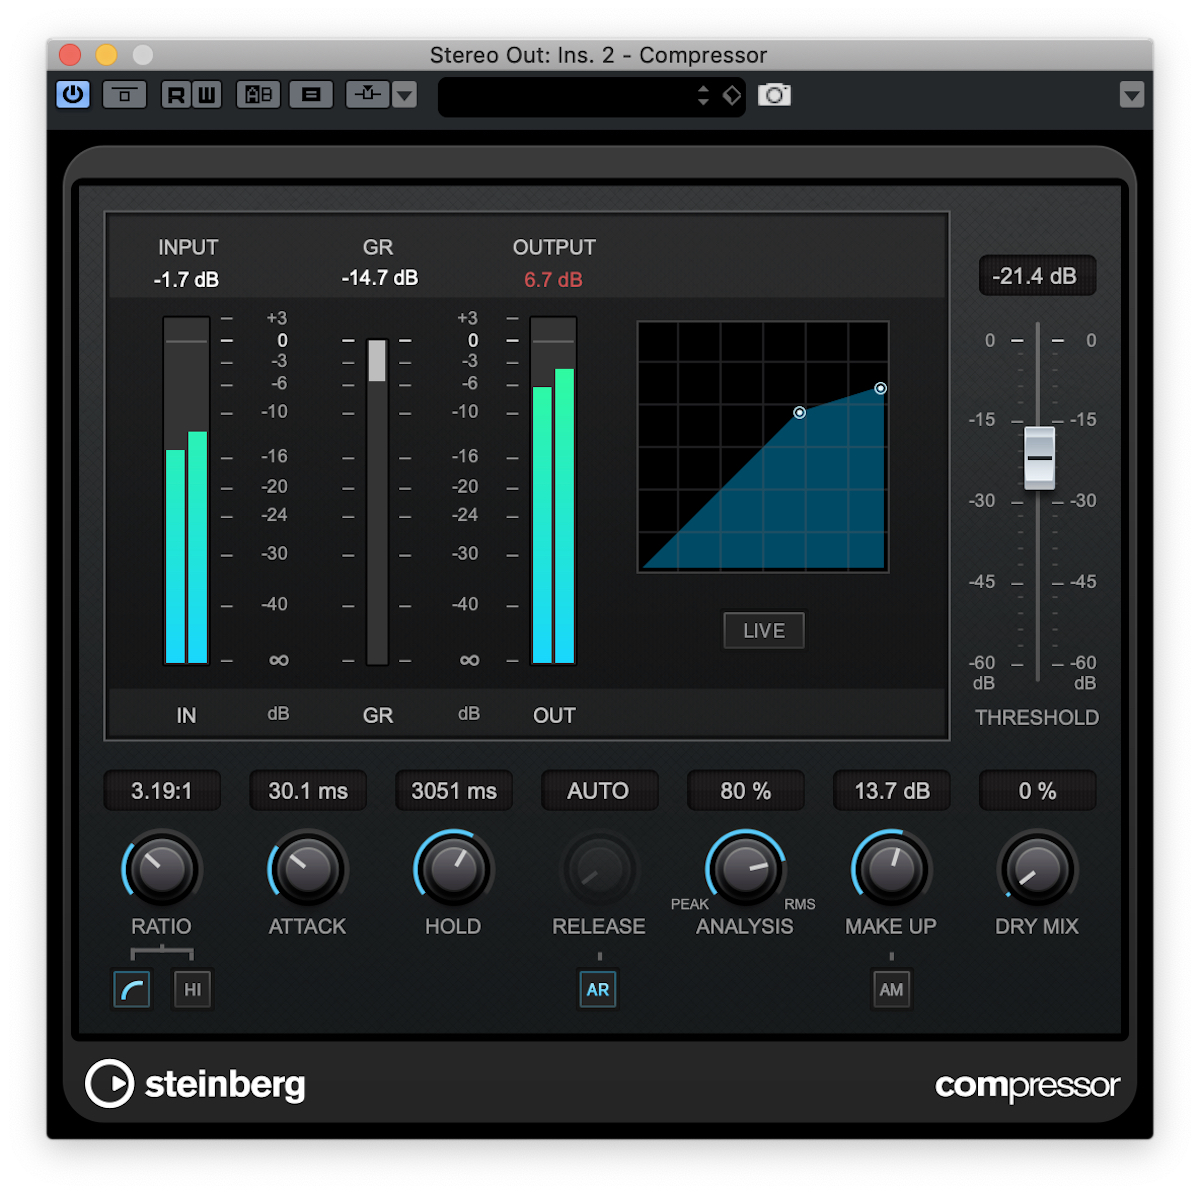
In terms of when it should be applied, many engineers feel that if you’re going to use master bus compression, you should add it early on in the mix process so that all of your subsequent mixing decisions will be made in context of the compression. In other words, you’ll take its effect into account as you’re setting levels and compressing individual tracks. If you wait to add the compressor until the end of the mix, it likely won’t be as integrated as it would have been if it was there from early on.
A Little Dirt
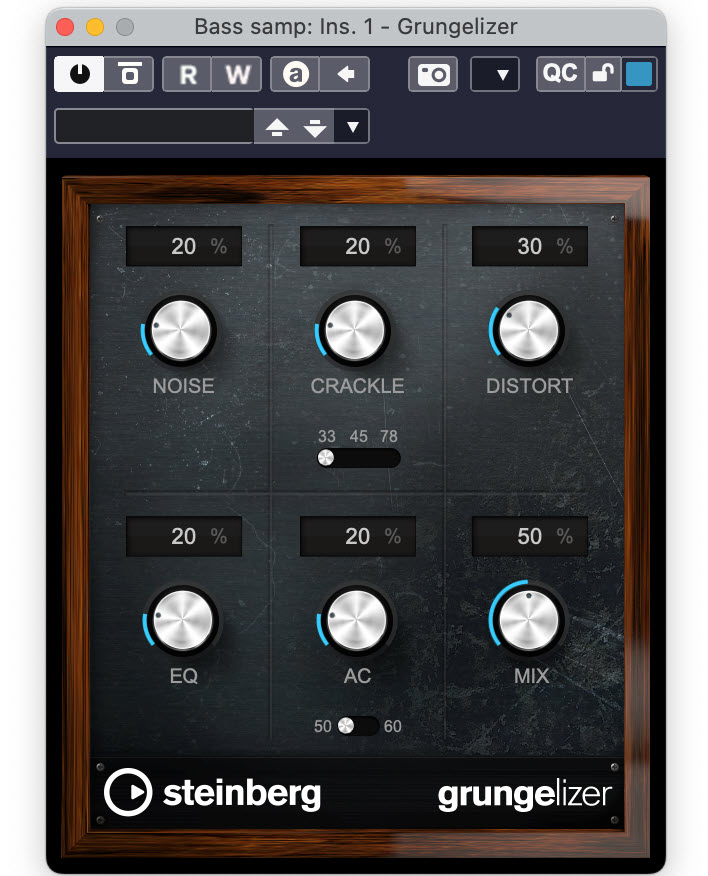
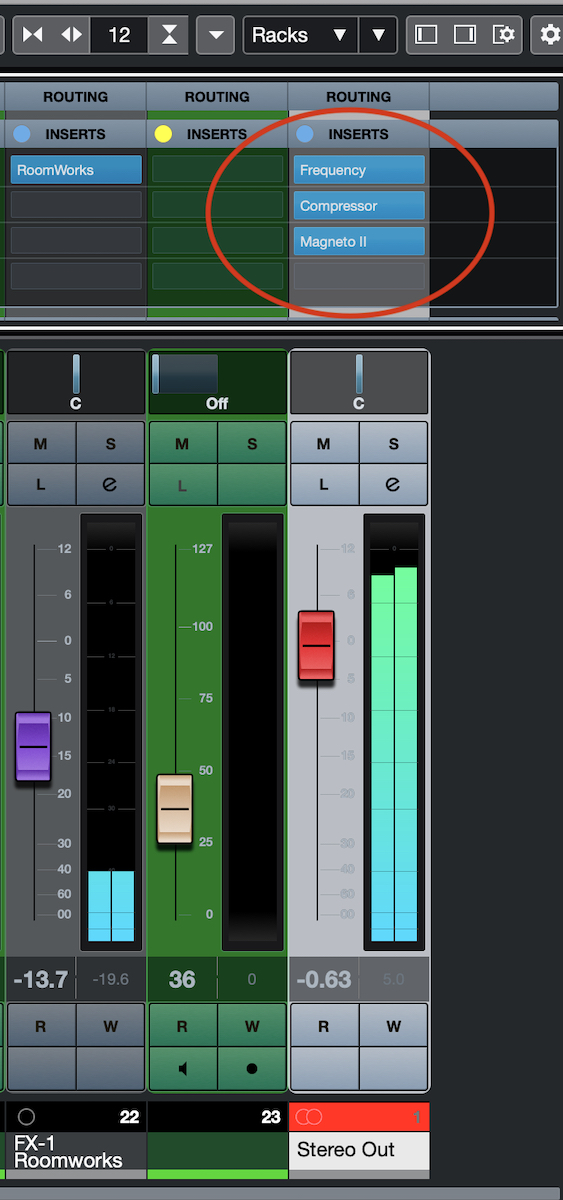
Another master bus effect that’s sometimes applied is saturation. A little bit of tape- or tube-like saturation coming from a plug-in like Steinberg Magneto can add analog-sounding warmth to a mix by softening the transients. It also adds a bit of its own natural compression. Subtlety is the key when it comes to master saturation. You’re just flavoring the mix, not crushing it — unless, of course, that’s what you want.
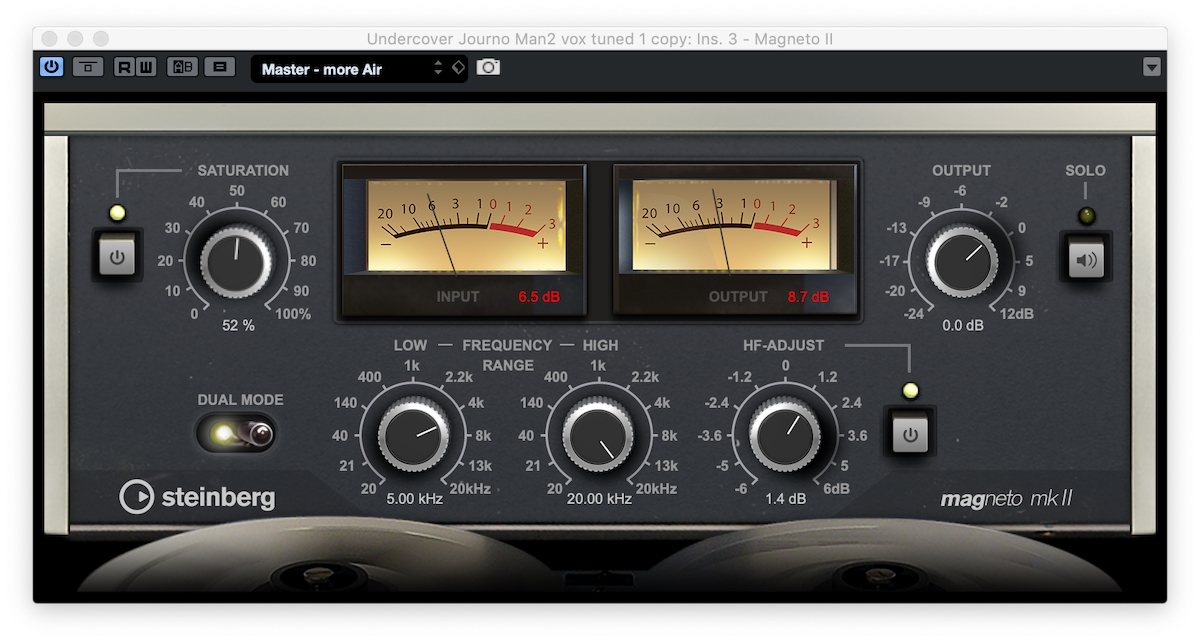
If your saturation plug-in has a wet/dry (“mix”) control, try adding a little too much saturation — that is, to the point where it can be clearly heard — and then back off the mix knob to taste. This creates parallel saturation, which can sometimes sound better than just adding it at 100%.
Pushing the Levels
Home recordists often put limiters on the master bus to make a mix louder. This is a practice I don’t recommend because it may not leave any room for your mastering engineer to apply their own limiting — something they can arguably do with much greater expertise than most of us mere mortals. What’s more, too much limiting will reduce your music’s dynamic range and can make it sound fatiguing.
Until you’ve gained a lot of mixing experience, you’re better off focusing on creating the best mix you can rather than worrying about its ultimate loudness. If you’re planning on mastering the project yourself, you can always process it with a limiter after you’ve finished your mix and are happy with it.
When it comes to master bus processing, less is usually more. Careful application is the name of the game if you want the best results.
Check out these related blog articles:
Check out our other Recording Basics postings.
Click here for more information about Steinberg Cubase and Cubase plug-ins.


