Tagged Under:
Distortion and Saturation
Spice up your mixes with creative application of these powerful effects.
In the audio world, the word “distortion” has more than one meaning. There’s unwanted distortion, also known as hard clipping, which occurs when you inadvertantly overload the input to a digital device (either hardware- or software-based). The resulting sound is quite unpleasant. Then there’s creative distortion, which you intentionally apply to an audio signal. Examples include a distorted guitar, a gritty vocal track or a mix tinged with light saturation to soften it around the edges.
In this posting, we’ll focus on the creative aspects, but for context, first a brief word about unwanted distortion.
The Perils of Hard Clipping
If you turn the input or output levels of a track up too much in your DAW, the result is clipping. This is a phenomenon that occurs in digital audio when you push a signal higher than 0dBFS (decibels full scale), which is an absolute maximum that’s represented by 0 on the level meter in your DAW’s mixer.
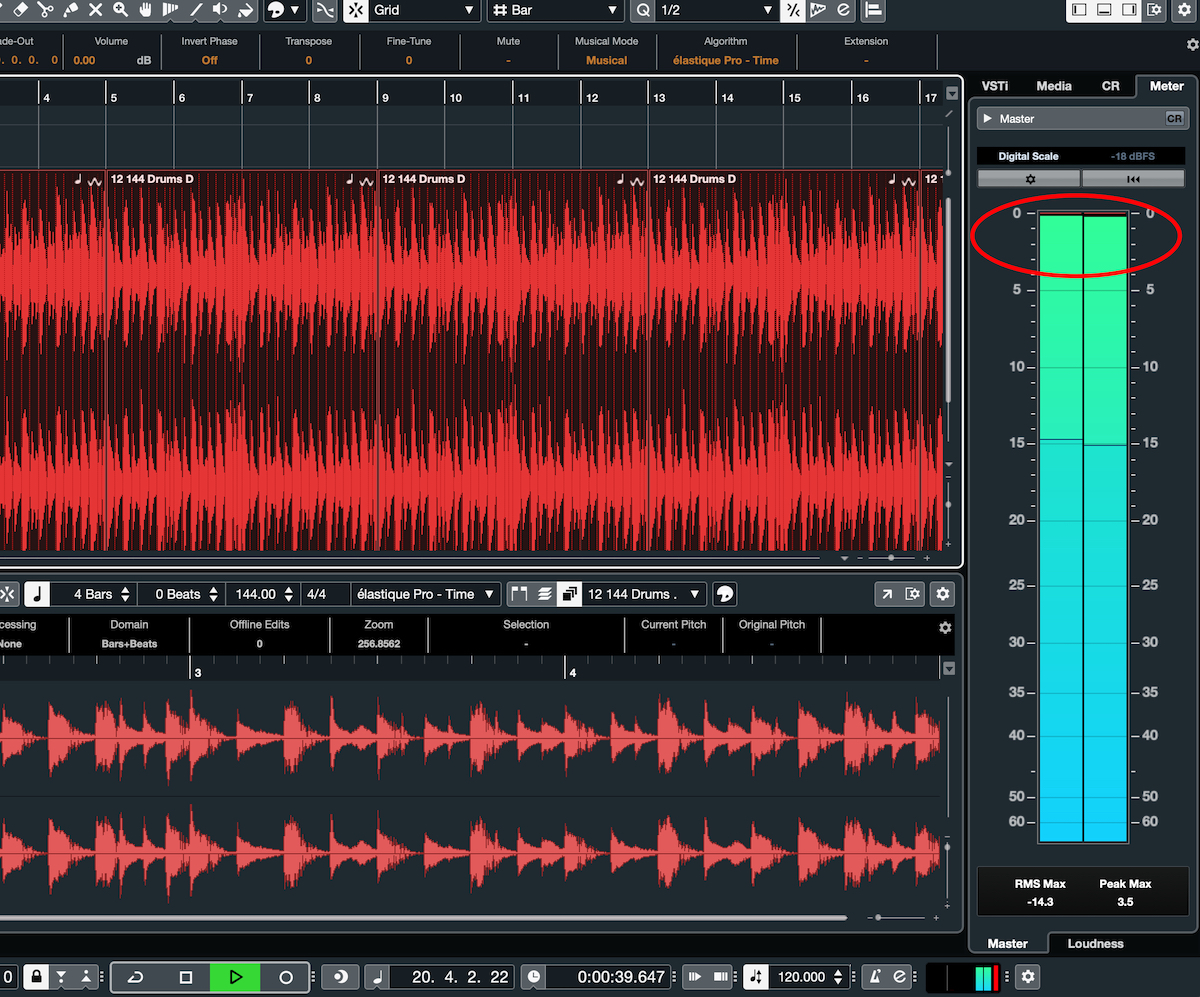
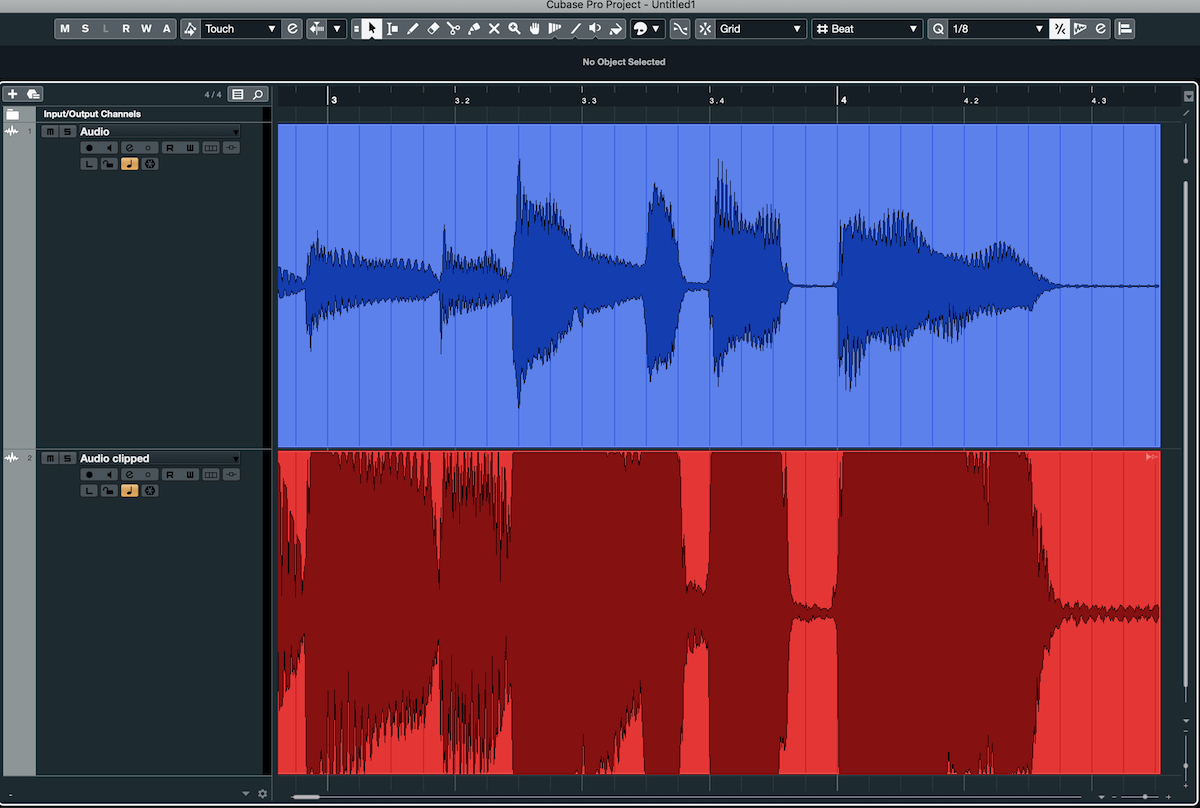
Once the level reaches 0dBFS, it’s as if it’s hitting an immovable ceiling. Instead of continuing to go up, it just flattens out against that ceiling. The tops of the waves get clipped off, which is why it’s referred to as clipping.
Soft Clipping Is A Totally Different Story
It’s a different story with analog hardware. Here, you can push the level above 0dBu (dBu is the scale typically used by analog meters) without creating hard clipping. Levels above 0dBu do overdrive the circuit. But, when used in moderation, the result is likely to be a pleasant distortion known as saturation or soft clipping, which adds overtones, harmonics and a gentle degree of compression to the original audio.
The type of circuitry in the analog gear will determine the nature of the saturation. Tubes, tapes, transformers and transistors each distort differently when you overdrive them. For example, here’s an audio clip that demonstrates the sound of tube saturation/distortion on guitar:
Unless you own outboard analog gear, you’re likely to get your distortion from analog-modeled plug-ins in your DAW. These closely emulate the sounds of tube, tape and transistor devices. Most DAWs, such as Steinberg Cubase, come with a range of distortion plug-ins, offering a variety of different sonic flavors.
Overdrive, Saturation and Tape Saturation
So far, I’ve used the term “distortion” in a generic sense, though it’s also used more specifically to describe heavy, fuzzed-out distortion like you get from a high-gain guitar amp or fuzz box. But there are lots of other kinds of distortion too, including overdrive, saturation and tape saturation.
The common definition of “overdrive” is that it’s a less extreme form of distortion that sounds more crunchy than fuzzy. This next audio clip demonstrates the sound of a rhythm guitar played first with overdrive, then with distortion:
The word “saturation” usually refers to the distortion you get from overdriving tube, tape or transformer-based devices (or from plug-ins emulating them, such as Cubase DaTube). It can vary from subtle to heavy, depending on how you set it.
In the analog days, engineers discovered that if you recorded drums at levels above 0dBu, it softened the rough edges, and added a bit of distortion and sustain, all in a complimentary way. This effect, referred to as tape saturation, could be used on all sorts of sources, both instrumental and vocal. It’s typically applied to “warm up” digital audio, which lacks the subtle imperfections of analog tape and therefore can sound a little too sterile to some listeners.
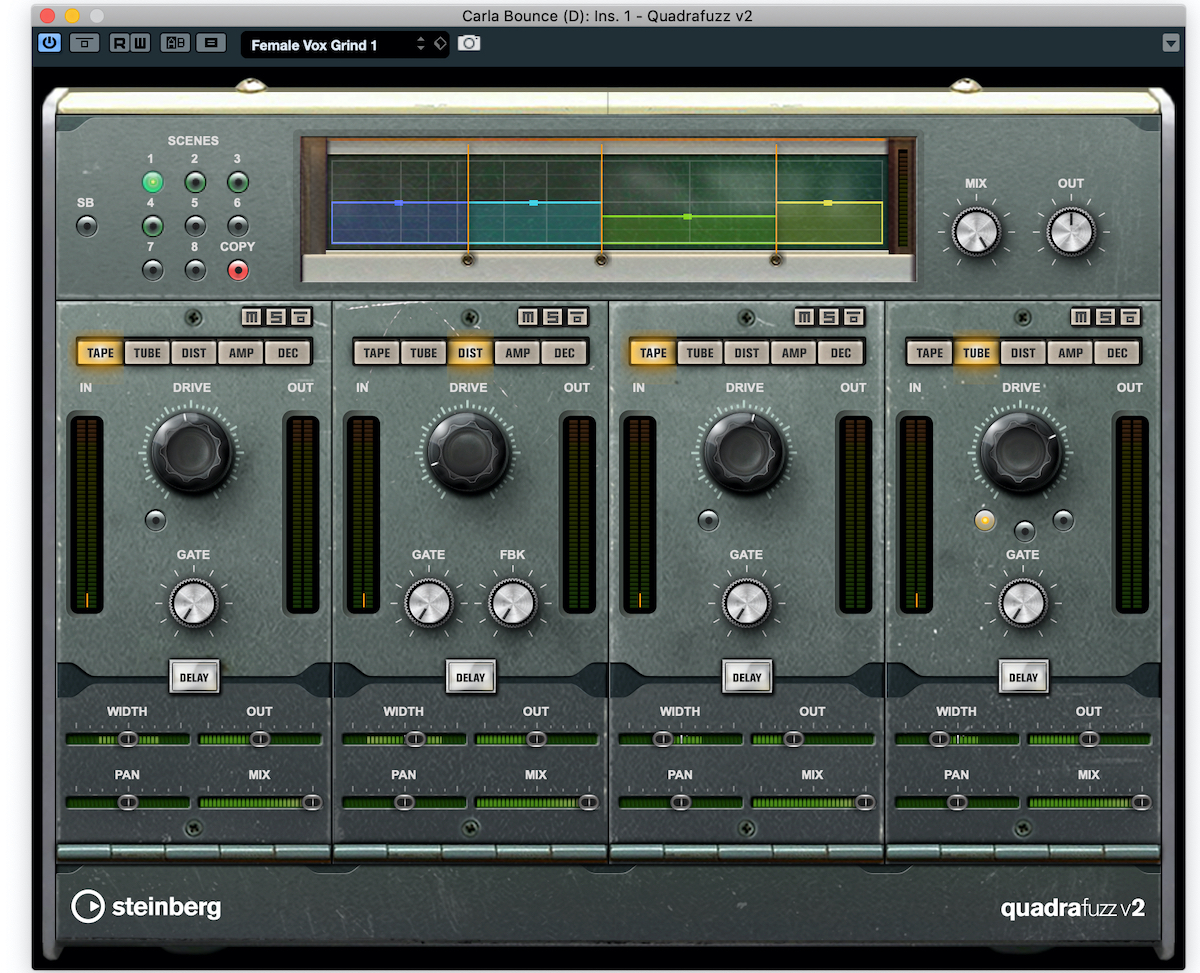
Today, of course, tape saturation can be emulated by many plug-ins, including Steinberg Magneto and Quadrafuzz v2. In this audio clip of a drum track, you can clearly hear the tape saturation created by Quadrafuzz v2 (set to “Tape”) when it comes in about halfway through:
Crush Those Bits
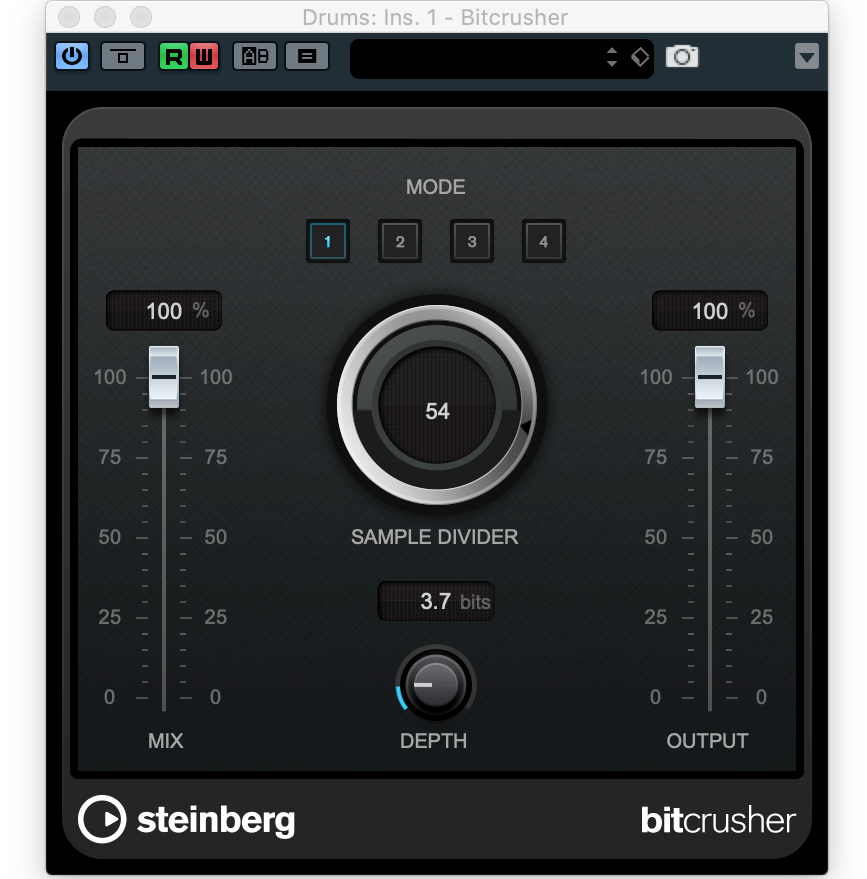
Another type of distortion, which is purely digital, is called bit crushing. It works primarily by reducing the bit-depth (that is, the resolution) of an audio signal by a user-specified amount, causing a loss of fidelity and making the source sound gritty and more “lo-fi.” In this next audio clip, you’ll hear two measures of clean drums, followed by the same drum track effected by the Cubase bitcrusher plug-in, with the intensity increasing (and the audio fidelity commensurately deteriorating) every two measures:
How to Apply Distortion
You typically add distortion, overdrive and saturation as serial effects in your DAW — that is, through the insert section of the mixer.
You can also bring them in as parallel effects, on an auxiliary track (an FX Channel in Cubase). Parallel processing entails applying the effect to a copy of the signal, either on another track or through an aux bus. You then heavily process the copy and then add it into the mix alongside the unprocessed sound, adjusting the relative levels of the two until you get the combination you want.
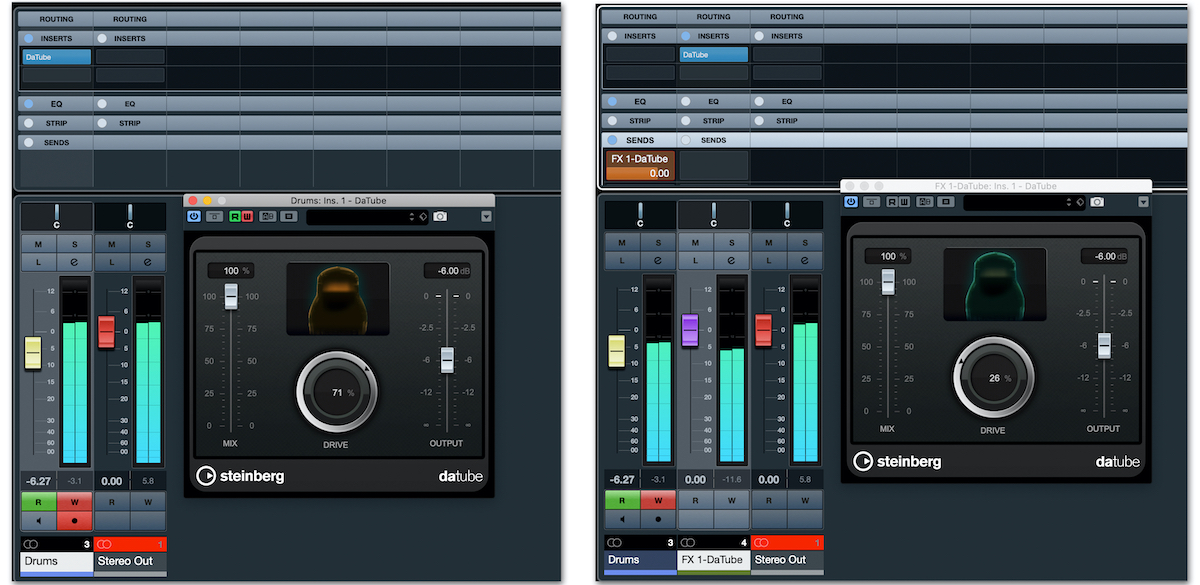
If your distortion, overdrive or saturation plug-in has a mix control, you can achieve parallel processing by setting it below 100% (usually significantly so), which has the effect of blending the unprocessed and processed signals together.
Distorting Guitars
Electric guitars are one of the most frequently distorted instruments. You can create distortion on a guitar track in several different ways:
1. Plug a distortion pedal into an amp and mic it
2. Overdrive an amp using its internal circuitry and mic it
3. Record through an amp-modeling or distortion device
4. Record a direct signal into your DAW and use plug-ins to add the distortion afterwards
Amp modeling plug-ins such as Steinberg VST Amp Rack or Amp Simulator (both included with most versions of Cubase) give you a range of amp types, speaker cabinet emulations and — in the case of VST Amp Rack, even some effects pedals — that you can mix and match to create the tone you’re looking for.
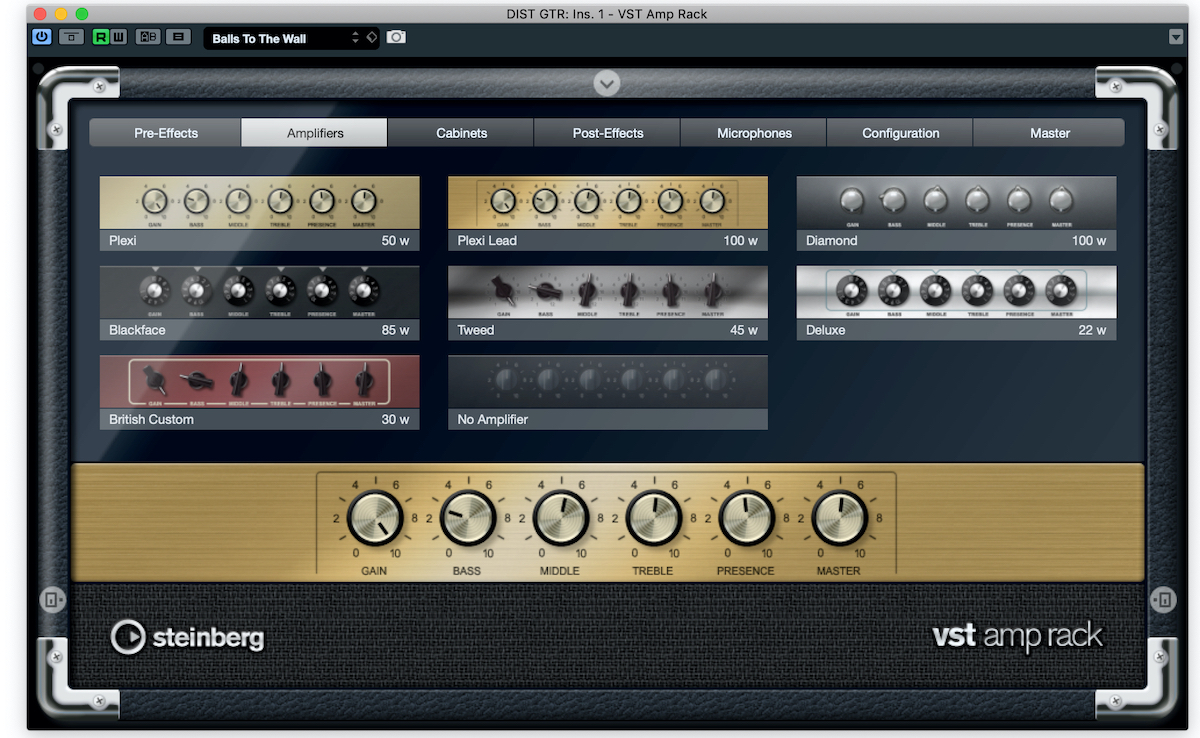
Be careful when you dial in extreme sounds, however, because they can create unwanted hiss and buzz, which is particularly noticeable when the guitar isn’t playing. Adding distortion can also accentuate some of the string noises that accompany the sound of a guitar, particularly finger squeaks.
Extreme distortion will also reduce the attack of an instrument part. If you’re applying it to a rhythm guitar or other rhythm instrument, those tracks could lose some definition (which will have a negative impact on the overall mix as well) if you are too heavy-handed in your application of it. Distortion can also add muddiness in the lows and lower midrange, which you might need to reduce with an equalizer.
Distorting Other Instruments
Beyond guitars, many other instruments sound good with some distortion, overdrive or saturation. A little bit of tape saturation on bass guitar, for example, can really help round out the sound. Similarly, distortion can be quite effective in adding grit to otherwise smooth electric piano sounds. Here’s an audio clip of an electric piano, first clean and then with distortion and cabinet emulation applied by VST Amp Rack:
You can also improve the sound of drum tracks with distortion. If you’re able to apply it the individual drums, subtly distorting the snare can often give your drum parts some additional energy. Or you might distort the kick, snare and toms, and leave the cymbals alone.
In EDM and hip-hop, you’re more likely to be working with stereo drum parts, such as loops or the output of a MIDI drum instrument. In those situations, you’ll be applying distortion to the entire drum part, rather than only to individual tracks — which can be quite effective too, if less subtle.
Distorting Vocals
Anything from a little saturation to heavy distortion can change the texture of a vocal track, giving it more of an edge and/or a ’50s vibe (an era when many sensitive tube microphones were in common use — mics that could easily distort if the singer got too close or sang too loudly); this is often used in rock mixes. Saturation can also be used on a vocal to give it a little more impact without it sounding “distorted” per se. In this audio clip, you’ll hear a two-measure vocal part repeat; the second time around, a mix of distortion and tube and tape saturation are added using the Quadrafuzz v2 plug-in:
Producers sometimes even apply light tape saturation across the full mix by way of the master bus to warm up the digital audio without making it sound overtly distorted.
No Limits
These are the standard ways to use distortion and saturation, but as with everything in recording, they are only guidelines. Feel free to experiment with the settings and plug-ins you use. You never know — you might come up with a fresh new sound!
Check out our other Recording Basics postings.
Click here for more information about Steinberg Cubase and Cubase plug-ins.


