Tagged Under:
Recording Acoustic Instruments, Part 2
Learn how to capture the sound of acoustic guitar and bass.
In Part 1 of this three-part series, we addressed some fundamental issues regarding mic selection and placement. Here in Part 2, we’ll expand on that theme and offer specific tips for recording plucked stringed instruments such as guitar and acoustic bass, as well as bowed strings. (In Part 3, we’ll cover piano, percussion and wind instruments.)
Ensemble Recording vs. Solo Instruments
As discussed in Part 1, a critical factor in determining how to approach capturing the sound of any acoustic instrument is whether you’re recording one musician at a time, or several in the same room. If the former, you can concentrate on getting the full sound of the instrument, which can be difficult when you have to worry about bleed from other sound sources.
Omnidirectional (“omni”) microphones, which pick up sound from all around, are a good choice when recording one instrument at a time since they often deliver a more accurate sonic picture than you’ll attain by simply pointing a directional mic at one spot. They’re also not subject to the proximity effect (as described in Part 1), so you can position them closer to the instrument without getting an artificial boost in the bottom end.
But if you’re recording an ensemble of several musicians playing together, you’ll probably need to limit yourself to directional mics like cardioids and position the players as far apart as possible. The good news is that, because cardioid mics pick up sound mostly from in front and reject sound coming from behind, facing the mics directly opposite one another (as shown below) can significantly reduce leakage.

Recording Acoustic Guitar
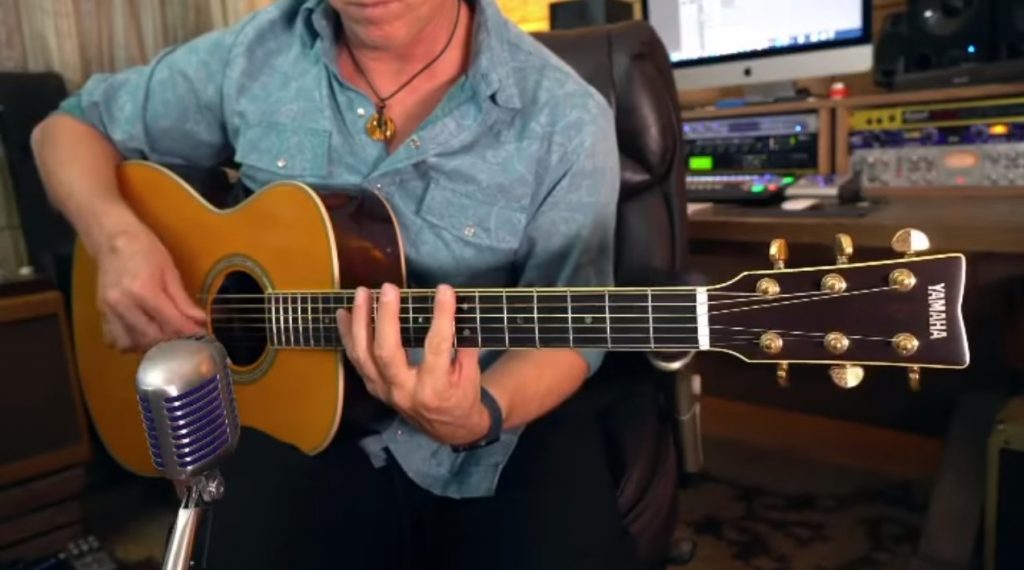
In most cases, you’ll be able to capture the sound of acoustic guitar with a single condenser mic. If you have several available, experiment to see which one sounds best. A small-diaphragm condenser will tend to pick up transients a bit better and thus yield a brighter sound with more attack, while a large-diaphragm model will deliver a fuller sound with more low end, so your choice of which to use is largely down to the musical content.
Start by aiming the mic where the neck meets the body, and place it roughly 9 to 15 inches away from the instrument:

If the guitar is the featured instrument, or the only instrument in the song — for example, if you’re recording a simple guitar / vocal demo — you may want to experiment with stereo miking to give it a more expansive sound. In Part 1, we mentioned the XY miking technique, which provides a stereo image without phase issues and is pretty easy to set up, although it works best when you have a pair of matching mics:
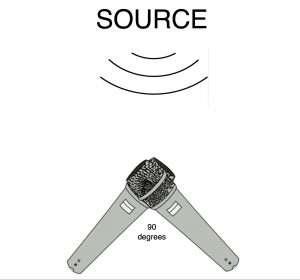
You might also consider trying an ORTF configuration; this is another two-mic technique that yields an even wider image, though, again, it works best when using a matched pair of mics. Space the mic capsules about 6-3/4 inches apart and angle them at about 110 degrees:
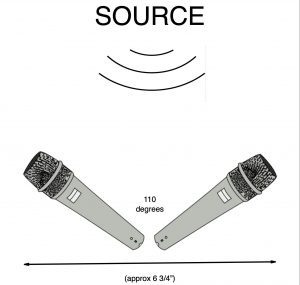
With both XY and ORTF, start by placing the mics about a foot back, then experiment by moving them closer in or slightly further away.
If you have two mics that are not matched (i.e., different makes or models), try a “spaced pair” method instead: aim one mic at the guitar body a few inches past and slightly below the bridge and another where the body and neck meet.

This will give you a more expansive stereo image, but be sure to follow the 3:1 rule (as described in Part 1) to avoid phase problems.
You can take a similar approach with other plucked stringed instruments such as mandolin. Again, use your best condenser mic, preferably one with a small diaphragm. Start by aiming it where the body and neck meet, angling the mic slightly toward the higher strings. Try different distances from about three to 12 inches and see which sounds best. The closer you place the mic, the more present it will sound; the further back, the more ambient.
When recording banjo, you’ll need to aim the mic somewhere on the head because that’s what creates the tone. If the player uses fingerpicks (as any bluegrass banjoist will), make sure not to aim it too close to the player’s hand because you’ll capture too many pick noises.
Recording Upright Bass
It can be challenging to successfully record a plucked upright bass, such as for jazz or bluegrass. That’s because it’s such a large instrument, the sound comes from more than one place. The trick is to get a good blend between the very low frequencies coming from the body of the instrument and the sounds coming from the strings as the bass is being plucked, which are in a much higher frequency range. Without a good amount of the latter, you’re likely to get results that are overly bassy and lack definition.
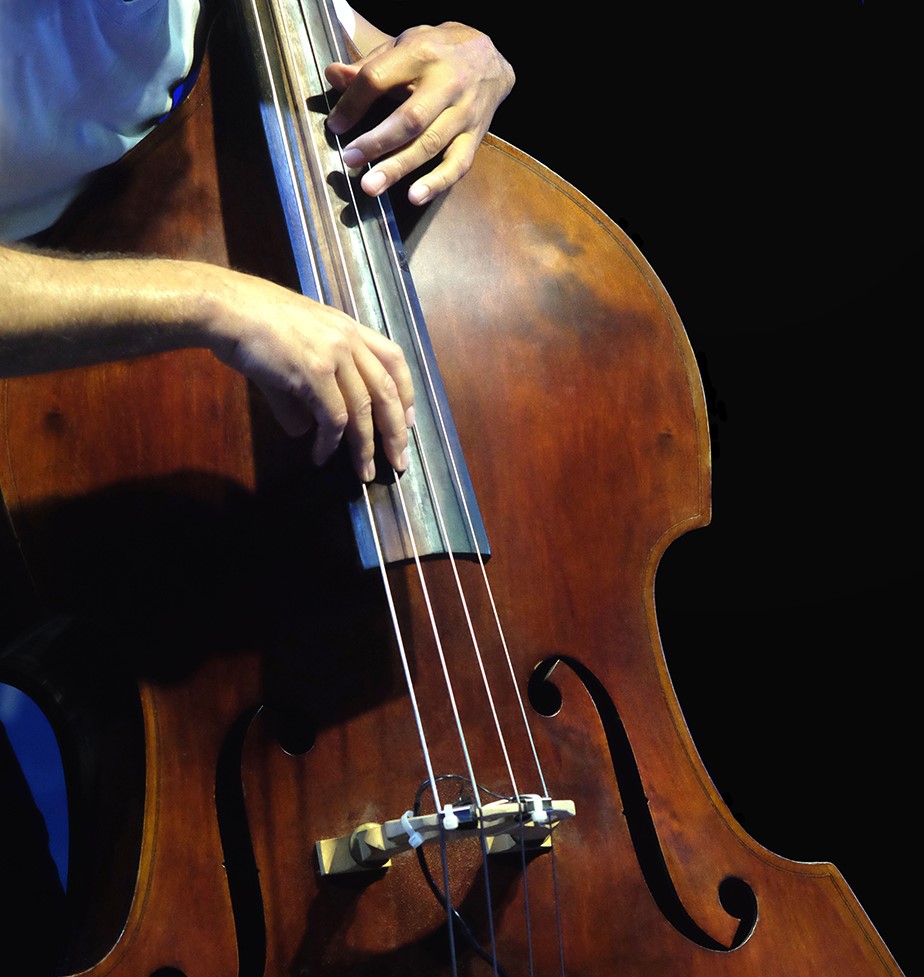
Start by placing a large-diaphragm condenser about a foot or so back from the bridge, then begin moving it around as the bassist plays while you monitor the sound carefully on headphones. If you can’t get a good enough blend by moving the mic around, consider using a second mic (a large or small-diaphragm condenser) closer to where the neck and body meet. Here, you’re not going for stereo; instead, you want to blend in those higher frequencies with the primary mic signal so that the bass will have some transient energy to cut through. Again, make sure to observe the 3:1 rule to avoid phase problems.
Bowed Strings
When you’re dealing with a bowed instrument like a violin, viola, cello or bowed upright bass, the goal is to capture a blend of the resonant tone from the body with just a little bit of the scraping of the bow on the strings. You need to go easy on the latter or the sound will be too scratchy, but you also need some of those higher frequency components for articulation purposes.
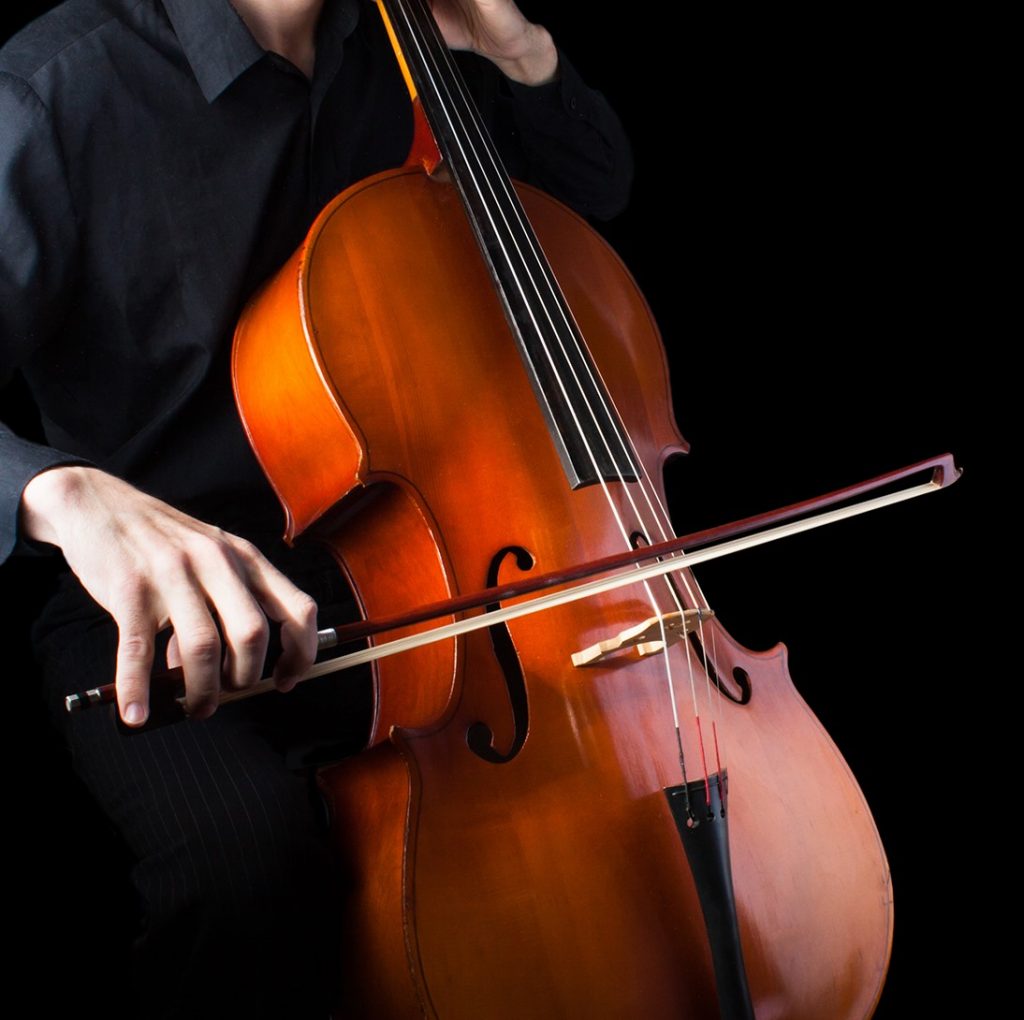
Try using a condenser with a cardioid pattern. For instruments that have a lot of low-frequency information (such as cello and upright bass), choose a large-diaphragm condenser because those kinds of mics are better at reproducing rich bottom end.
Place the mic three feet above and in front of the instrument, and aim it where the bow meets the strings, then experiment with different distances. If you’re having trouble getting a good sound, the problem could partially be due to room acoustics, so try putting the player in a different part of the room and see if that helps. When bleed is a concern in ensemble situations, you’ll have to move the mic closer or consider using a quality clip-on condenser mic that attaches behind the bridge.
Remember: These descriptions are simply guidelines. They can work well as starting points, but you should always feel free to experiment. As always, a lot depends on the quality of the instrument and the microphones, as well as the musicianship of the player and the acoustics of the room.
Click here for Part 3, in which we discuss how best to record piano, percussion and wind instruments.


