Mix Automation
Here’s how to harness the massive power of automated mixing.
Automation is a powerful feature that’s available in all contemporary DAWs. It allows you to record the movements of a fader, knob or button that’s controlling a parameter in a track or plug-in. Those movements are then written into the file so they will recur the same way, at precisely the same time, each time you play back your song.
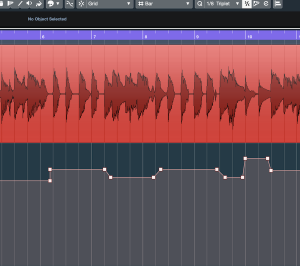
Using automation, you can fine-tune any track — both audio and MIDI — by making adjustments, large or small, one at a time. The most common application is to “ride” levels or pan a signal from left to right, but there are lots of other usages. For example, you could automate a delay plug-in to go into bypass on the last beat of a song so it doesn’t repeat after the track ends. Or you could change the vocal reverb to a different room size when a song gets to the chorus and then back again on the verses, or automate a filter on a soft synth to create a sweep. The possibilities are virtually endless.
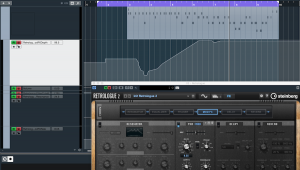
Automation adds a level of precision to your mixing that was unheard of back in the analog days, when all mix moves had to be made by hand. Crazy as it sounds today, you’d often see several people gathered around a studio’s mixing console, each tasked with moving a fader or turning a knob or pressing a button at a specific point in the song because the engineer’s two hands were not enough to handle all the needed adjustments in real time! With automation, it’s like having an almost unlimited number of 100% accurate hands available to you.
Real-Time or Offline
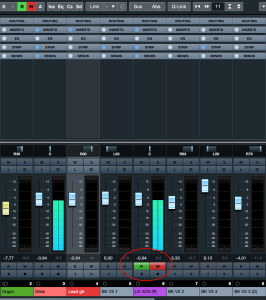
You can record (aka “write”) automation in two different ways. The first is by turning on your DAW’s automation-write button for the target track (or tracks) and initiating playback of the song, then making whatever changes you like in real time. Steinberg Cubase, like most DAWs, offers track-specific automation read and write buttons in both the Project (edit) window and MixConsole window:
After you’ve written automation to a track, your DAW will either show you the automation data underneath it in a dedicated “lane” or overlaid on top of the track waveform. (In some DAWs you might have to manually open the automation view to see and edit it.) In Cubase, an automation lane opens up right under a track in the Project window as soon as you write any data to it. You’ll see the data in the form of editable “breakpoint” lines, which are also referred to as “automation curves.”
Not only do you get a Write button for automation, but a Read button as well. After you’ve recorded or entered automation data on a track, the Read button enables it on playback. If you turn off the Read button, the automation data will be ignored by the track until you turn it back on. Being able to toggle the automation on and off with a Read button is handy for comparing the automated version of a track against the original.
Touch / Latch Modes
Although there are some variances in how different DAWs implement automation, all offer a choice of automation modes, which govern how the fader, knob or button will respond when you release it. Two of the most common are touch and latch modes.
Touch mode is used when you want a parameter to go back to the previous level after you finish adjusting it. This would be used, for example, when automating a vocal track that has a volume level that’s mostly correct in the mix but needs a few tweaks because some words were sung too loudly or softly.
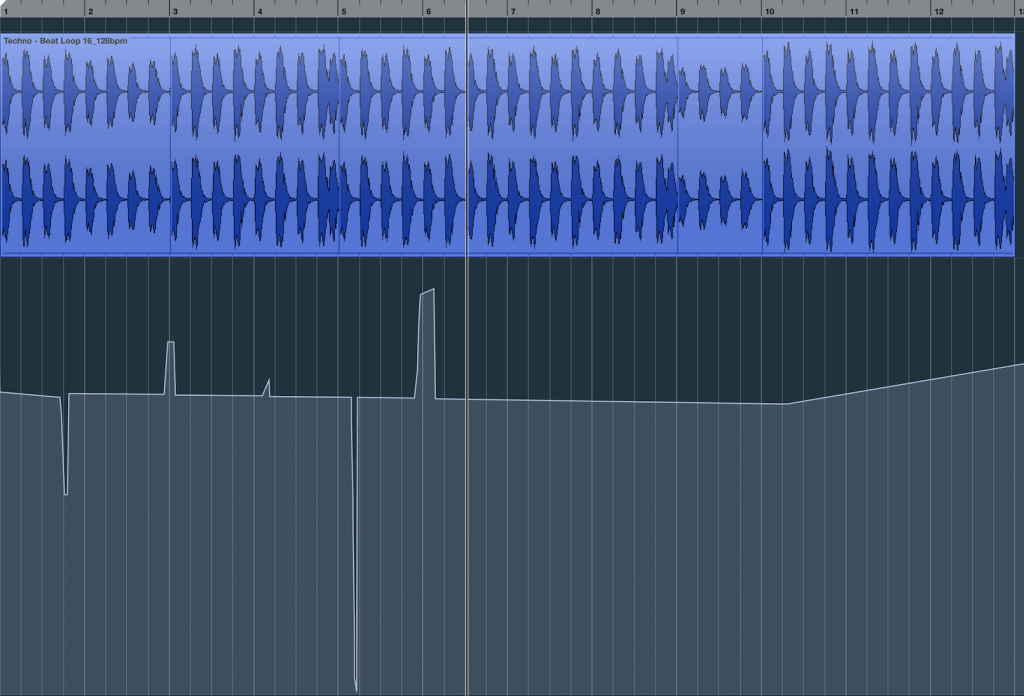
In that situation, you’d put your automation into touch mode, and when you got to a section you needed to fix, you’d move the fader to the desired point for as long as required, and then release it. As soon as you let go of your mouse button, the volume would revert to its previous level.
Latch mode (called “Auto-Latch” in Cubase) will instead keep the fader, knob or button at the value you change it to when you release it. This mode is useful when you want to alter a parameter and have it remain at the new value until or unless another automation change is made.
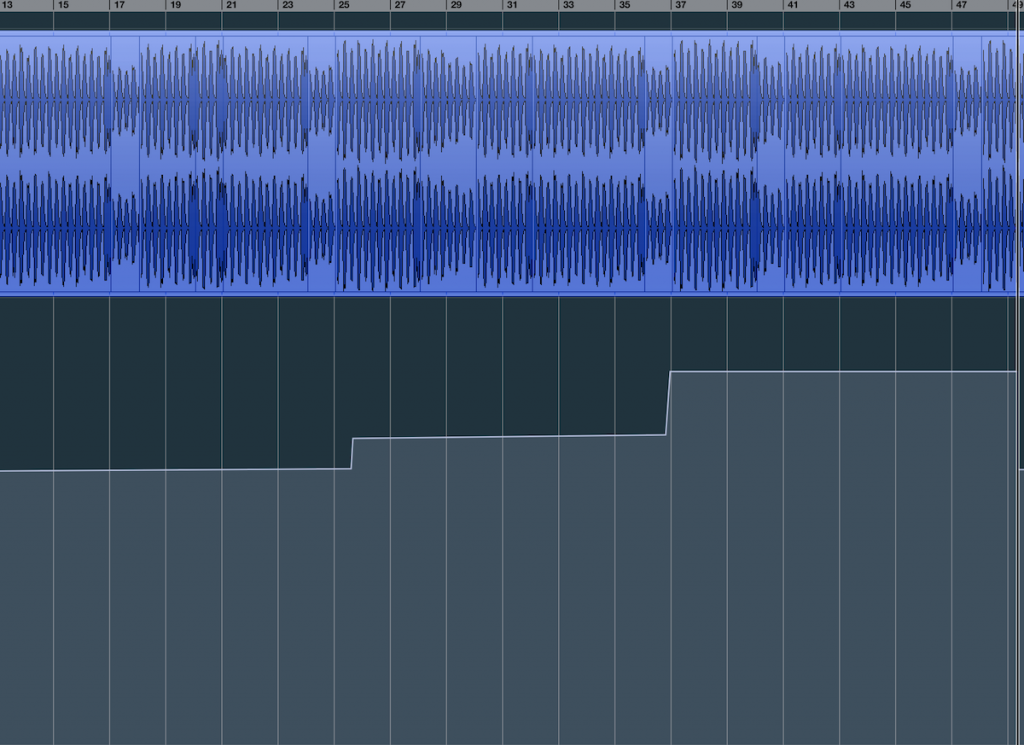
Let’s say you want to make the drums a little louder from the last chorus all the way through to the end of the song. In that case, you’d choose latch mode and simply push the drums fader up at that chorus, then release it. The volume would then stay at its new value unless you moved the fader again before the end of the song.
Luck of the Draw
An alternate method of writing automation data — one that’s particularly useful for extreme fine-tuning — is to manually draw changes using your DAW’s drawing tools. This method can be used both for entering automation data where none exists, or for editing existing automation curves. Typically, DAWs have both freehand line tools and tools that let you draw straight lines or specific shapes. The shapes are often useful for creating effects when automating effect or virtual-instrument parameters.
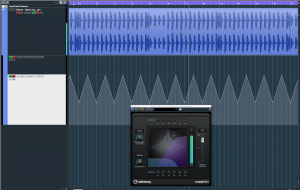
When you’re drawing automation, you’ll typically see little dots on the line, called breakpoints. These can be selected and dragged to change the shape or level of the automation line. The closer they are together, the finer the resolution of the line will be. If you have the “snap to grid” function turned on in your DAW, it will usually constrain your manipulation of automation curves to the selected grid value.
In any DAW, it can take a little while to get used to manipulating automation data graphically, but once you master the technique, you’ll be rewarded with extremely accurate control of all your mix parameters. In all likelihood, you’ll wonder how you ever mixed without it!
Check out our other Recording Basics postings.
Click here for more information about Steinberg Cubase.


