Tagged Under:
Get Ready, Get Set … Mix!
A beginner’s guide to getting your mix started successfully.
Ask five audio engineers how they start their mixes, and you’re likely to get five different answers. Mixing is more art than science, and there are myriad ways to get to a great-sounding result.
But when you’re new to mixing and haven’t yet had the time or experience to develop your own style, it’s easy to sit and stare at your DAW and think, “Where do I begin?”
Here’s a suggested road map for starting a mix.
Get Organized
Before you even start moving onscreen faders or turning knobs, you want to make sure to organize things — a topic we covered in detail in a previous blog.
In a nutshell, it’s helpful to first arrange your tracks by type, color-code them for easy recognition, then add markers at the start of each song section. That way, you’re beginning each mix from an orderly and logical place.
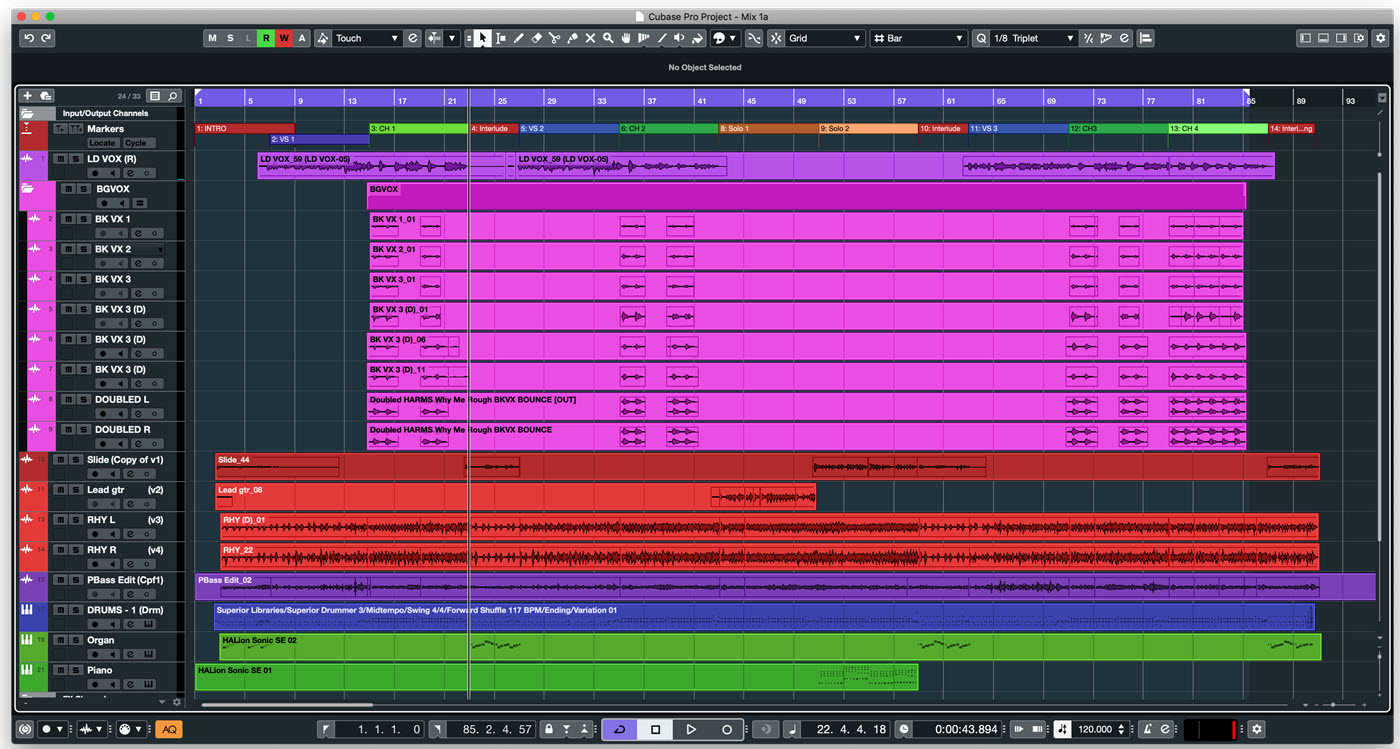
Another helpful preparatory task is to play each track in solo mode, listening for glitches and noises and mistakes that you didn’t notice with everything playing. I’m always surprised by the number of little things I find and end up fixing during this process.
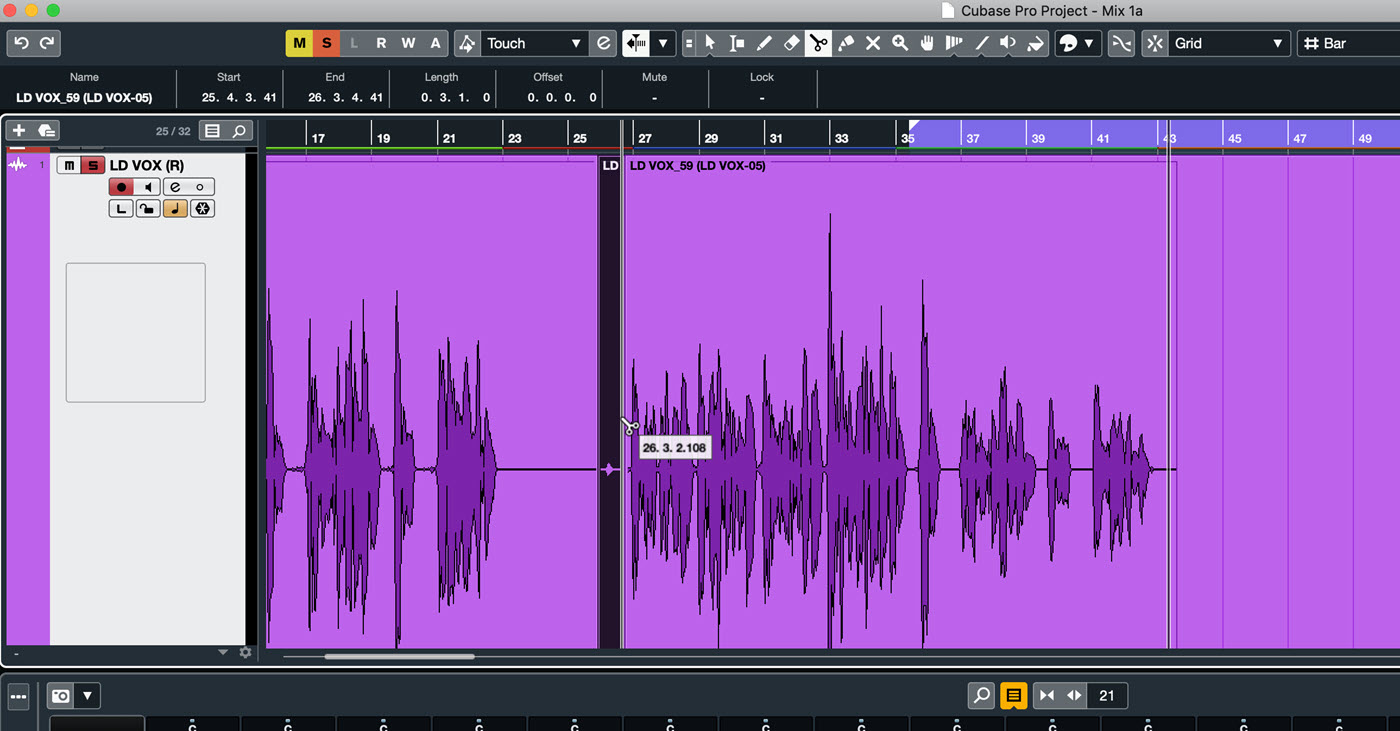
If you discover pitch issues, particularly on your vocal tracks, this is an excellent time to pitch-correct them. If you’re using Steinberg Cubase, the VariAudio feature is very powerful for fixing pitch issues. Read more about pitch correction here.
Envision Your Final Product
Next, try to visualize what you want the final product to sound like. It’s helpful to have a rough goal in mind for the sound of the final mix, so before you move a single fader, think about songs you know that have a similar vibe, and spend some time listening to them.
Analyze these reference mixes as you listen and ask yourself questions like: How loud is the lead vocal compared to the tracks? What kind of ambience effects — reverb and delay — are there on the vocal, and how are they being applied? How loud are the drums compared to the rest of the instruments? Is there a lot of reverb in general on the mix or does it sound pretty dry?
There’s no shame in copying mix ideas from professionally produced material — doing so can only help you improve your repertoire of techniques. So if you hear something cool, try to figure out how to reproduce that sound.
Now, finally, onto the actual mixing.
Ground Zero
A good way to begin is to set all of your tracks to unity gain (0dB), all your pan controls to center, and switch off any processing plug-ins like EQs, compressors, reverbs and delays that you may have added during the recording process. (The only exception would be for plug-ins that are critical for creating the raw sound of a track, such as virtual instruments or an amp modeler on a DI guitar track.) In the analog days, this is what used to be referred to as “zeroing out the console.” The idea is to start from a neutral place.
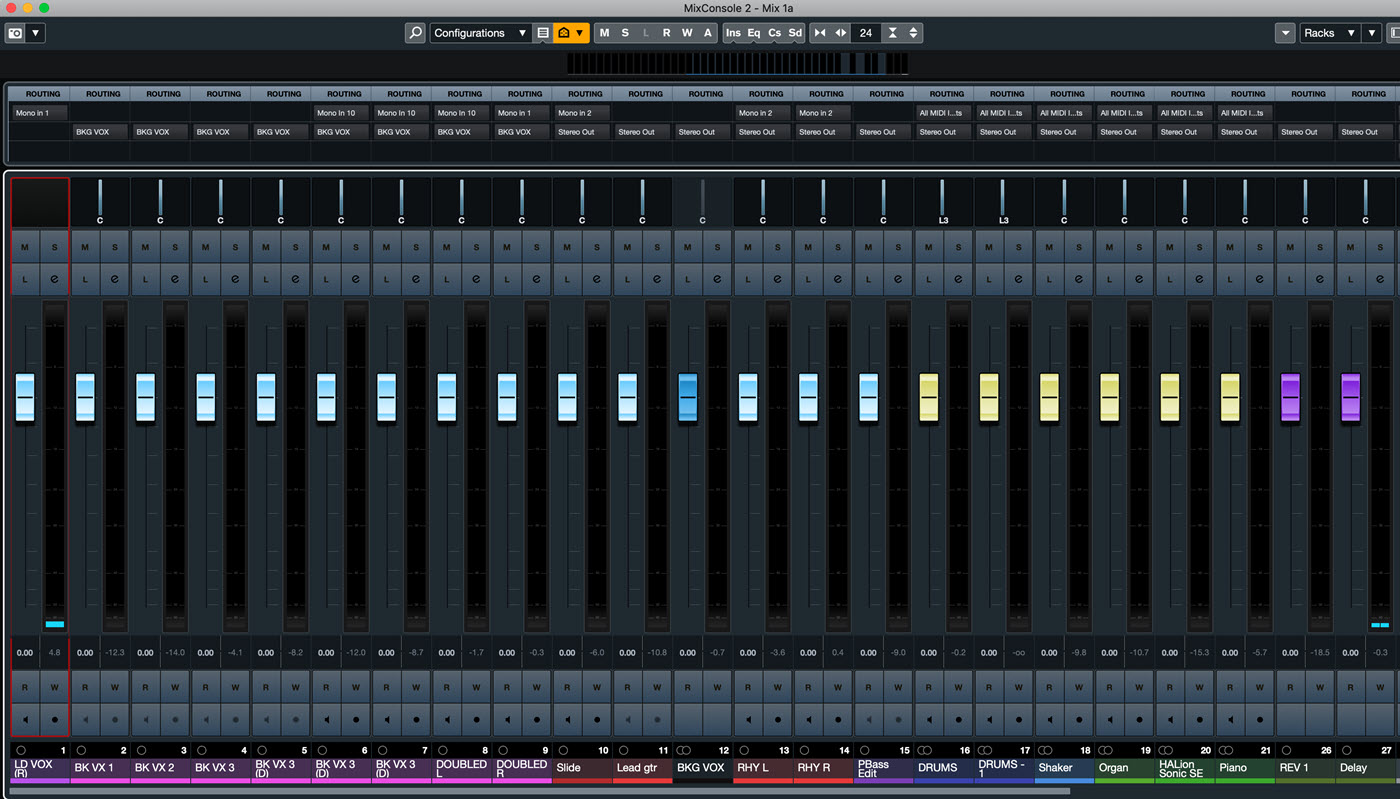
As you get more experienced, you may end up “mixing as you go,” which means putting together a rough mix as you’re recording the song. But beginners will find it more helpful to start from scratch.
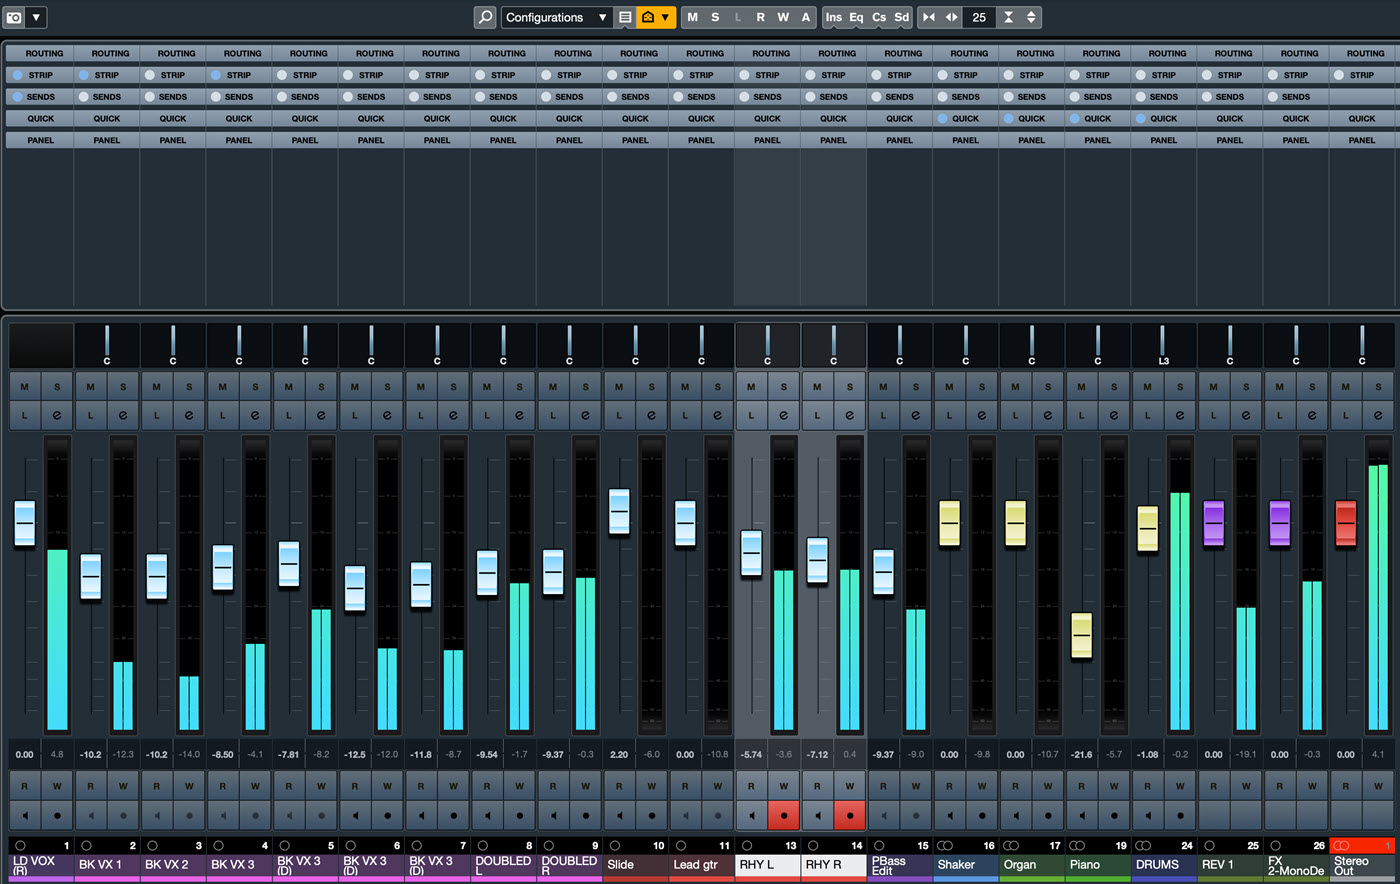
Once your DAW console is zeroed out, play through the song and start adjusting the volume faders to get as good-sounding a balance as you can. For this step, you want to focus exclusively on the level relationships between the tracks.
Left, Right and In Between
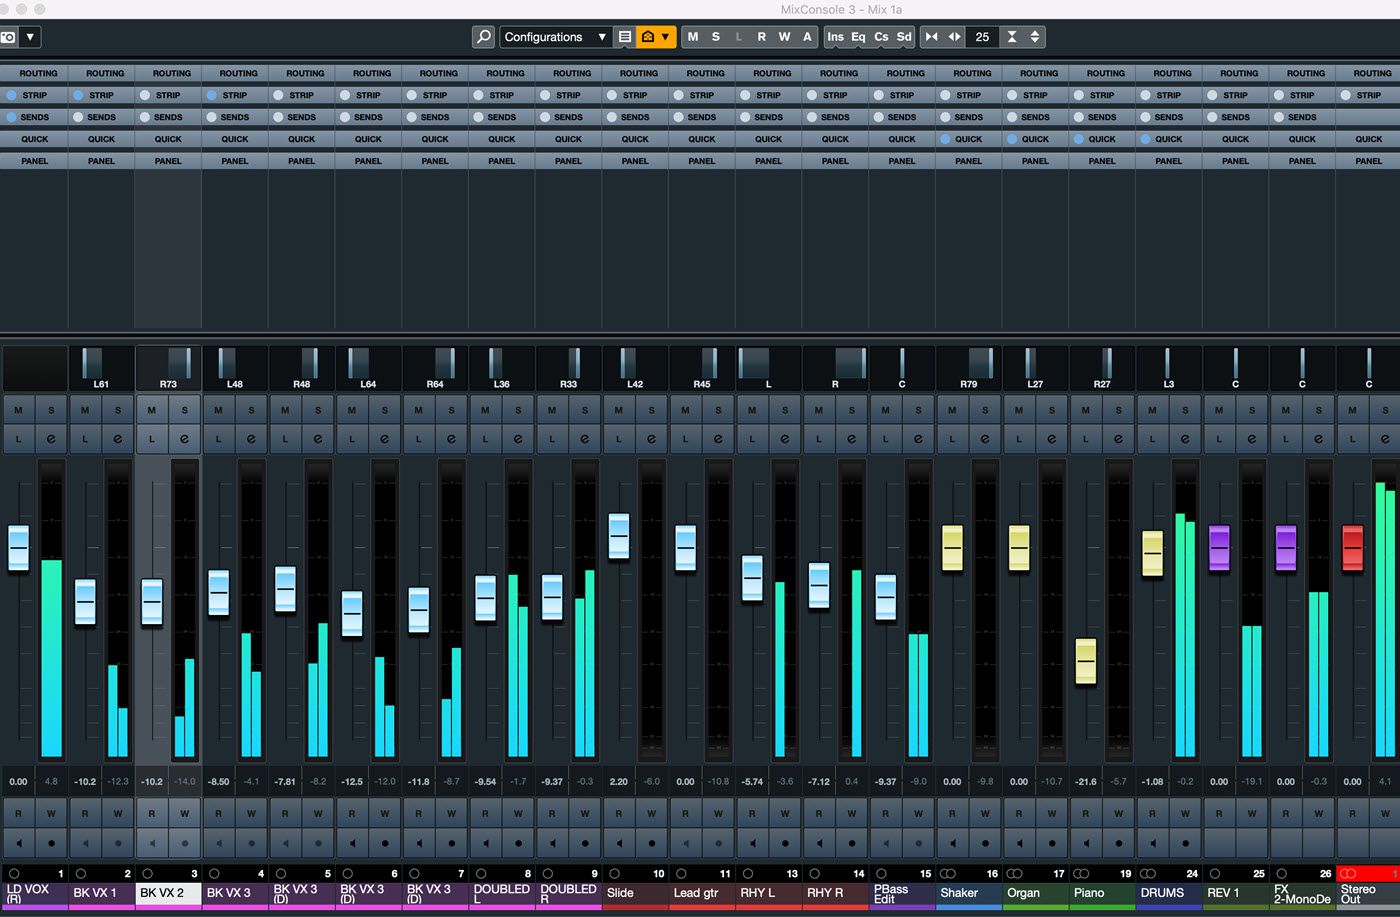
Next, start panning. You’ll be surprised how everything springs to life when you give it space in the panorama. As described in our blog entitled “The Virtual Soundstage,” creating a place for each track is one of the key goals when mixing.
Although there are many different panning approaches, putting the lead vocal, the bass, the bass drum, and the snare drum dead center is standard practice in just about every contemporary pop music mix.
With that as your baseline, position the other instruments to create whatever panorama you think sounds good. Be careful, however, to keep elements that are predominantly in the same frequency range (such as rhythm guitars and chordal keyboard parts) in different panning positions. Otherwise, they can mask one another, making it hard for the listener to distinguish between those sounds.
At this point, it’s a good idea to check your mix on headphones, where panning always appears more extreme because the left and right sides are completely discrete — unlike when you’re listening on speakers and hearing room reflections too.
EQ for You
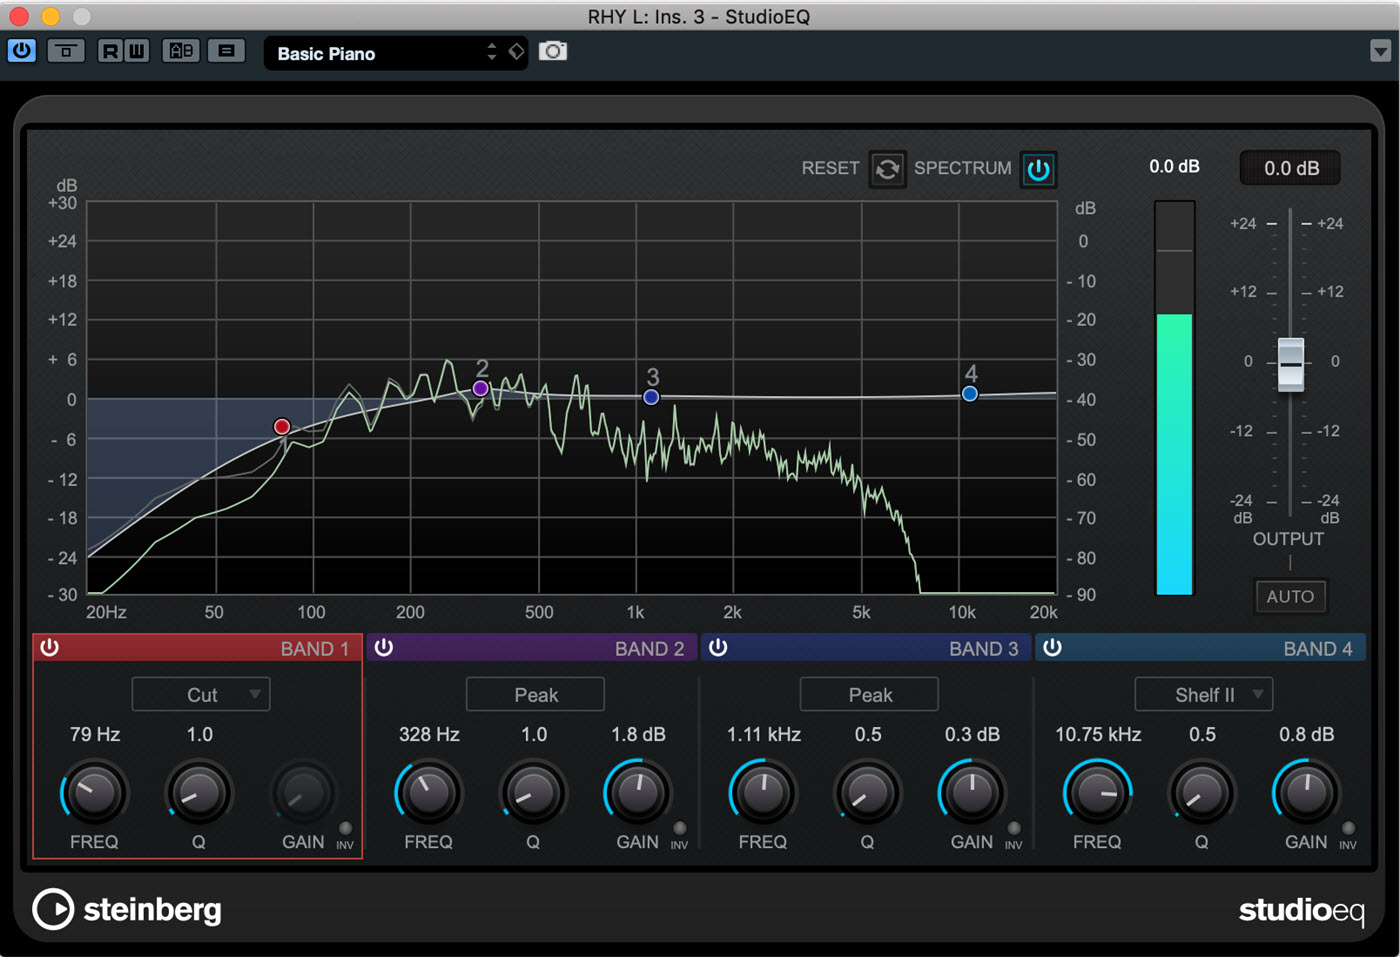
The next step is to listen to your tracks and adjust any frequency problems or deficiencies with equalization — a topic we covered in detail in our “Practical EQ Techniques” blog.
EQ can help with frequency masking too. If you have two instruments that are masking each other and for some reason you can’t apply separate panning to them, try boosting a small frequency range in one and cutting the same range in the other. If necessary, you can repeat this process in a different frequency range, this time boosting the second track and cutting the first one.
Another way to clear up muddiness is to use high-pass filters (also known as low-cut filters) to remove unnecessary low frequencies from a track. A good way to do this is to solo the track in question, then slowly raise the frequency on the high-pass filter until you hear the instrument or vocal start to thin out, then back it off to the point right before you heard it change. Then turn off the solo button and check the track with all the instruments playing (all adjustments should always be checked in the context of the full mix). Doing this for each track will help bring clarity to your final product.
Squeeze It
Now it’s time to listen to the dynamics of the tracks and apply compression where necessary. If you hear parts that are too loud or too soft in spots, compressing them will knock down the peaks, narrowing the dynamic range. That will make it easier to turn the overall track volume up to compensate for quieter parts, without the louder parts sticking out.
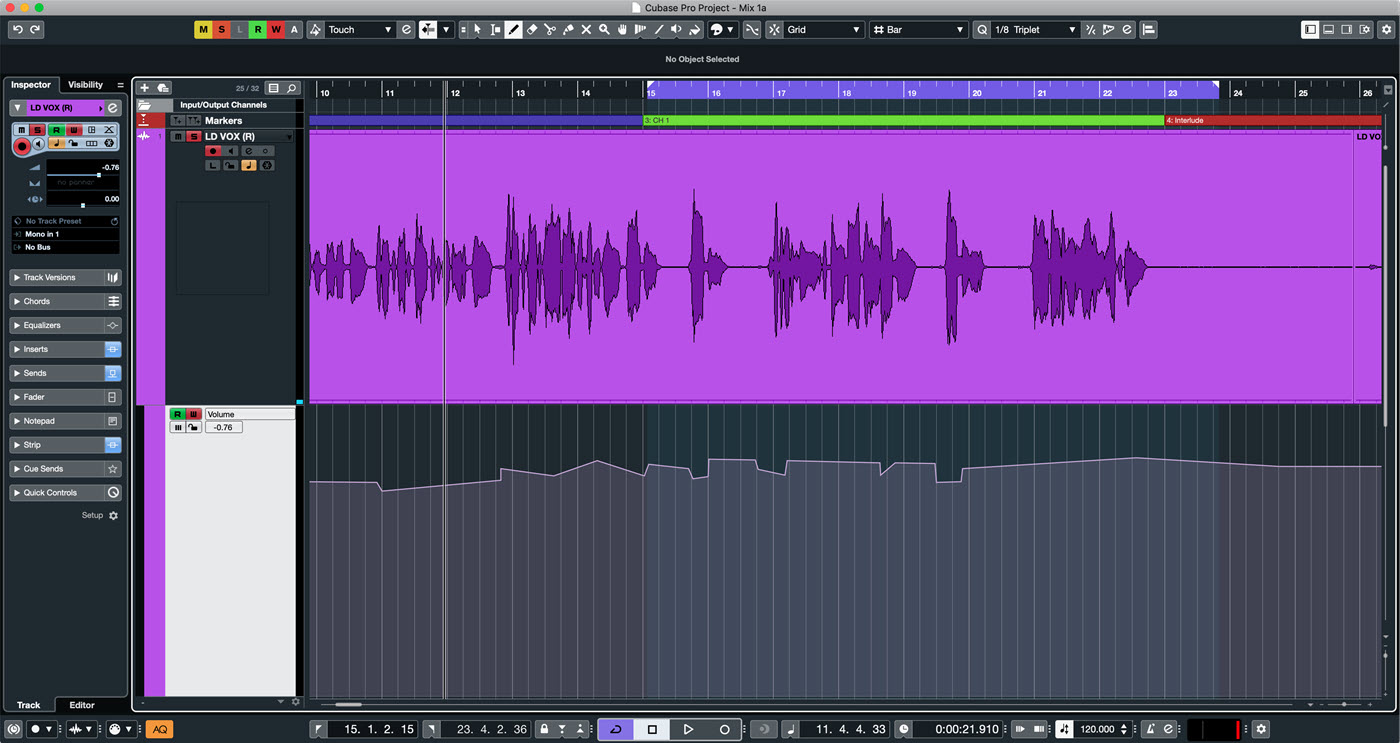
Alternatively, you can do “compression by hand” with the use of volume automation, which lets you change levels on a track at any point by any amount.
Vintage compressor plug-ins can also be used for adding “color” to instruments or voices. You can find out more about compression in our “Why Compress?” blog.
Space is Nice
Now you can feel free to start adding reverb and delay wherever you like. Both of these effects are best applied from an aux track (called an “FX Track” in Cubase.) However, bear in mind that reverb that takes too long to decay can wash over successive notes and cause muddiness, especially on up-tempo songs. A basic rule of thumb here is: the faster the tempo, the shorter the decay time (sometimes called “reverb time.”)
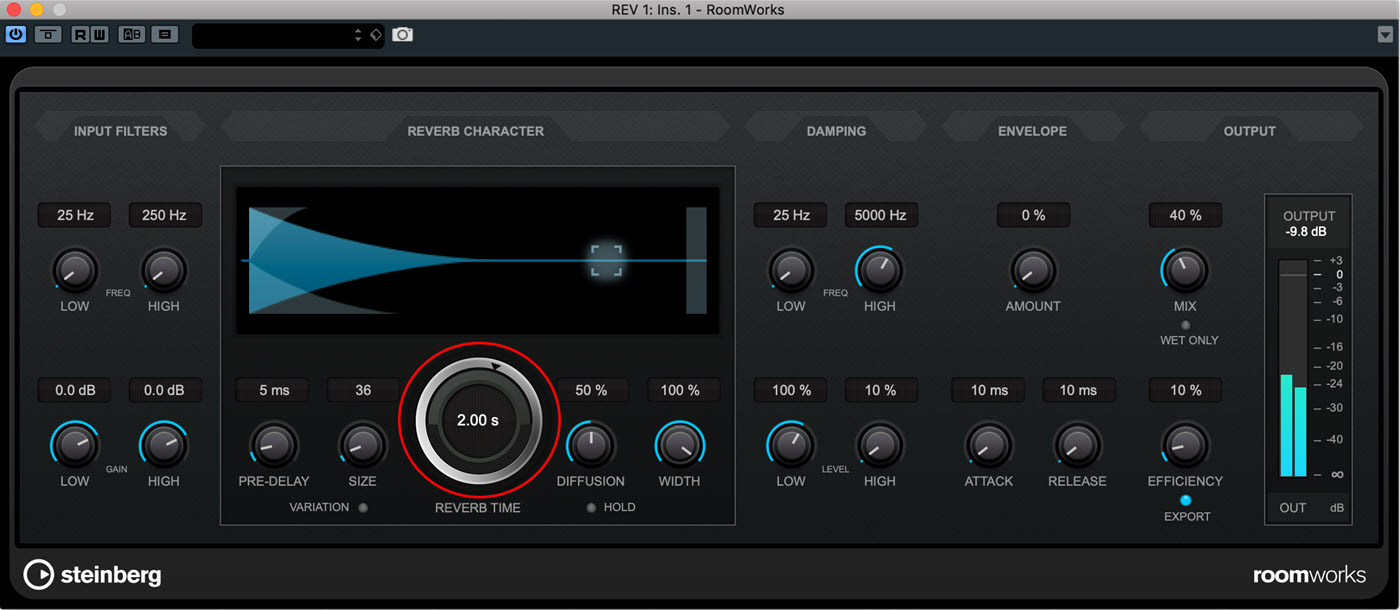
Using the reverb’s EQ controls to reduce the low end of the reverberated signal can help with clarity. Read more about effective ways of using reverb here.
Break Time
At this point, you’ve got a rough mix going. Now it’s time to take a break for an hour or two … or even better, until the next day. Come back with a fresh perspective, and you’re sure to hear things you want to adjust. Mixing is a process, and you’ll likely need several stabs at it to get it to get it sounding exactly how you want to. In the meantime, you’re off to a good start!
Check out our other Recording Basics postings.
Click here for more information about Steinberg Cubase and Cubase plug-ins.


