Think Like a Drummer, Part 1
Using loops to create realistic drum tracks.
For many musical styles, there’s nothing like a real drummer. But capturing the sound of a drum set — be it acoustic or electronic — is not practical in most home studios. For one thing, there’s often not enough physical space to set up a kit; for another, multiple mics and/or multiple input channels on a mixer or audio interface are required to do the job right.
Fortunately, there are numerous tools that you can use to create authentic-sounding drum tracks even in the most modestly sized (and/or modestly equipped) home studio. Here, in Part 1 of this two-part article, I’ll show you how to incorporate drum loops — both audio and MIDI — and talk about the advantages of each. In Part 2, I’ll offer specific tips for programming your own drum parts.
Audio Drum Loops
There are millions of electronic beat loops widely available, and many audio drum loops capture the feel of a real drummer, but those made from recordings of actual drummers playing acoustic drums are the most authentic-sounding option for putting together a drum track. There’s no shortage of such loops out there; in fact, your DAW may very well include some. Steinberg Cubase, for example, comes with several libraries of drum loops.
The basic idea is simple: Once you’ve found loops that fit the feel of your song, you drop them into a track in your DAW, one after the other, and construct a complete drum part that way.
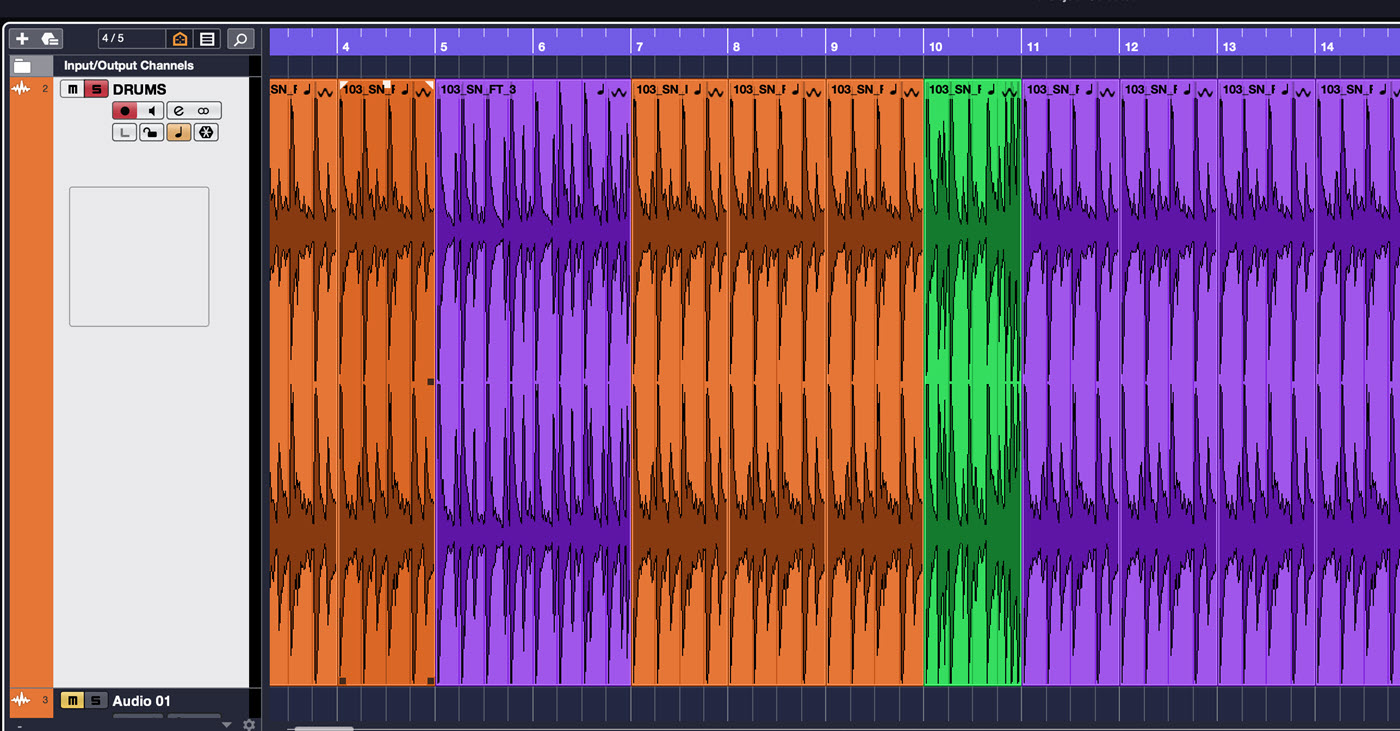
Audio drum loops come in many forms, but the great majority are stereo recordings edited into a one- to four-measure (sometimes more) pattern. Most come as WAV files, but you’ll also find them as AIFF files and in other formats that allow for automatic time-stretching in specific applications. (See the “Tempo in a Teapot” section below for more about time-stretching.)
Loop collections are often broken up into different song groupings, typically separated in folders. Each grouping contains an assortment of loops based around a single groove. As you assemble your song-length drum track, you pick and choose from loops representing various generic song sections (i.e., verse, chorus, bridge, etc.), along with a variety of variations and fills. (More about fills shortly.)
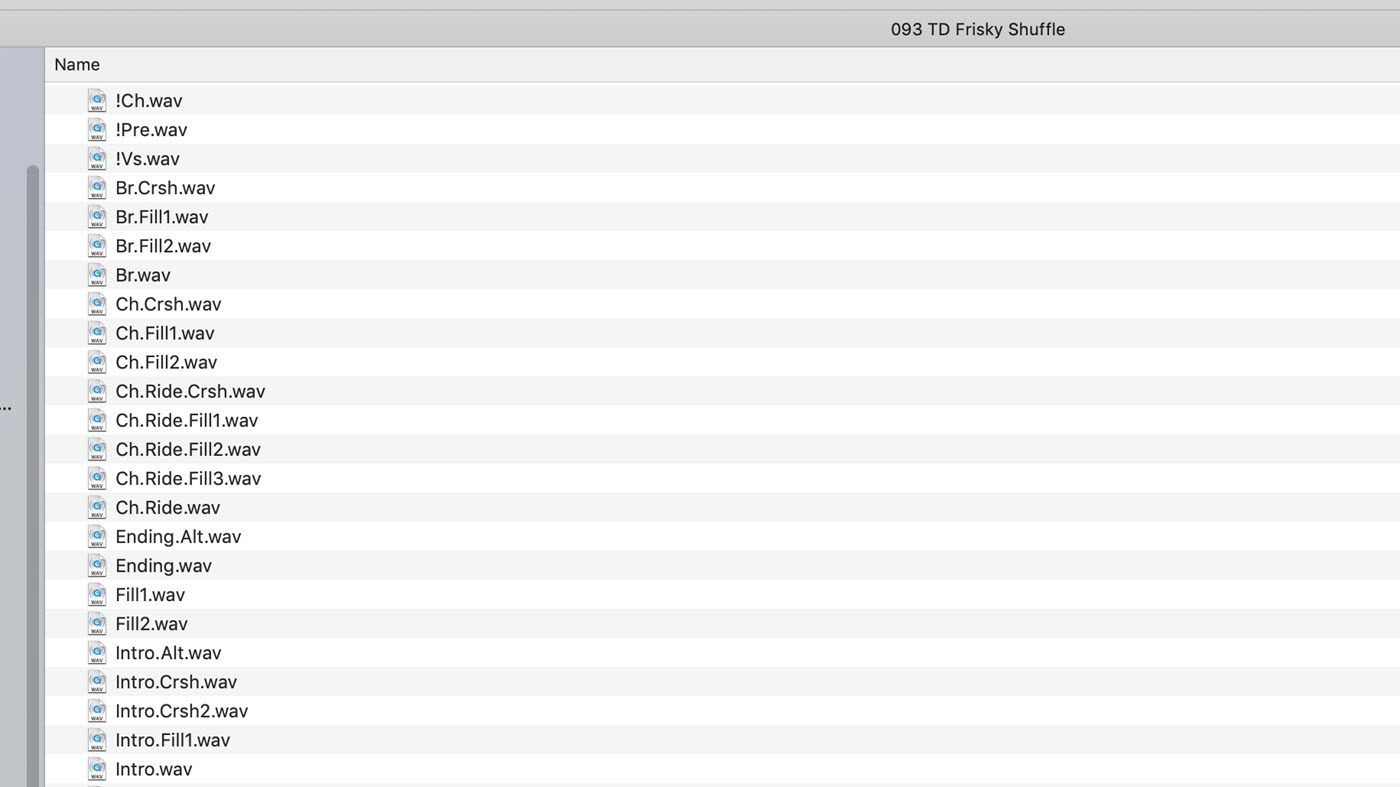
Song groupings usually have generic names such as “Motown 120,” “Slow Funk 85” or “Trainbeat 160,” although sometimes their titles are more descriptive, hinting that they’re in the style of a well-known song. The number in the titles refers to the tempo in beats per minute (BPM).
Although most loop collections are stereo, you can also find multitrack drum loops on the market. These allow you to do the drum mix yourself but are much more complex to work with. If you’re into mixing your own drums, you might want to consider such products.
One-Shots
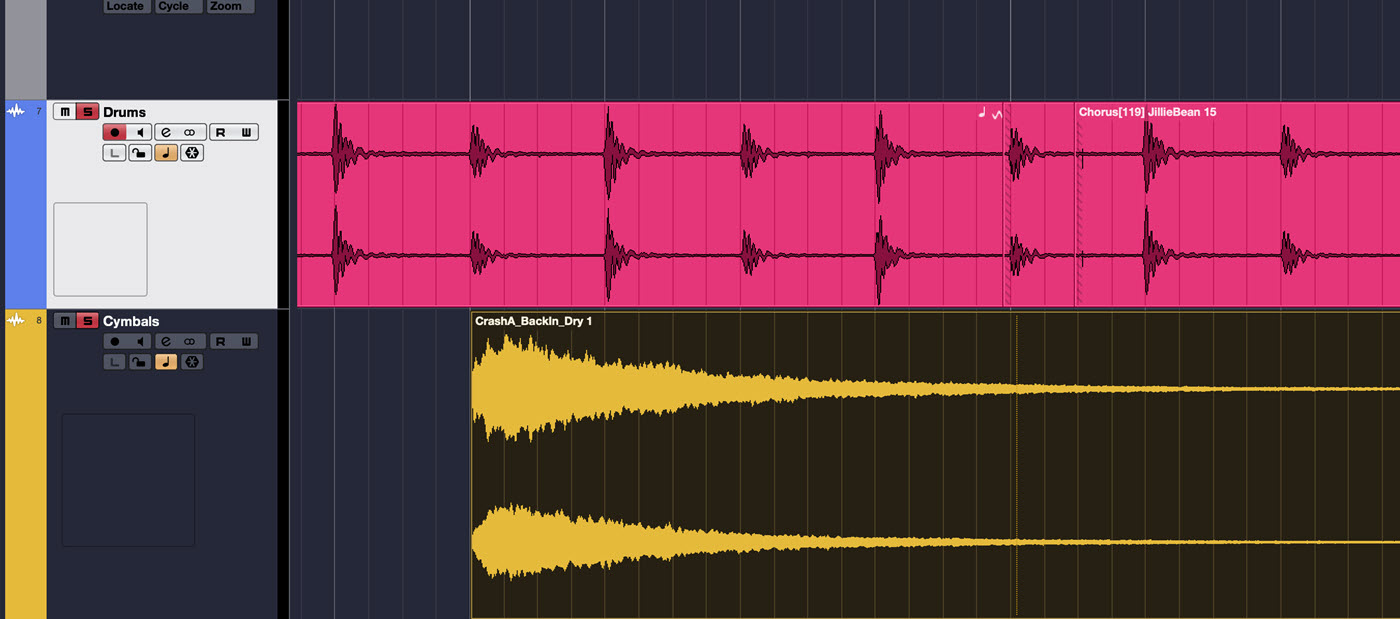
Most audio loop collections (such as the one provided by Steinberg Groove Agent SE, a plug-in included with Cubase) also come with a folder of one-shot samples that you can drag or import into an audio track (separate from your loop track) to add an accent (sometimes called a “hit”) here or there. For example, you’ll probably want to add crash cymbals at appropriate spots in your song.
Tempo in a Teapot
Audio loops will only play in time if they match the tempo of your song. One easy way to make sure that happens is to find the loop grouping you want to use ahead of time, and then set your project to the tempo of the grouping before you start recording.
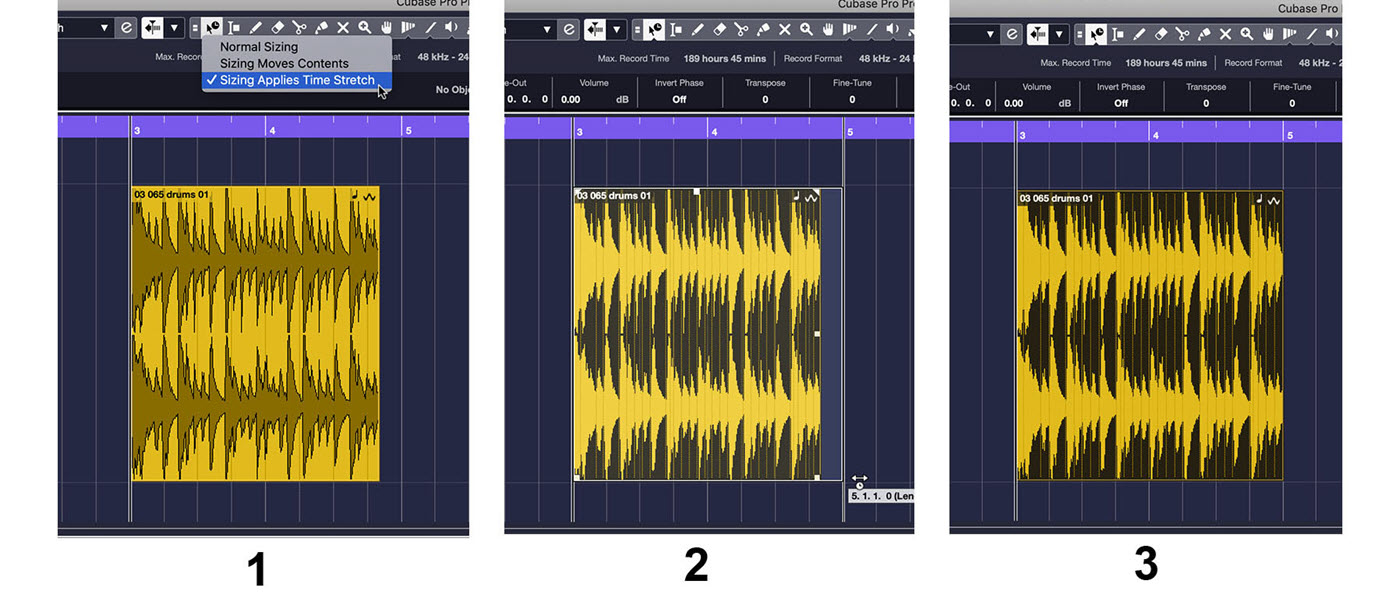
But if you can’t match your song to the loop’s tempo, you can match the loop’s tempo to your song. Most DAWs, including Cubase, feature sophisticated time-stretching capabilities that can adjust a loop’s tempo without changing its pitch. As long as the time-stretch is no more than roughly 15 BPM up or down, it should sound fine. If the difference is larger than that, however, the process can cause your loops to sound unnatural. Use your ears to determine what works and what doesn’t.
Cubase offers several options for time-stretching audio, including Musical Mode, which automatically matches loops to the project tempo. You can also accomplish this manually by changing the Project Selection Tool to Sizing Applies Time Stretch, and then just stretching the loop to the nearest barline, as shown here:
MIDI Drum Loops
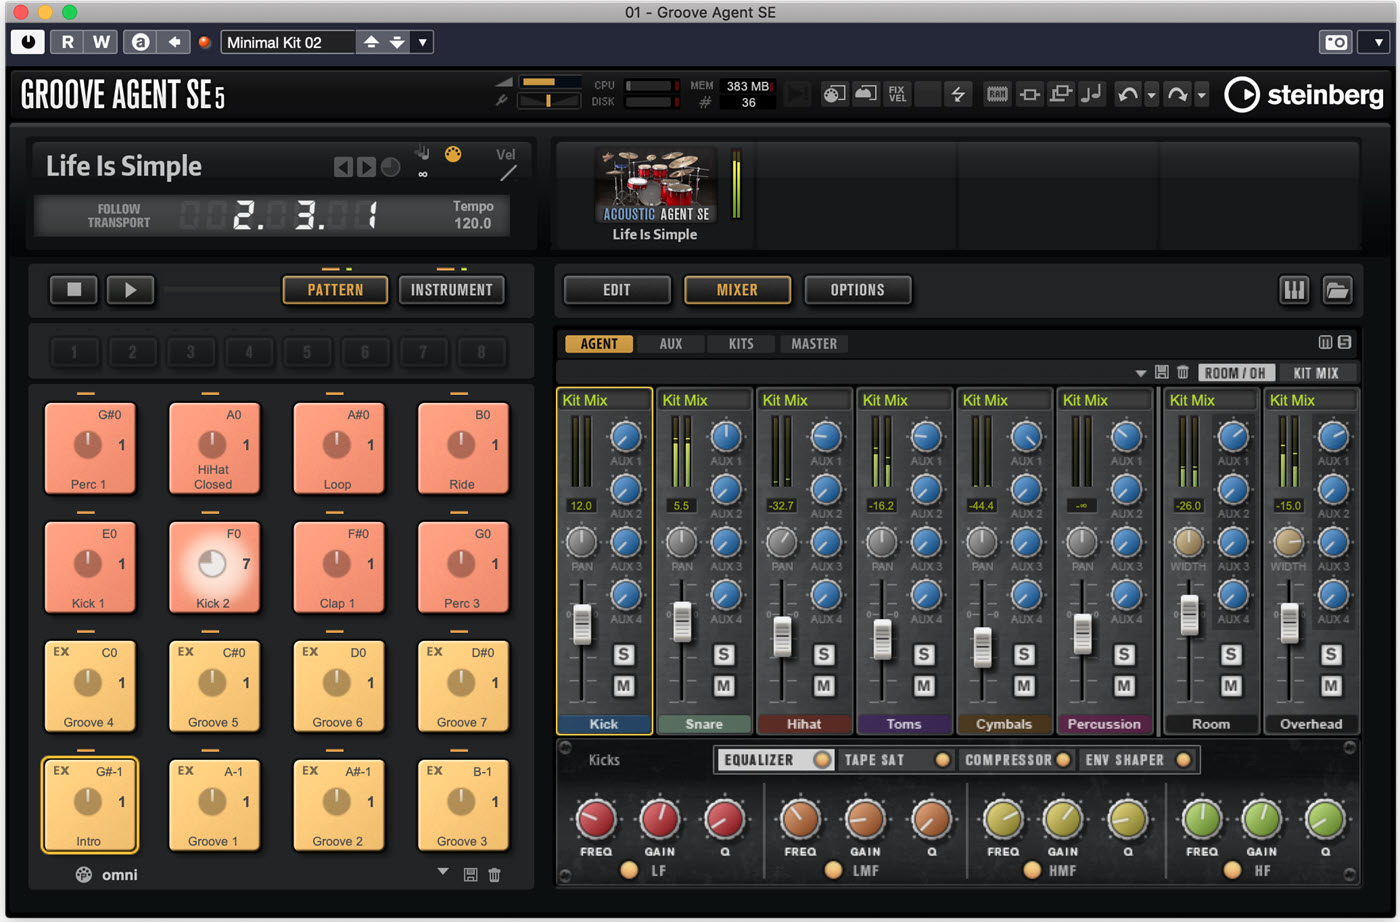
Drum loop collections can also come in MIDI format. These can be used with a software-based sampler or a dedicated app such as Groove Agent SE. Many such instruments come with a large selection of MIDI drum loops. (In Groove Agent SE, they’re called “Patterns.”)
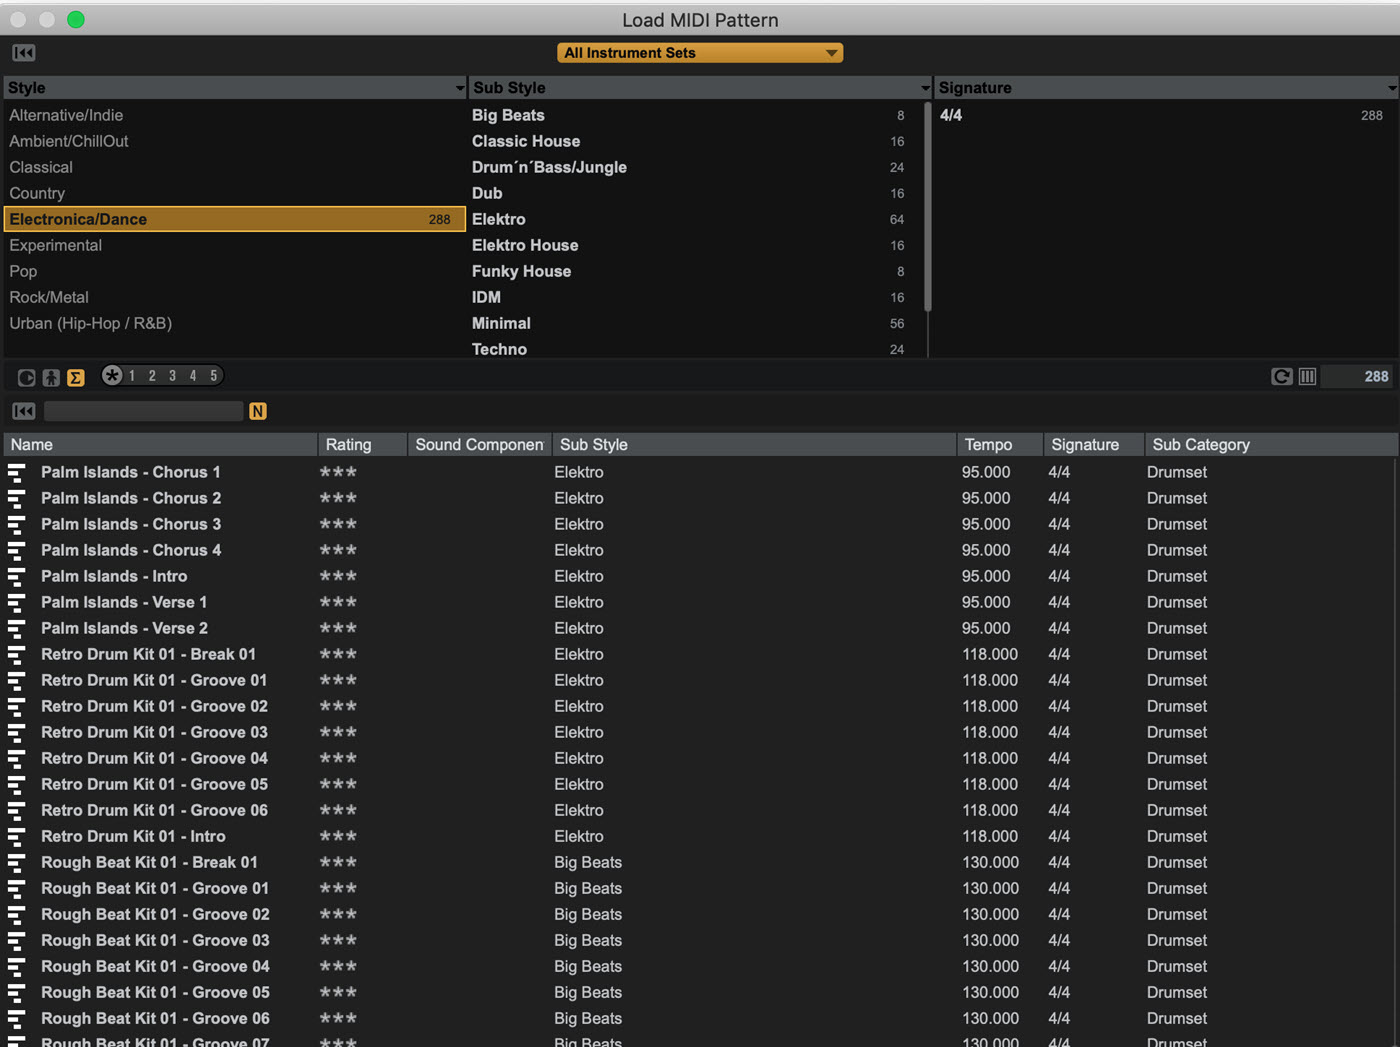
If you’re going for the sound of real drums, look for MIDI loops that were created by capturing the data of a skilled drummer playing an electronic kit. While not quite as realistic as audio loops, they can still capture the drummer’s feel and sound quite authentic.
One of the big advantages of using MIDI loops is that, unlike audio loops, you can change the sounds at will. For example, let’s say you like the pattern being played but don’t care for its sound. No problem — simply load another set of drum samples until you find what you like.
MIDI loops can also be edited a lot more easily and deeply than audio loops. It’s especially easy to move, add or remove drum hits.
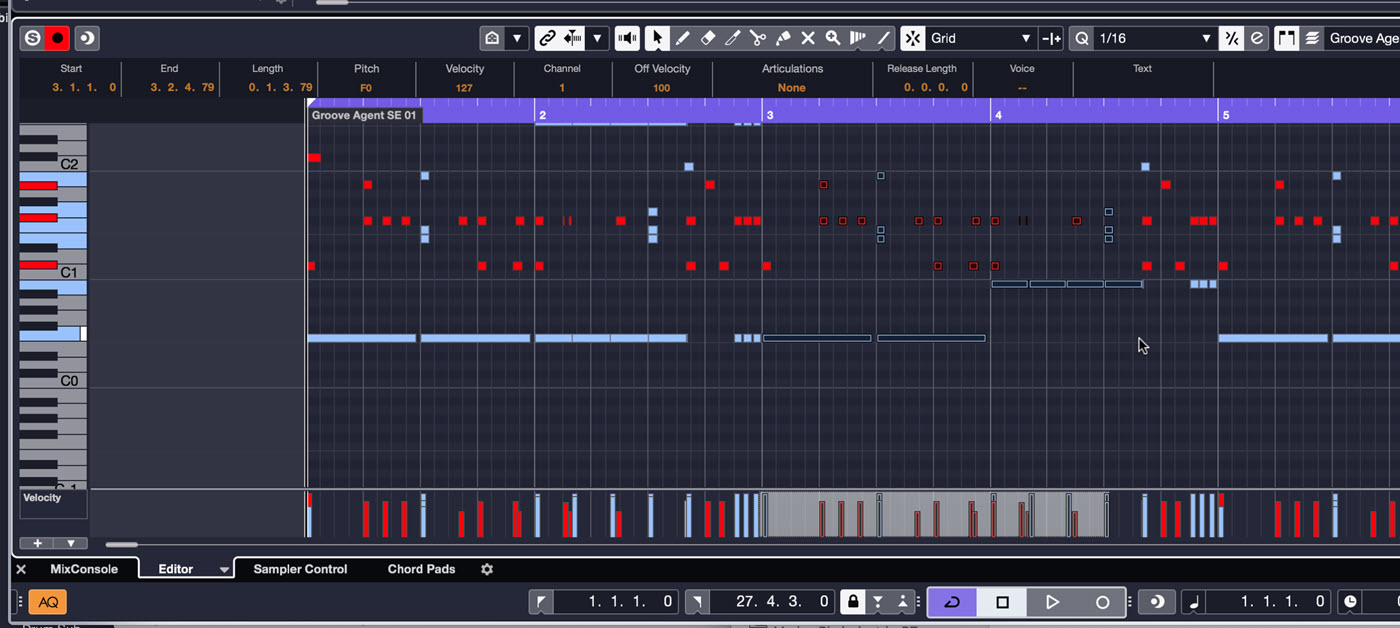
Also, with the exception of multitrack drum loops, you can’t change the mix of an audio loop appreciably. MIDI drum instruments provide significantly more mixing options. Many of them (including Groove Agent SE) come with built-in virtual mixers that let you process and adjust individual drums to your heart’s content.
Hand Made vs. Loops
Some people like to “play” in their MIDI drum parts from a keyboard controller. That works best for genres in which the drums will be heavily quantized, because it’s hard to imitate the feel of a drummer when you’re tapping on a keyboard. It’s usually more effective to use loops that were recorded by a real drummer, either in audio or MIDI format.
In Part 2, we’ll get into the nitty-gritty of putting together a song-length drum track.
Check out our other Recording Basics postings.
Click here for more information about Steinberg Cubase.


