Tagged Under:
Delay, Part 1
Take control of this important effect.
Delay is one of the most popular effects out there, but what is it, exactly, and how can it best be utilized to enhance your home recordings?
At its most basic, a delay is a copy of the incoming signal that is repeated after a user-specified duration. In practice, it’s actually incredibly versatile, and can be used for everything from subtle doubling to long echoes reminiscent of those that occur naturally in large spaces, and much more.
In Part 1 of this two-part series, we’ll take a look at the parameters you’re most likely to encounter (in both hardware delay processors and their plug-in cousins) and some of the different types of delays you’ll run across. In Part 2, we’ll give you tips for specific ways you can use delay in your home recordings.
What Time is It?
Although there are some delay processors with complicated controls — particularly those of the “multi-tap” variety, which we’ll be discussing in the next installment — the fundamental parameters common to virtually all delays are relatively straightforward.
The first and most important of these is delay time. This governs the duration between the original and delayed sounds, along with the timing of each successive repeat (sometimes referred to as “taps” or “echoes”). Note that, unless you have extreme feedback settings (see the “Time and Time Again” section below), the volume of each repeat will be softer than the one before it.
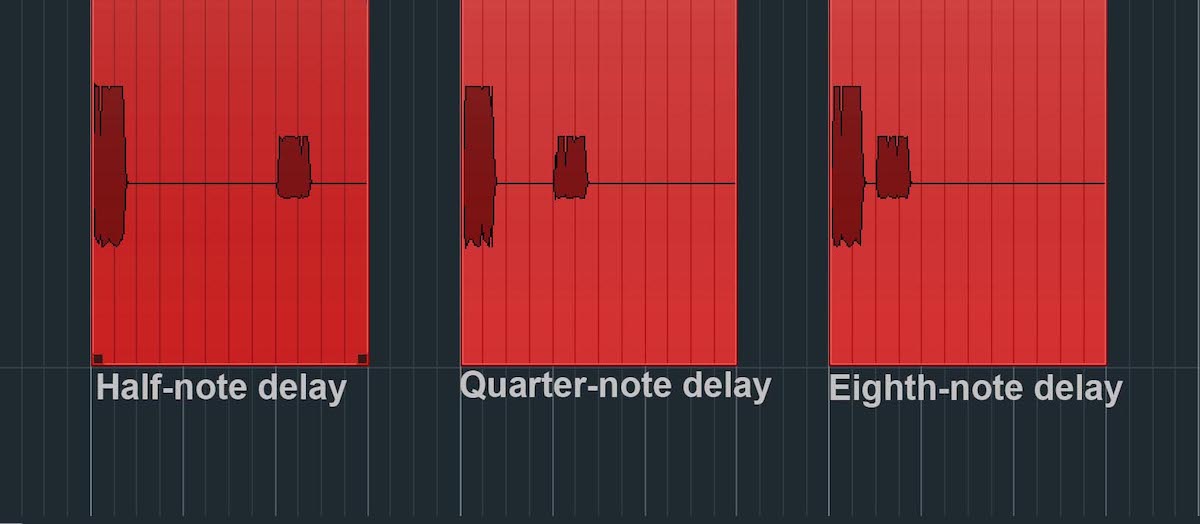
Delay time is generally expressed in one of two ways: in milliseconds, or as a rhythmic value related to the song’s tempo — something that generally requires that you turn on a sync function, which automatically synchronizes the delay time to the BPM setting of the song.
Assuming you recorded your song to a click track or metronome, the latter is much easier to use, because you know it will be in time with the music. There are normally options for even-beat delays (i.e., quarter-note, eighth-note, etc.) as well as dotted or triplet ones, which add syncopation to the delay.
The delay time is critical because it dictates the type of effect you’re going to hear. Delay times up to 50 milliseconds (ms) create doubling, which act like a thickener for the sound. Set it between 50ms and about 150ms and you’ll get slapback delays, which your ears perceive as a separate echo, but only barely (the delay on rockabilly vocals — think Elvis — is the classic slapback sound). Over about 150ms, the ear perceives the echoes as being noticeably separate from the original sounds; these fall under the very loose category of “long delays.”
Time and Time (and Time) Again
The feedback parameter controls whether the effect will stop after one tap or repeat multiple times. The higher you set the feedback value, the more echoes you get. With long delay times (for example, sync settings of a quarter-note or half-note), the higher the feedback setting, the more intricate the pattern you can create.

A word of warning: If you turn feedback up too high, it can produce an oscillating, squealing sound. Quickly mute your monitors and back off the control if that happens.
Many delay processors provide stereo outputs, in which case you can use the feedback control to create “ping-pong” stereo delays in which the taps alternate between left and right. In the appropriate musical context, such delays can be quite effective, but you should use them judiciously.
All Mixed Up
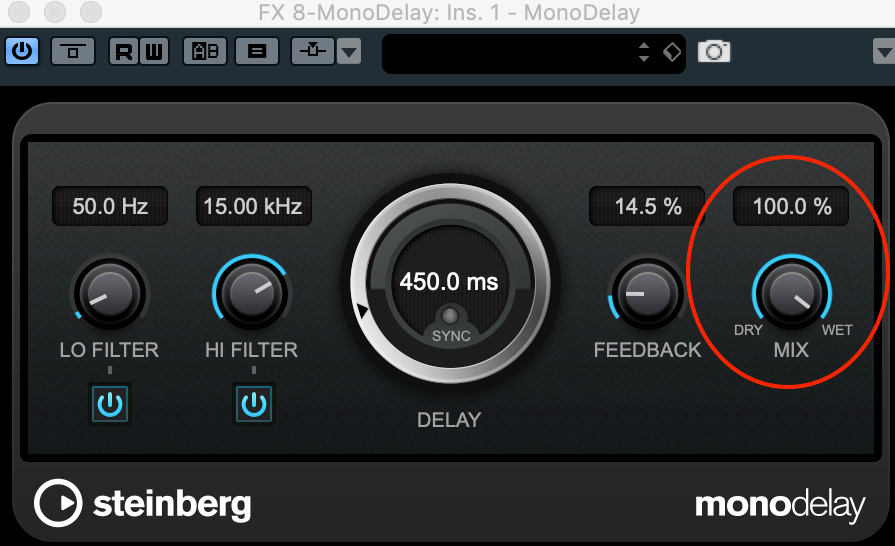
When inserting a delay directly on a track, the mix control is crucial, because it governs the ratio of original (dry) sound to delayed (wet) sound. It’s a creative decision as to how high to turn it up, but usually you’ll want to keep it below about 30%.
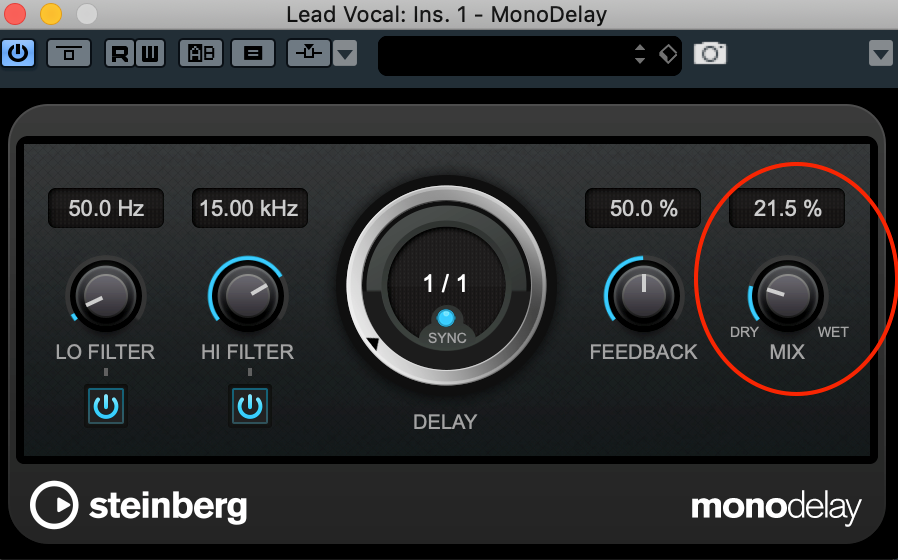
However, if you’re routing signal to a delay from an aux send, you’ll want to set the delay’s mix control to 100%, same as you would with a reverb. In that case, the aux send feeding the delay determines the amount of wet signal. (Click here for more information about the difference between inserts and aux sends/returns.)
Altering the Sound of the Delay
Most delay processors (both hardware and plug-in) offer various options for changing the tone of the taps. For example, the monodelay plug-in included with Steinberg Cubase provides both low and high filters, which allow you to roll off low or high frequencies from the delayed signal.
Cutting out lows will get rid of muddy low-end signal that you probably don’t need. You might want to cut high frequencies to make a digital delay sound a little more like an analog or tape delay, where the taps are noticeably lower fidelity than the source. Plug-ins that emulate vintage hardware delay processors usually produce altered-sounding taps that are authentic to the original units.
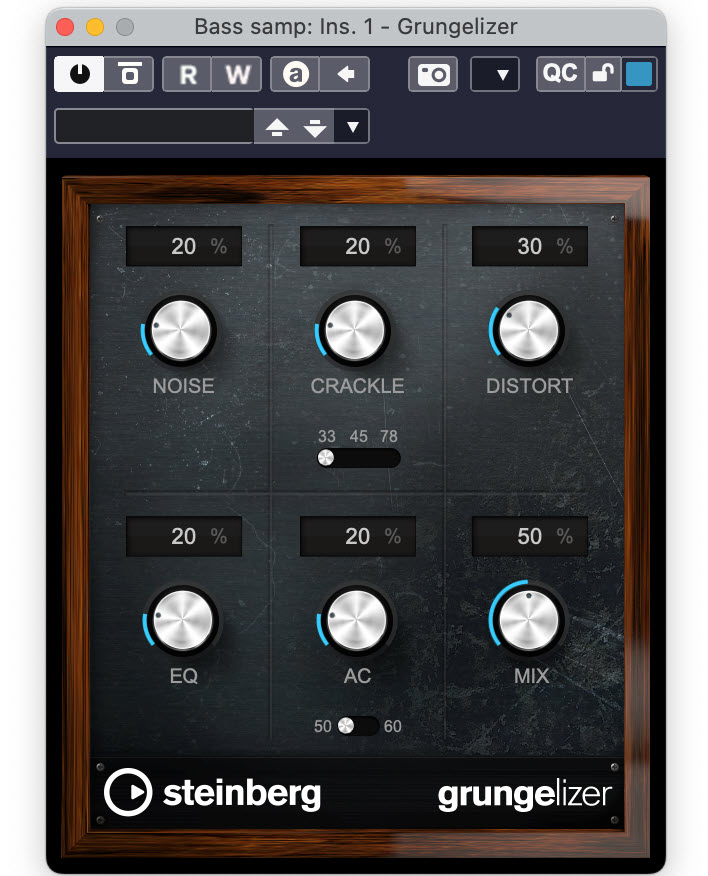
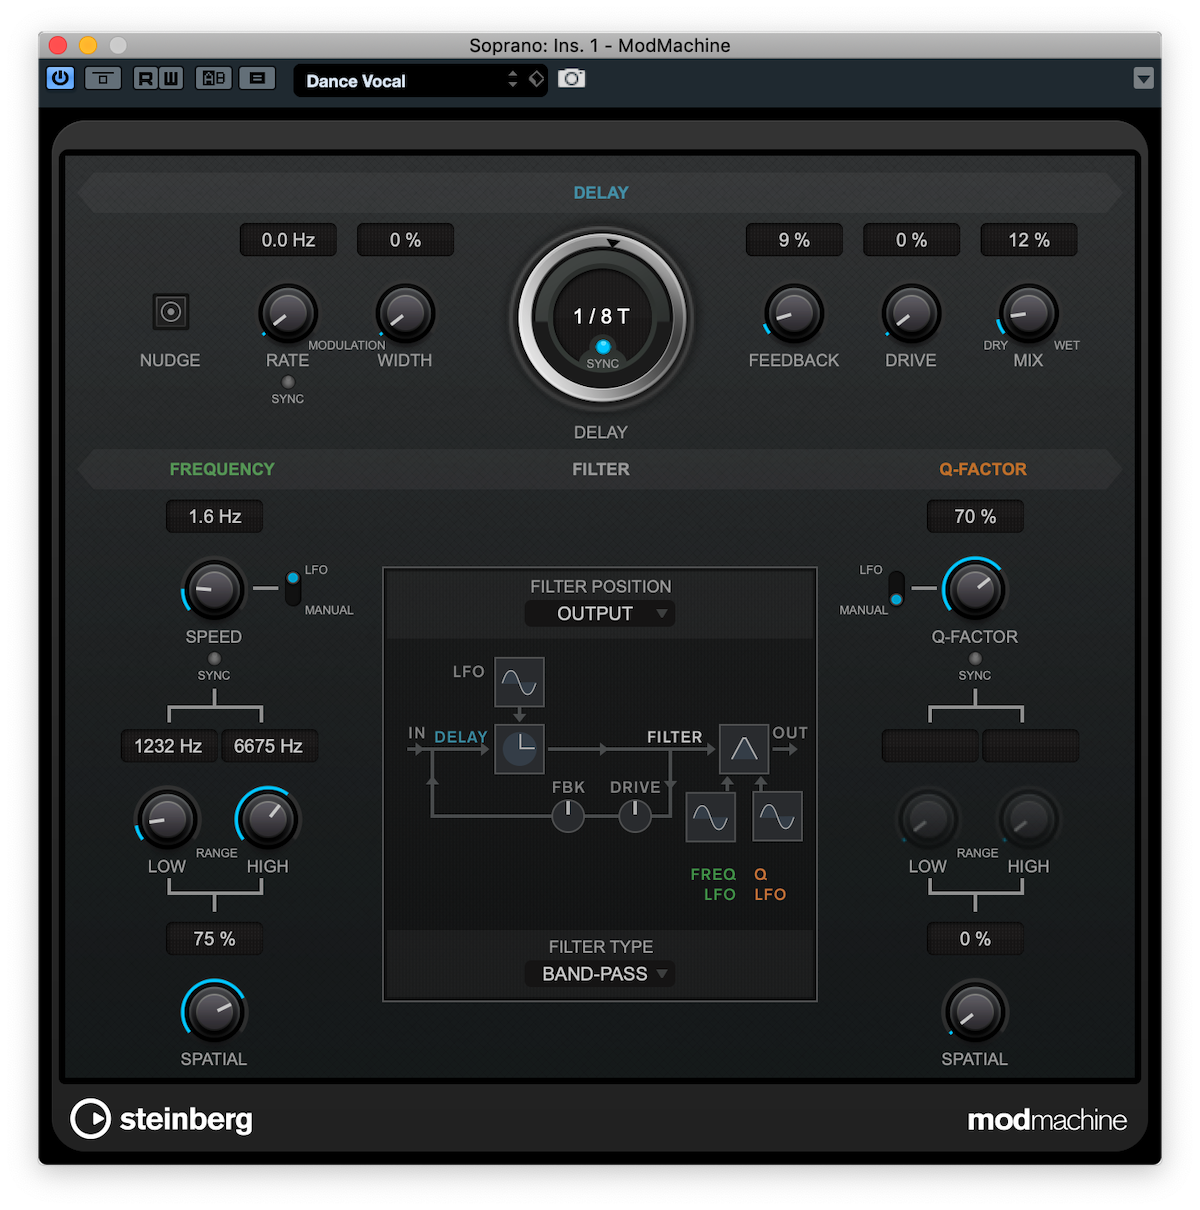
Some delays also come with built-in effects (such as saturation or distortion) to alter the sound of the taps. The modmachine plug-in included with Steinberg Cubase Pro offers extensive modulation as well as filtering options for advanced sound-shaping.
If you want to add effects to the delayed sound and your processor doesn’t provide such options, you can simply insert separate plug-ins or effects devices after the delay. If you’re feeding the delay via an aux send, note that the send’s output will be 100% wet, so any additional processing that you use will only impact the delayed signal, not the source sound.
Click here for Part 2.
Check out our other Recording Basics postings.
Click here for more information about Steinberg Cubase.


