Dialing in the Perfect Two-Channel Experience
Creating a high-quality Hi-Fi system.
Today, with so many people listening on earbuds, small Bluetooth speakers and computer speakers, it’s easy to forget how good music can sound on a first-rate stereo system. Imagine sitting in the sweet spot in your favorite armchair, with nothing between you and a pair of top-quality speakers playing music from a high-grade turntable through a clean, powerful amplifier. Now that’s the way to listen to your favorite artists!
But creating an ideal listening experience isn’t accidental — it takes planning. The good news is that putting together and setting up a system of this caliber is easier than you might think. Here’s what you need to know to dial in the perfect two-channel experience:
1. Amp It Up
Having a quality amplifier to drive any Hi-Fi system is critical. You want to get a unit that delivers clean wattage, provides plenty of headroom (that is, extra power in reserve) and accurately reproduces the signal coming from the turntable.
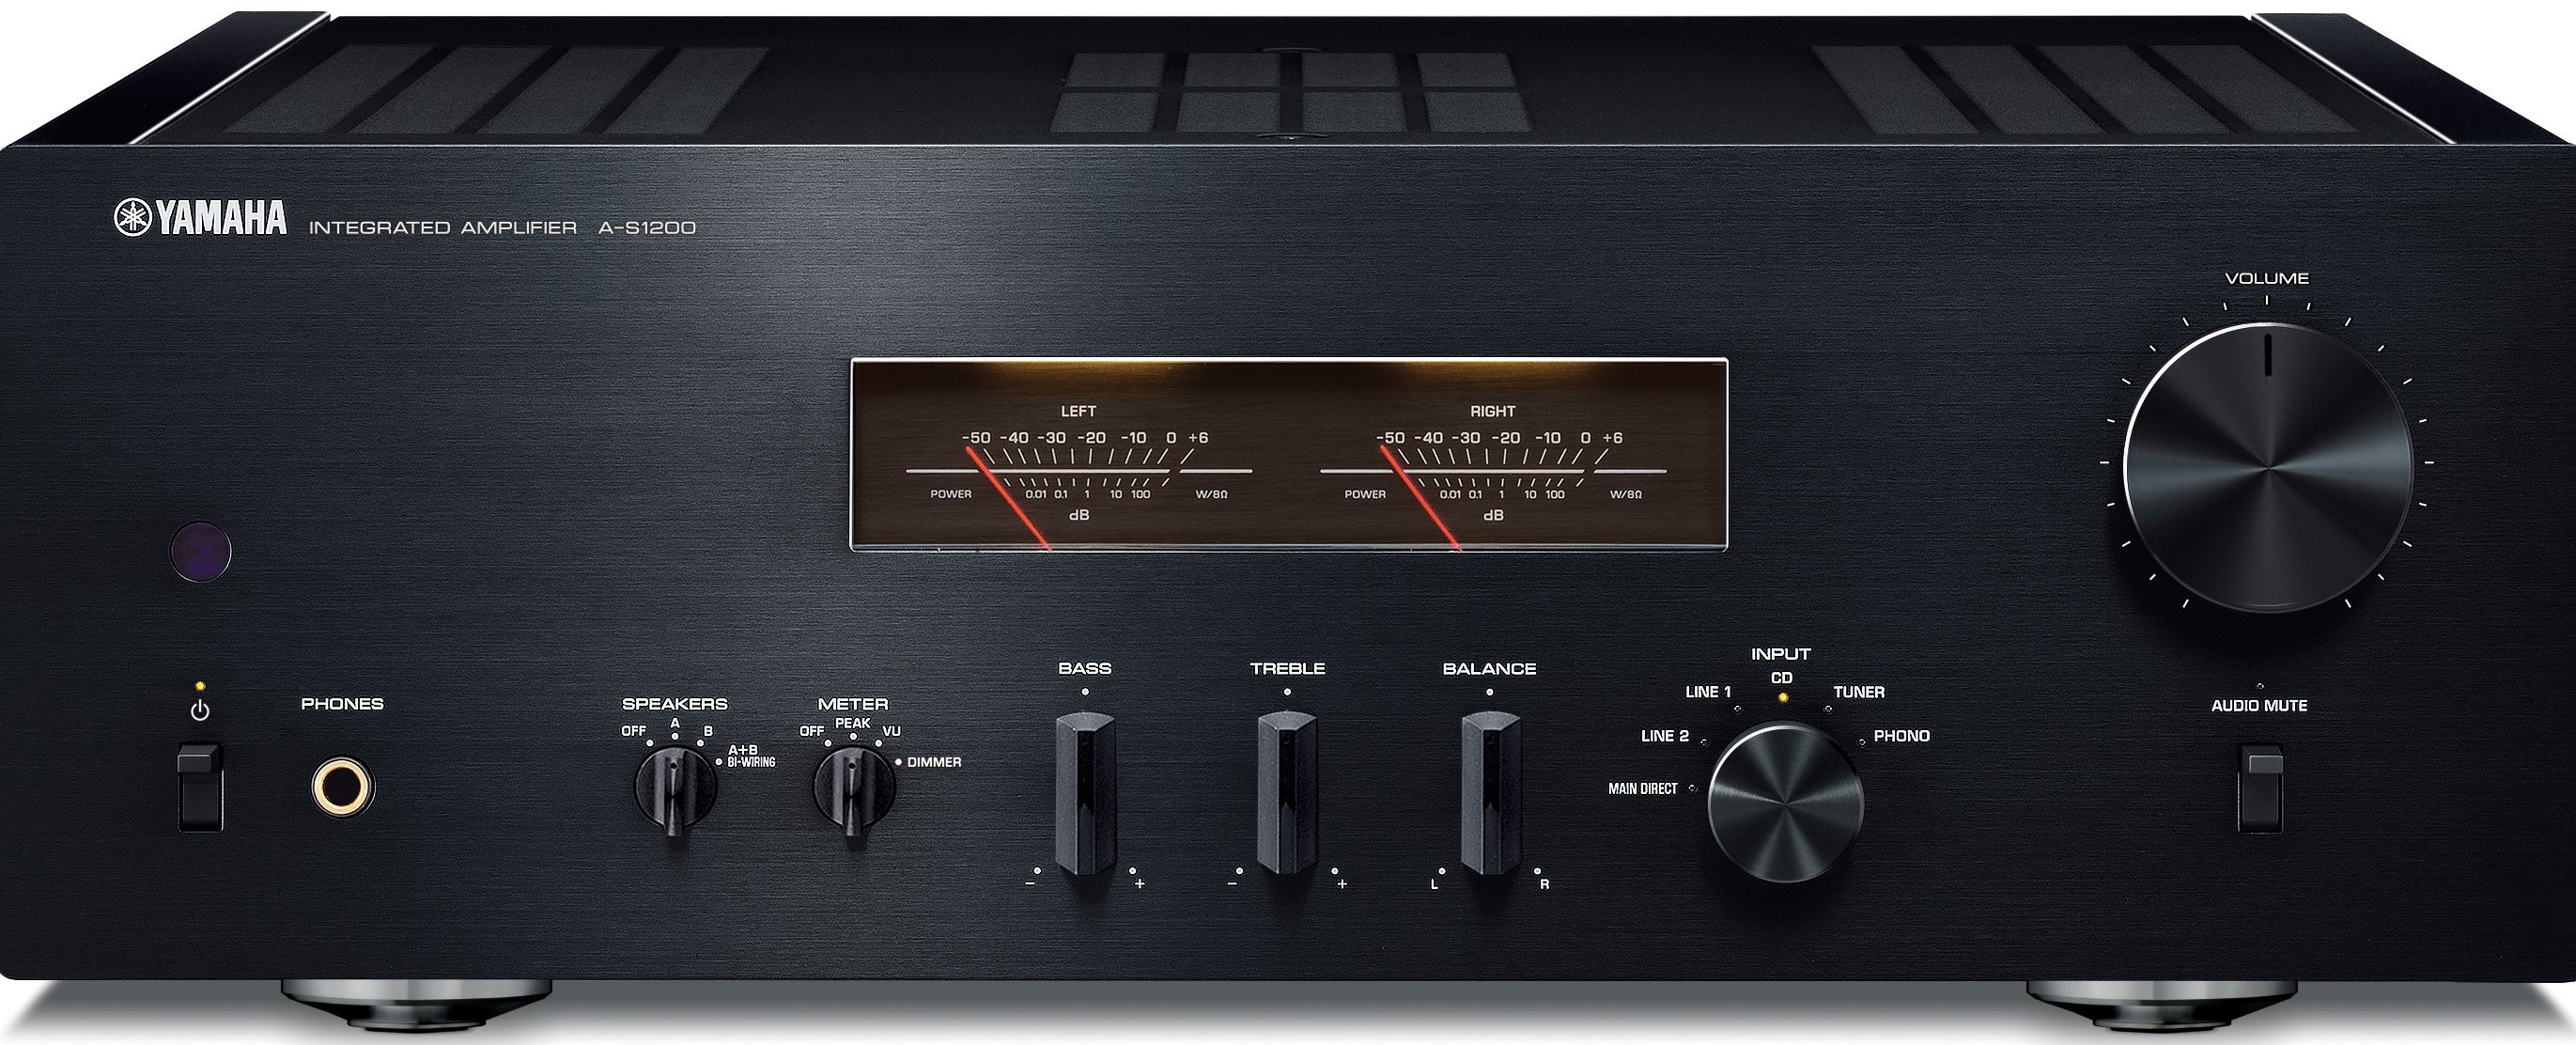
One good option would be the Yamaha A-S1200. It’s an integrated amplifier, which means it contains both an amp and a preamp in a single unit, allowing for a visually cleaner setup, with fewer wires and components.
The A-S1200 pumps 90 W per side (into 8 ohms) and delivers amplification that, in conjunction with quality speakers, allows you to hear the finest details in your music. In addition, this sleek unit sports classic vintage-style VU meters on the front panel for level checking (they look really cool too!) and plenty of inputs and outputs on the back.
2. Choose the Speakers That Sound Best to Your Ears
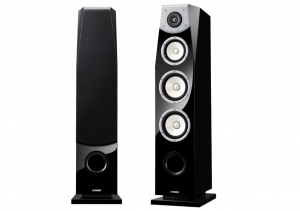
Picking the best speakers is largely subjective; what one person likes, another may dislike, so you’ll want to audition lots of different ones before settling on the pair that delivers the sound you want to hear. You do, however, want to look for speakers that reproduce the entire frequency spectrum from lowest lows to highest highs with clarity; you also want them to provide good stereo imaging. Yamaha Soavo NS-F901 speakers meet all those requirements, and more. They’re 3-way, front-ported, tower-style units that contain a pair of 6.5″ woofers for bass, a 5″ midrange driver and a 1″ dome tweeter, all designed to deliver natural sound.
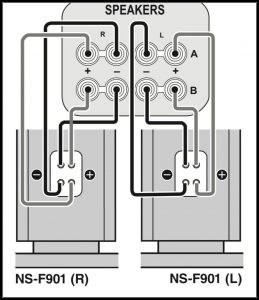
In addition, the NS-F901 cabinets come with two sets of speaker input jacks on each, which gives you the option to make a bi-wired connection. Why bi-wire? It can increase your sound quality by reducing distortion caused by resistance in the cables.
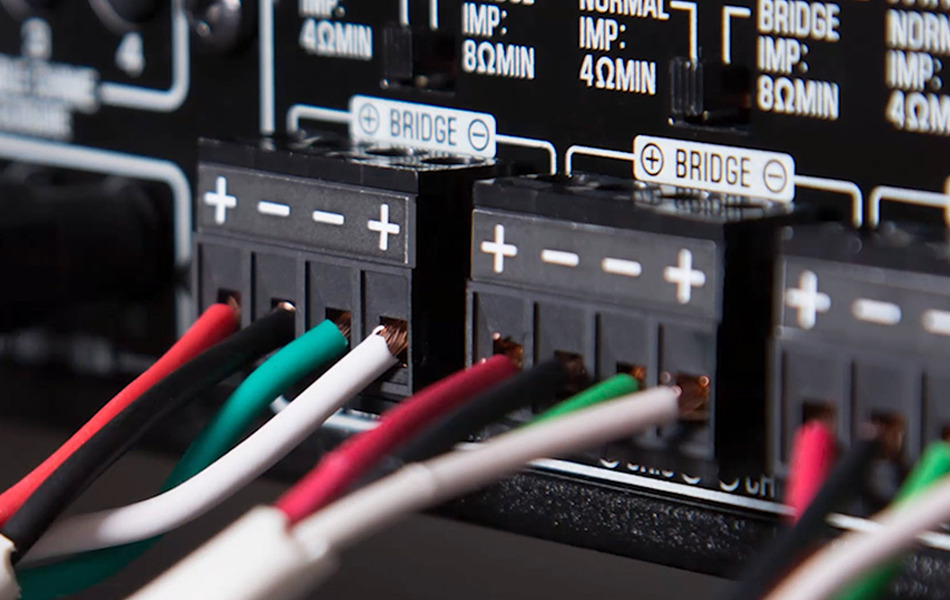
You can bi-wire from an amp with only one pair of outputs, but the previously mentioned Yamaha A-S1200 offers a separate pair of speaker outputs that make the process simple and straightforward. Just connect both sets of right outputs — positive and negative — to the corresponding inputs on the right speaker, and both sets of left outputs to the jacks on the left speaker, as shown in the illustration below:
3. Get the Right Spin on Things
In a system that will primarily be used for listening to vinyl, the quality of the turntable is hugely important. If it can’t deliver the necessary sonics, the rest of the system won’t have quality audio to work with … and you know the old saying about garbage in, garbage out.
That’s why you might want to consider the Yamaha MusicCast VINYL 500 turntable that features a belt-drive motor to help limit vibration noise and a straight tonearm for a more open sound.
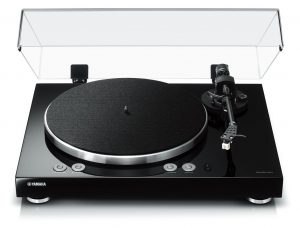
The MusicCast VINYL 500 also features a slew of networking features, so you can stream music from a mobile device into your main system. Plus, if you ever decide you want to put additional speakers in other rooms of your house or apartment, you can transmit the music coming from the turntable wirelessly with the use of Yamaha speakers such as the MusicCast 20 or MusicCast 50.
4. Use Appropriate Cabling
Cabling is a controversial issue in the audiophile world. You’ll find passionate arguments pro and con as to whether premium speaker cables really make a difference. Like speaker preference, this is somewhat subjective, but physics does tell us that the thicker the wire, the less electrical resistance. That equates to more of the signal getting through, and potentially better sound quality.
To be sure that your cables are not detracting from the sound quality, it makes sense to err on the thick side by choosing 10AWG or 12AWG cables (AWG stands for American Wire Gauge, a cable-thickness standard; the lower the number, the thicker). As for the interconnect cable between the turntable and amplifier, avoid the really cheap stuff and you should be fine.
5. Ready, Get Set Up
Once you have all the components in hand, it’s time to configure your system in the room. Start by placing your speakers, bearing in mind that their optimal location depends on the size and shape of the space. One proven method for calculating speaker placement is to use the so-called “rule of thirds.” Here’s how it works: In the direction that your listening position will face, visualize dividing the room into thirds. Put your listening position at the virtual one-third line from the wall behind you, centered in the room.
Then put the speakers at the virtual one-third line from the wall behind them. Once that’s done, you’ll be able to figure out the best distance between them by creating an equilateral triangle with the listening position. Angle (“toe-in”) the speakers in about 30 degrees, so they’re pointing directly behind your head when you’re in your listening position. (Check out this online speaker placement calculator for more setup options based on your room dimensions.)
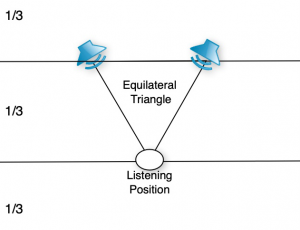
If circumstances don’t allow for using the rule of thirds, at least be sure that neither speaker is closer than about 6 inches from the wall or a corner — a foot or two away would be even better. Otherwise, you’re going to get a bass buildup that will muddy the sound. Also, be sure to keep speakers as far from corners as possible, because that can cause similar problems.
If your room is full of hard surfaces, you’ll hear too much reflected sound, which can cause phase distortion and mess up your imaging. Putting down a carpet or putting up curtains are two good ways to add absorption. Placing upholstered furniture like chairs or couches in the room can also help.
If you’re setting a room up to be a dedicated listening area, you’ll probably be able to move any furniture that’s in the way so you can configure the speakers and listening position as described above. But if you’re putting your system into an existing living room or den that has other purposes and furniture in place, you may have to compromise a little with your setup.
6. Do Any Necessary Tweaking
Once you have your speakers positioned, connect them to the amplifier. (This should always be done prior to powering up the amp!) When making speaker connections, be careful not to plug a negative cable to a positive terminal or vice versa. Also be sure that you’ve connected the left output from the amplifier (or outputs, if you’re bi-wiring) to the left speaker and right to the right.
Sit in your listening position and test the sound with an album you’re familiar with. If you’ve set things up correctly, it should sound like the music is coming from in-between the speakers, not directly from either speaker.
For additional assurance that your system is performing optimally, consider using a vinyl test record such as the Ortofon Test Record. Such products include many different audio tests, with a variety of test tones that play through your speakers to check system setup and performance.
Once you’ve got everything set up and sounding the way you want, you’re ready to spend some quality time with your LP collection. Sit back and enjoy!
Here are some related blog posts that provide additional information about Hi-Fi audio:
What’s A Receiver? Part 1: Hi-Fi
How and Why to Bi-Amp Your Speakers
Five Reasons Vinyl is Making a Comeback
Appreciating Vinyl Records … and the Best Way to Enjoy Them
How to Stream Hi-Fi Quality Audio at Home
Click here for more information about Yamaha AV products.


