Making Music with Multi Pads
Multi Pads are some of the coolest buttons on Genos. In this posting, I’m going to show you just how versatile and inspirational these beautiful backlit buttons can be.
First off, let’s define what they are, and what they do. At their essence, Multi Pads are used to play back prerecorded rhythmic and melodic sequences. What’s more, by utilizing an Audio Link function, you can create unique new pad content with your own audio (WAV) data for playback during performance.
Even though there are only four Multi Pad buttons, there are virtually limitless combinations of what can be done with them. In total, Genos allows you to store up to 448 banks of Multi Pad data … times four! That’s a total of 1,792 delicious musical phrases, loops, custom WAV data and more, all at your fingertips.
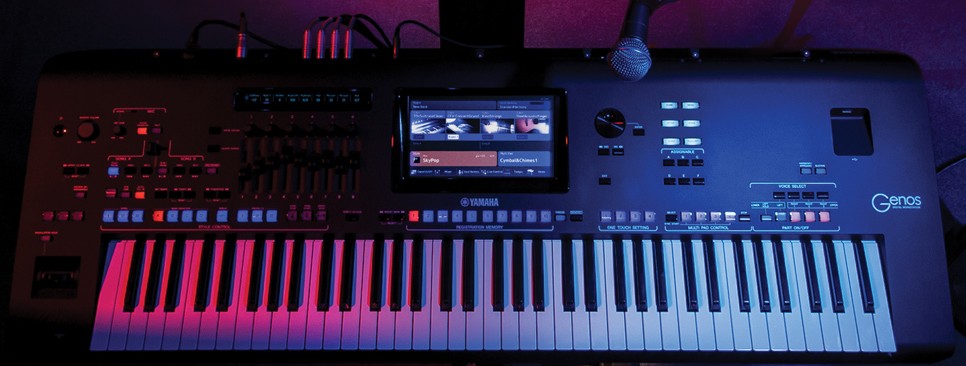
The Multi Pad buttons reside within the Multi Pad Control section on the front panel, right below the six Assignable buttons. When a Multi Pad button is lit blue, that’s an indication that it contains content, and so pressing the button will play back whatever musical or rhythmic phrase is assigned to it. Unlit buttons contain no content — in other words, they’re empty.
To get the ball rolling, let’s start by pressing the SELECT / SYNC START button just to the left of the Multi Pad buttons:

This will open the Multi Pad Category search screen, where you’ll see 16 different categories of musical selections, each with a wide variety of tasty loops and phrases. (Note that each category can contain multiple pages of content as well, so go ahead and explore!) Select the SteelGtr category in the upper left hand corner, then select Steel8BeatStrum1:

Hit EXIT to leave this screen, and then press Multi Pad Button 1. You’ll hear a steel-string guitar start to strum.
Note that Multi Pad content by default is tied to Genos’ Master Tempo, which you can see when you view the selected Style:

To increase or decrease this tempo, simply press either the TEMPO – or + buttons, or tap in the tempo you want using the TAP TEMPO button:

Now this is where things really start to get interesting, because Multi Pads can trigger their stored content either independently (that is, without a Style also being played back) or while a Style is playing back, so you can easily add their stored content to the music you are performing live.
In addition, if ACMP (Auto-Accompaniment) is engaged during Style playback, Genos will not only analyze your chords as usual, but will also change the key of all active Multi Pad content (except drum and percussive loops). Alternatively, you can change the key of an active Multi Pad without a Style playing back by simply activating the LEFT part.
That’s just how simple it is to use Multi Pads on Genos — and just how much they can add to your live performance. Thanks for tuning in, and as always, don’t forget to keep practicing!
Photos courtesy of the author.
Check out Gabe’s other postings:
The Magic of Wireless LAN and Chord Tracker
Click here for more information about Yamaha Genos.
Keep reading