Live Recording, Part 1
There’s nothing more exciting than listening to a live performance, especially when it’s your band. But how do you go about making a recording of a show or rehearsal that accurately represents what the musicians are playing? In this posting we’ll cover live stereo recording; in Part 2, we’ll show you how to do live multitrack recordings.
The Basics
Live recording can be as easy as using a smartphone or a handheld stereo recorder. However, with such a simple rig, the quality of the audio will be highly dependent upon the room acoustics and the location and quality of the microphone(s) being used. The mics built into most handheld stereo recorders can handle the high sound levels typical of a gig or rehearsal, but the microphones built into phones aren’t usually up to the task (no surprise, since they were designed to handle the low levels required by phone calls), so you may need to add an external mic or two to avoid distortion and capture a wider frequency range.
Another problem with recordings made with handheld devices is that there’s no way to “remix” them, so the balance between the instruments and vocals heard in the room at the time of the performance is what you’ll get on the recording too. As a result, these kinds of recordings can sometimes contain a lot of room ambience and background noise, which make it difficult to hear the music. The bottom line is that recordings made with a phone or handheld recorder are probably best used for reference purposes only, and not for distribution to your fans.
Recording directly from the outputs of your mixer can significantly improve the audio quality while avoiding some of the issues described above. Because it’s coming from mics onstage, the signal from the mixer will have minimal room ambience and crowd noise, and (as long as you maintain correct gain structure and don’t overload the audio path in the mixer) these “board” recordings will be distortion-free.
Creating Board Mixes
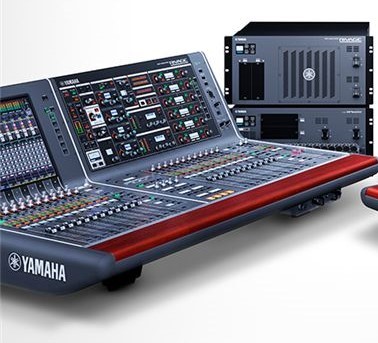
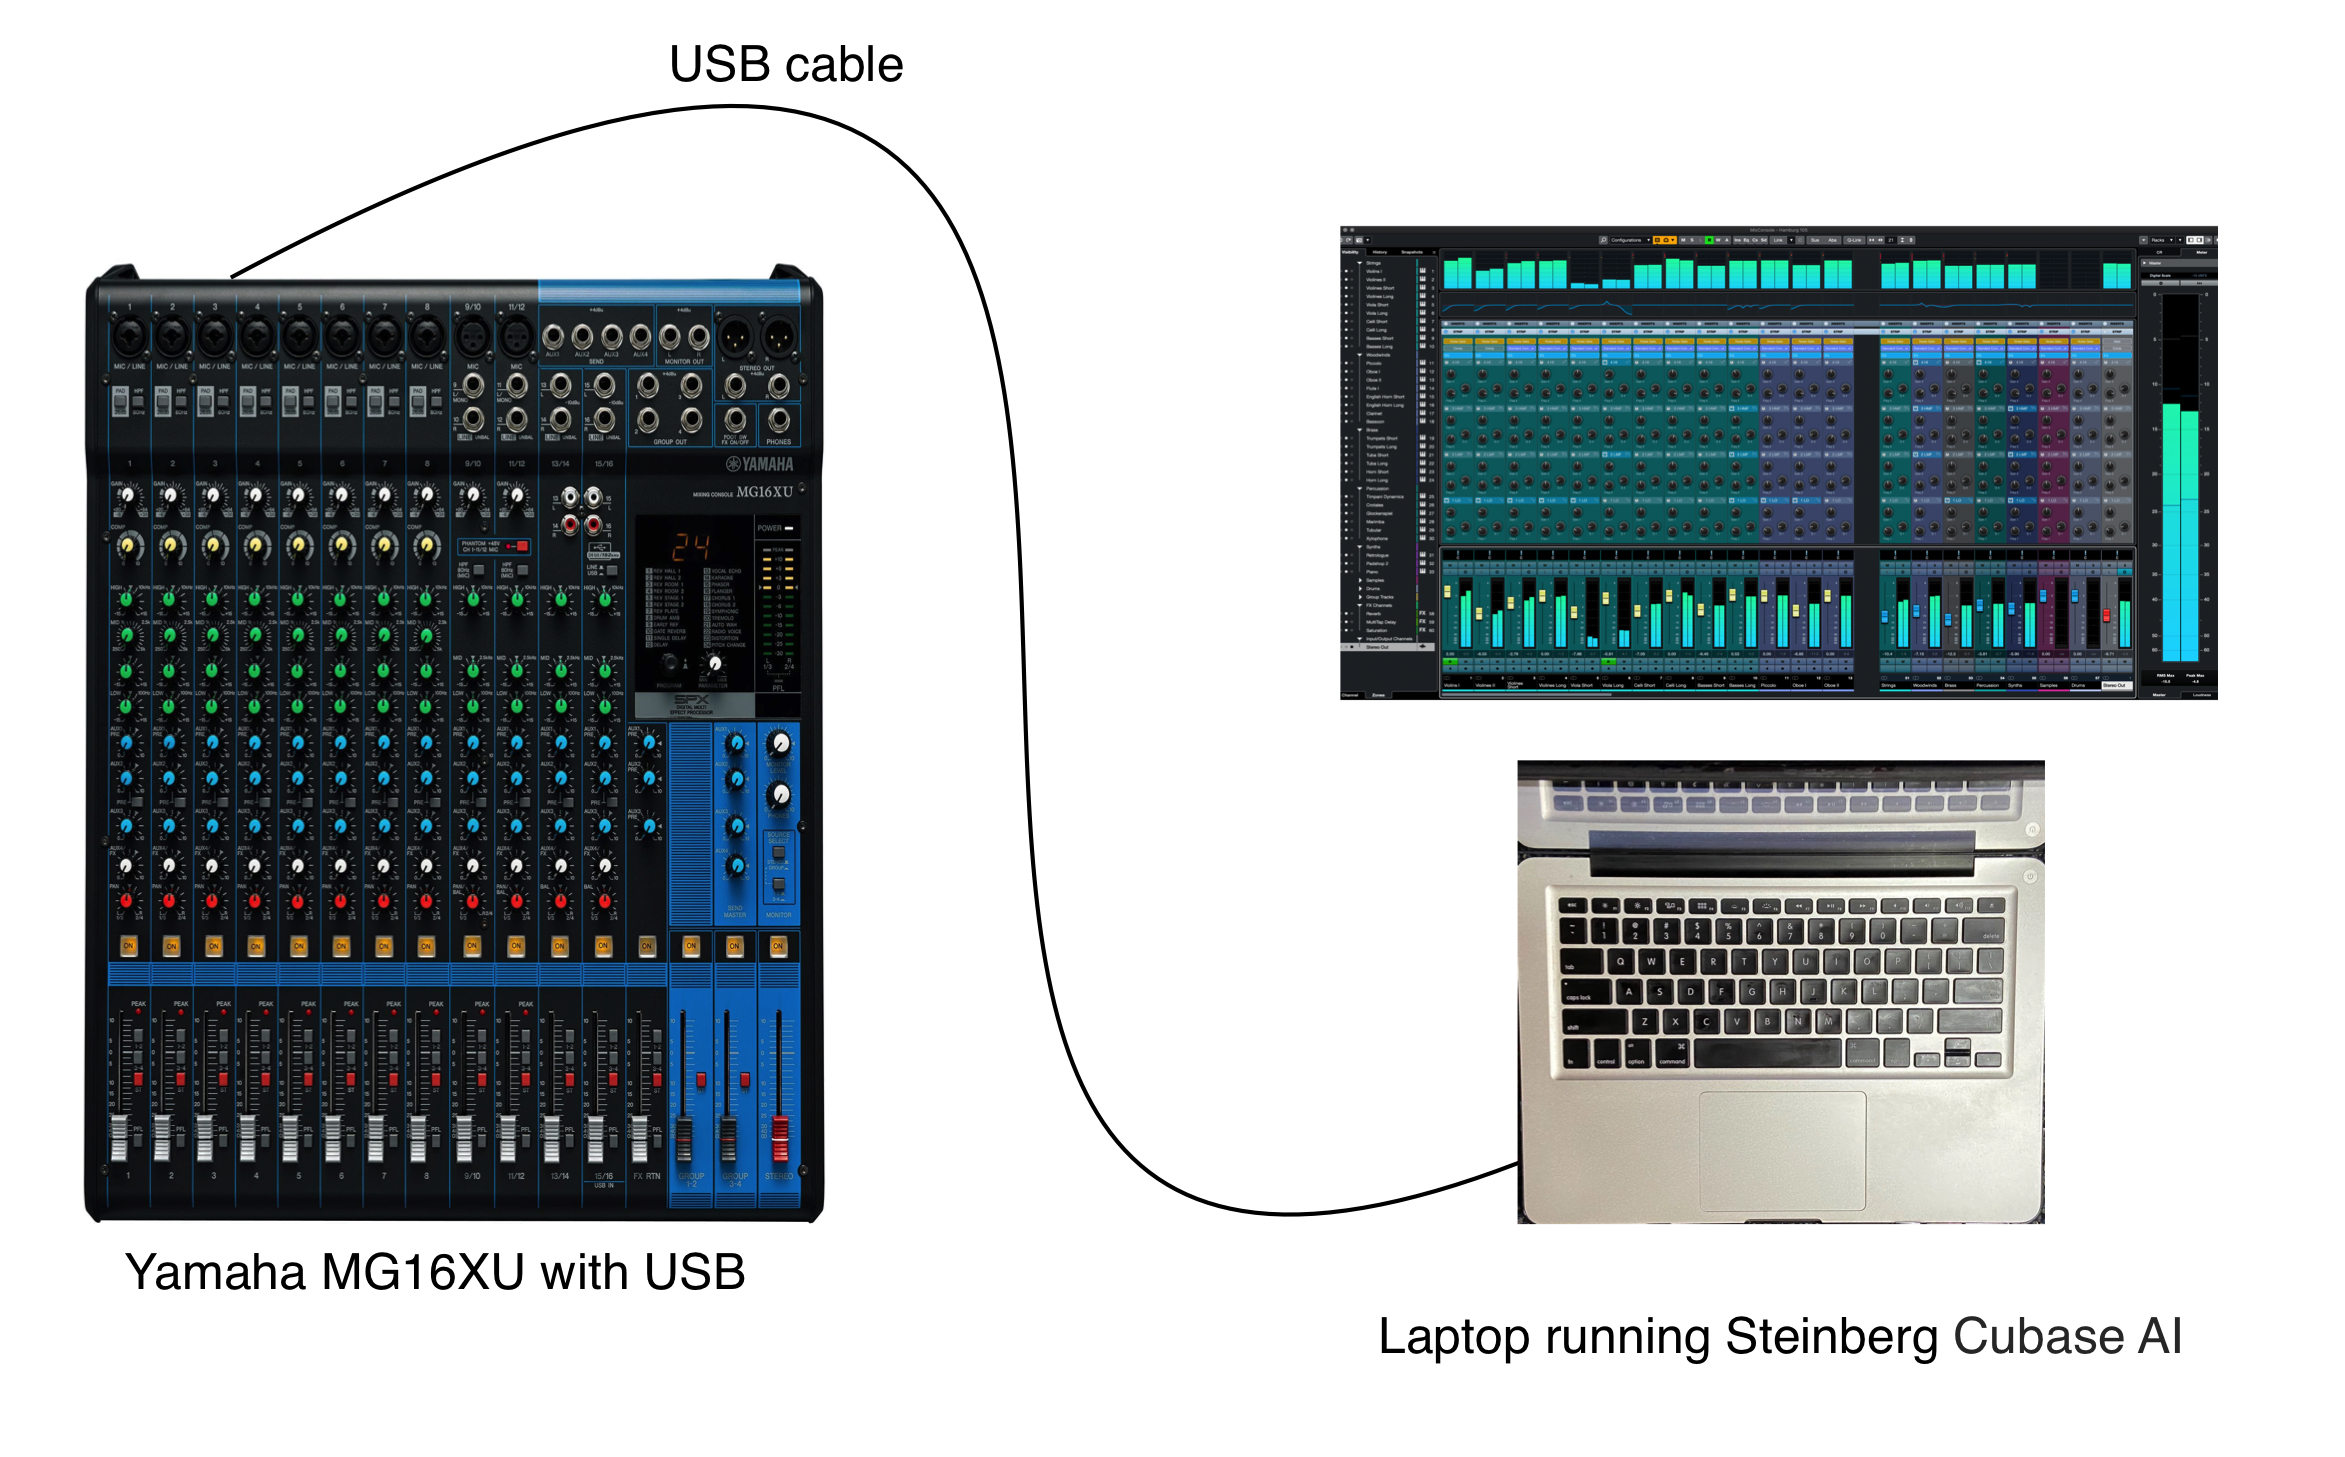
One way of recording the outputs from a mixer is using the mixer’s USB port. Yamaha MGXU Series mixers all provide a 2-in/2-out USB interface that can be used to record and play back stereo files. Connecting this port to a laptop running DAW (Digital Audio Workstation) software such as Steinberg Cubase AI (a free download that’s also included with MGXU Series mixers) enables you to record the digital stereo output from the mixer straight into a computer. Using an appropriate cable, this USB port can also be connected to an iPhone® or iPad® running the free Yamaha Rec’n’Share app.
Yamaha MGP24X and MGP32X mixers incorporate a USB Type A port that accepts a USB storage device such as a thumb drive, enabling you to record directly to (or play files back from) the storage device without the need for a computer.
If your mixer doesn’t have USB capabilities, you can create an analog board mix as long as it has an extra set of stereo outputs (that is, in addition to the main stereo outputs feeding your PA system); all you have to do is connect those outputs to the inputs of a handheld recorder or computer audio interface.
As convenient as board mixes are, there are some disadvantages too. The main one is that the audience may be hearing something different than what you are recording. That’s because they are listening to a combination of sound coming from the stage and the sound coming from the PA system. The smaller the room (i.e., in a club setting), the more the stage sound contributes to this blend, and so the fidelity and accuracy of board recordings made in such venues may be compromised.
Complicating this is the fact that some instruments don’t need to be very loud in the PA system due to their stage volume. For example, if the bass player’s stage amp is really loud, there may not be a need for a lot of bass in the PA. This may work fine for the audience, but when you play back a recording taken directly from the mixer, there will be a lack of bass. Ditto for massive onstage guitar stacks. That’s one of the reasons why many board recordings feature overly loud vocals and anemic bass or guitars.
Enter The Matrix
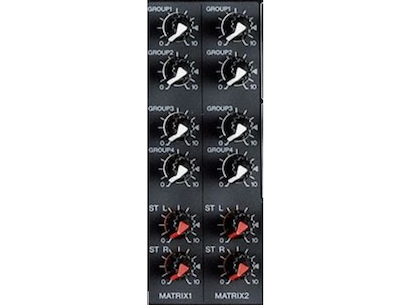
One way to solve these problems is by using a mixer that has a built-in matrix. A matrix is kind of like a mixer inside a mixer. It allows you to internally combine different mix buses (a bus is an audio path that combines multiple signals) and send them to another destination. As an example, the two matrices provided by the Yamaha MGP24X and MGP32X can be used to combine the main stereo L/R mix with signals sent to Groups 1, 2, 3 or 4. (See our Tools of the Trade posting about grouping for more information.)
These matrices are mono, so you’ll need two in order to create stereo. This is accomplished by routing the main stereo L bus into matrix 1, and the main stereo R bus into matrix 2. The USB recorder built into the MGP24/32X gives you a choice of recording either the output from the two matrices or the main L/R stereo mix. These recordings can be saved as either MP3 or WAV file formats.
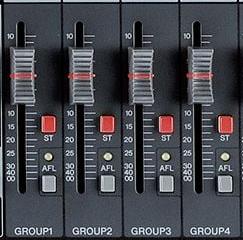
It’s not actually as complicated as it sounds. Let’s take a look, for example, at that band with the loud bass player described above. If you assign the bass channel to Group 1, and route that group into matrices 1 and 2 along with the main L/R stereo mix (Left to matrix 1, Right to matrix 2), you’ll hear too much bass in the recording (though the mix the audience hears in the room will sound just fine). But if you don’t assign Group 1 into the main L/R stereo mix (which keeps the group, and therefore the extra bass) out of the PA system, you can make the bass as loud as you want in the recording by altering the Group 1 level … without affecting the house mix.
The MGP24/32X provides four groups, so you can do the same for other sounds that may not need to be as loud in the house mix — electric guitars, for example. You can also use a group to add audience microphones to the recording, while keeping them out of the PA system.
It may take some experimentation to determine which instruments should be routed to a matrix using a group, along with the appropriate level of those groups into the matrices. But once you have it sorted, you’ll have an easy way to make high-quality stereo recordings of your performances and rehearsals.
Check out our other Tools of the Trade postings.
Click here for more information about Yamaha MGXU Series mixers.
Click here for more information about Yamaha MGP Series mixers.
Keep reading