Live Sound Troubleshooting Tips, Part 2
In Part 1 of this two-part series, we talked about ways to troubleshoot some of the common problems that plague PA systems. This time, we’ll discuss how to identify and fix distortion, hiss, input issues, and the gremlins that sometimes lurk beneath the surface of digital consoles.
Distorted Mix from Passive Speakers
This problem will likely come from one of two places:
- The L/R master bus is being overloaded. When the L/R master fader is set to unity, the meters should show an average signal level of around -6 dB, with peaks ranging from 0 to +6 dB. If the level of the L/R bus is too hot, lower all of the channel faders. Ditto for aux outputs.
- Inputs to the power amp are being overloaded. Lower the volume controls on the amp.
Distortion or Hiss from a Powered Speaker
Many powered speakers have a switch to select between mic or line level input. If the speaker is being used with a mixer, set the switch to line level — otherwise, the mixer will overload the input, resulting in distortion.
When connecting a microphone directly to the input of a powered speaker, set the switch to mic level or you’ll hear a lot of hiss when you turn up the gain control.
No Signal from a DI
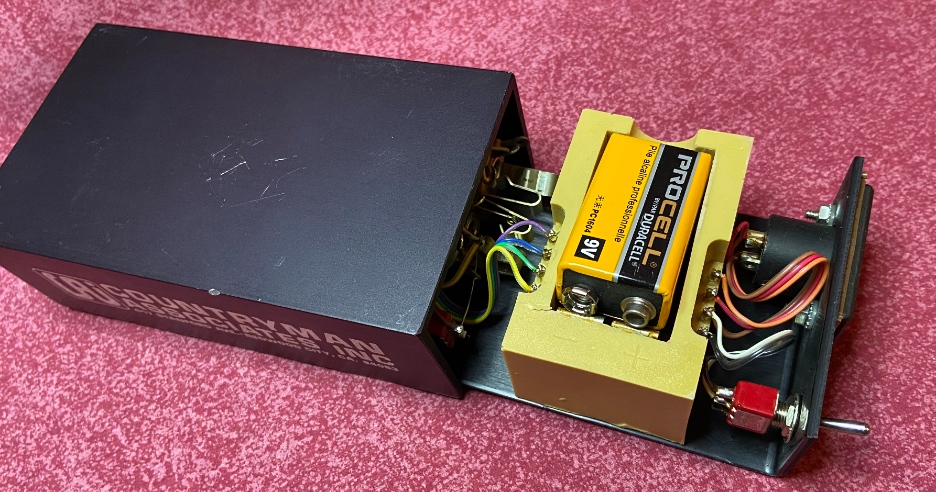
While many audio interfaces and mixing consoles designed for recording offer inputs specifically designed for connecting instruments, few live sound mixers do. In that case, you’ll need to use an external DI box (short for Direct Inject) to connect instruments such as keyboards, bass or electric guitar to mixer mic inputs at the proper level. If you’re not getting signal from the DI, here are the steps to take.
- Confirm that the instrument is producing sound by connecting it to an amplifier. If not, change the instrument cable.
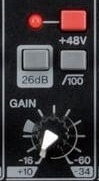
- Determine if the DI is active or passive. An active DI requires a power source such as phantom power or an internal battery; a passive one does not. If it’s an active DI, turn on phantom power at the mixer input or replace the battery.
- If phantom power is turned on and an active DI still doesn’t operate, swap it for a condenser microphone (using the same connecting cable) and have someone speak into it. If the condenser mic works, then you’ll know that phantom power on that channel is working and the DI is faulty. Swap in a new one and all should be good.
- If the DI is passive, substitute a dynamic microphone (again using the same connecting cable) and have someone speak into it. If the microphone works, you’ll know that the cables are good and the DI is faulty.
Buzz or Hum from a DI
Buzz or hum from a DI being used in conjunction with an instrument amplifier (as is often the case with bass) usually indicates that there’s a ground loop between the amp and the mixing console. This is due to the fact that the bass is connected to ground via the bass amp and again via the direct box connection to the mixing console. Fortunately, all DIs feature a ground lift switch that safely allows you to break this loop by disconnecting the audio ground.
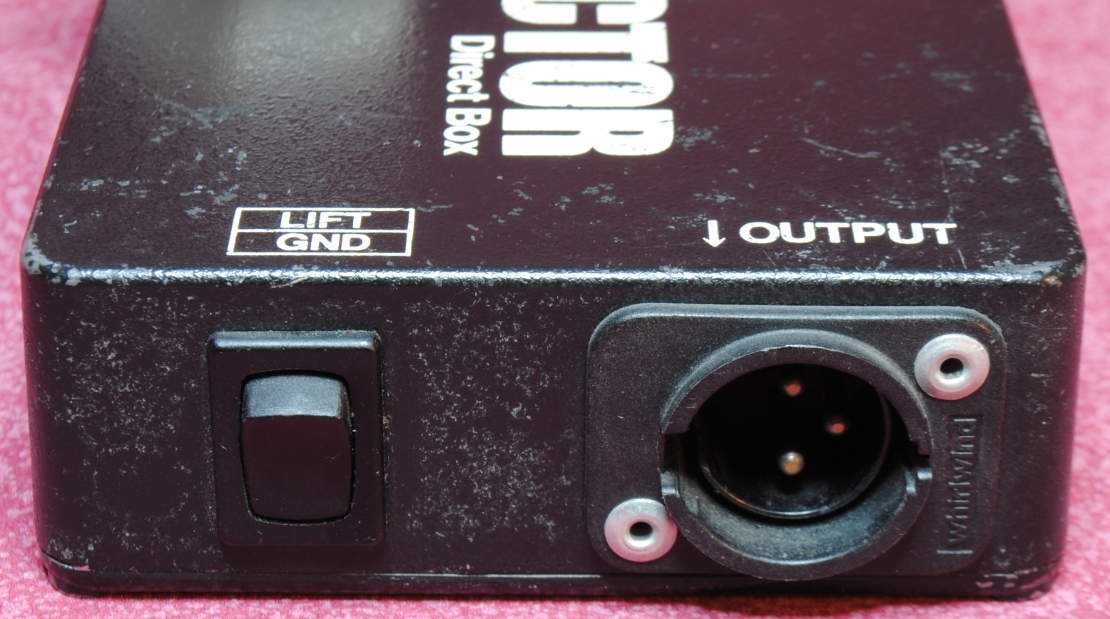
Set the switch to lift the ground and see if the noise stops. If the noise persists, then change the cable.
Buzz or hum combined with low level and/or a loss of low frequencies usually indicates that one of the three connections on an XLR cable is faulty — a condition that some live sound engineers refer to as a “leg up.” If changing the cable doesn’t work, then you may need to use a hum eliminator as discussed in Part 1.
Distorted DI
- Replace the DI with a microphone. If the signal is still distorted, change the cable.
- Turn on the DI pad switch or lower the output level of the instrument.
- Check the gain setting on the input channel. If the gain is set to minimum and the output of the DI is still overloading the input, turn on the input channel pad.
No Signal from a Microphone
- Change the mic cable.
- If the cable is plugged into a stage box (a box with multiple XLR connectors) or a snake (a multi-trunk cable designed to carry signals over long distances, i.e. from the stage to the Front of House [FOH] mix position), try a different channel.
- If the mic is a condenser, confirm that phantom power is turned on at the associated mixer channel.
- Eliminate the possibility of a phantom power issue by replacing a condenser mic with a dynamic mic.
- Connect the microphone to a different mixer channel.
- If there’s an analog insert patched on the channel, check that the send and return are connected correctly, and that the outboard device is powered on.
- Change the microphone. It’s uncommon for a microphone to fail, but it does happen.
Distorted Input Channel
- Confirm that you’re using the correct input. Use the mic input for microphones and DIs, and the line input for track playback, background music devices, DJ mixers or audio feeds from video devices.
- Check the input level and gain setting for the channel. It’s okay to see the red LED on an input meter blink once in a while, but it should not be constantly lit.
- A loud source may be overloading the microphone. If the mic has a pad switch, turn it on, or reduce the output level of the source.
Noisy Input Channel
This is usually caused by the combination of a low-level source and excessive input gain. Here’s how to troubleshoot it:
- Check that microphones or DIs are plugged into mic inputs.
- If the source is an instrument connected to a DI, raise the output of the instrument or turn off the pad on the DI.
- If the microphone has a pad, turn it off (or turn off the pad on the input channel).
- Be aware that some ribbon mics produce low output and require a lot of gain to achieve acceptable level. Some microphone preamps will be noisy at higher gain settings.
- Hiss can also be caused by excessive high-frequency EQ. Turn down the HF gain knob if necessary.
Low Volume on Main PA, Monitor Output or a Single Input Channel
This type of problem is usually caused by one of two things:
- The power amp volume is turned down. You can usually set amplifier volume controls all the way open but before you do, bring down the L/R or aux send master to ensure you don’t cause feedback or damage to the equipment.
- A compressor that is over-compressing due to a very low threshold and/or a high ratio. As stated above, bring down the output master before you raise the threshold or change the ratio.
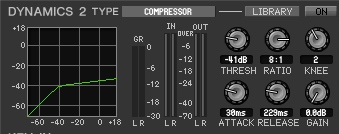
In a similar fashion, excessive compression on an input channel can cause that channel to be very low in level, even with the channel fader raised up all the way.
Intermittent Audio
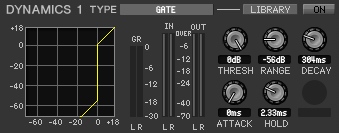
A defective cable is the most likely suspect when you hear intermittent audio, but another possibility could be the settings on a gate that’s inserted on a channel or output. If the threshold is set too high, the gate will remain closed and mute the channel. Audio that “chatters” on and off is also an indication that gate threshold is set too high.
Digital Dangers
Unlike analog mixers, most digital mixers provide the option to route any bus to any physical output, so it’s up to the user to decide which jacks output the main L/R and monitor mixes. For example, Yamaha TF Series models feature 16 “Omni” outputs that can be assigned to any bus.

Typically, the two highest-numbered jacks are used for the L/R mix (Omni 15 and 16 in this case), and the lowest-numbered jacks are used for the aux sends/monitor mixes. This enables matching the monitor mixes to the Omni outputs so that monitor mix 1 feeds Omni out 1, monitor mix 2 feeds Omni out 2, etc. — which helps prevent confusion. If you’re not getting signal from an aux send or L/R output, confirm that the output bus is assigned to the correct jack.
No Input to a Digital Mixer
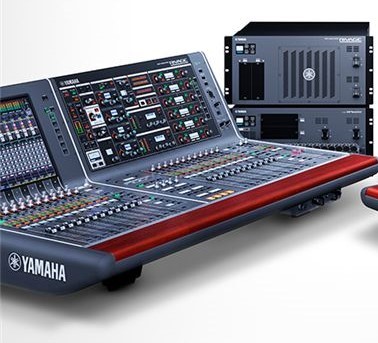
Many digital mixers also have the ability to connect to a variety of input and output devices. Yamaha RIVAGE PM Series mixers can route audio via the “local” (built-in) XLR connectors, Dante® network, or expansion card slots — or a combination of all three simultaneously.
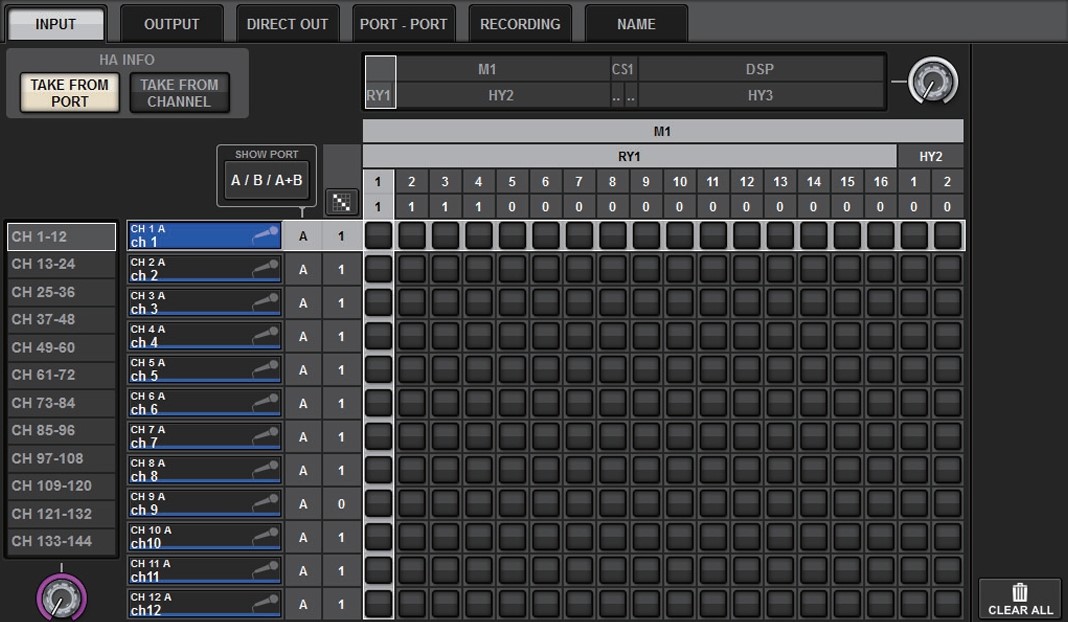
Lack of audio to multiple input channels of a digital mixer usually indicates that the channels are not set to receive the correct input device. For example, the input channels may be set to receive signal via Dante when in fact the microphones are connected to the local inputs. This parameter can be changed using the input patch window.
Similar problems with mixer outputs can usually be traced to the output patch, which can be set using a similar output patch window. It’s also worth mentioning that a mis-patched digital insert can cause a channel to stop sending signal. If a channel or output uses an insert, confirm that both the insert output and input have been properly assigned.
Photographs courtesy of the author.
Check out our other Tools of the Trade postings.
Keep reading