Seven Ways to Ensure a Smooth Sound Check
There’s a reason why experienced musicians — even seasoned pros — make the effort to do a sound check before every show. Sound check is the best time to test your gear, dial in levels, settle into new surroundings, and maybe even rehearse a new song.
Here are seven things every live sound engineer can do to make sure that sound check goes smoothly. Trust me, it’s worth it: The result will almost always be a better gig.
1. Create an Input List
One of the easiest and most effective things you can do to prep for a sound check is to create an input list — something that’s easily done with any spreadsheet application. This is a list of all sources on the stage that need to be connected to the PA system, showing the name of the instrument, the mixer channel number, and whether the source is a microphone or a DI (Direct Inject) box. You can also add a column that indicates the general location of the source and a section that shows onstage monitor requirements. In situations where there’s a house engineer who isn’t familiar with your band, an input list will help them understand your PA requirements.

2. Design a Stage Plot
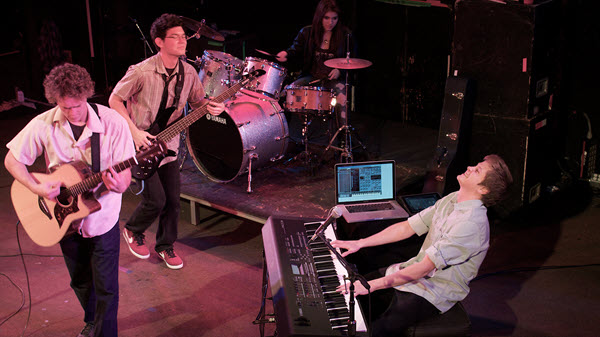
A stage plot is a drawing that shows the physical layout of the instruments on stage — invaluable in helping an engineer understand where everything is located. In addition to the instruments, you should identify the microphones and DIs using numbers that match the input list, as well as locations for the monitors. It’s also helpful to label each position with the band member’s name because this will help anyone consulting the stage plot to become familiar with your group. There are software apps that can be used to create slick professional-looking stage plots, but even a hand-drawn sketch can work just fine.

By the way, you may hear the terms “downstage” and “upstage” used when talking about instrument, mic and monitor locations. These are holdovers from years ago, when theater stages were raked (sloped) toward the audience — something that’s less common today. The downstage edge is closest to the audience, while the upstage edge is at the back of the stage, typically where the drummer sits.
3. Use a Talkback Microphone
Communication between an engineer and the performers is vital, and a talkback microphone enables an engineer at front of house (FOH) to easily speak to the musicians on stage.
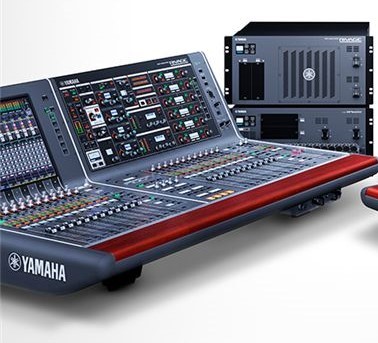
Many mixing consoles, including all models in the Yamaha MGP Series, offer a dedicated talkback mic input that can be routed into the aux sends, allowing musicians to hear the engineer through their in-ear or stage monitors.

Having the talkback mic ready to go before the performers even start to test their instruments will enable you to ask each musician to play their instrument while you set input levels. Be sure to set input gain properly and leave a little bit of headroom in case some of the musicians play louder during the show than they played at sound check (that never happens!).
4. Create Scenes
Some digital mixers, including Yamaha Rivage PM and TF Series models, feature a built-in library that can store and recall scenes containing every mixer setting. Creating a scene at a rehearsal saves time at sound check because you won’t have to start from scratch. Tip: Store each scene into a memory location, lock it, then save it again into a new location so that the original can’t accidentally be changed.

Some digital mixers (including all Yamaha models) can interface with offline editors that can be used to create, store and recall scenes using a computer or smart device, so even if you don’t have access to the console before sound check you can still build a scene. Creating a basic scene that includes channel names, rough aux send levels, DCA (Digitally Controlled Amplifier) assignments and onboard effects processor settings saves time, even if you can’t set the input gain for each channel. For example, if you know that you’ll need a compressor and a gate on the kick and snare channels, you can do the “grunt work” of naming the channels and turning on the gates and compressors in the offline editor. The file from the offline editor can be saved to a thumb drive, and loaded from the thumb drive into the mixer on-site.

5. Arrive Early
No matter what the circumstance or venue, always plan to arrive at the sound check early. This will give you time to test mics, change batteries in wireless mics, make sure the PA is set up correctly, and ensure that all cables and connections are working. It’s easier to do this before the musicians arrive.
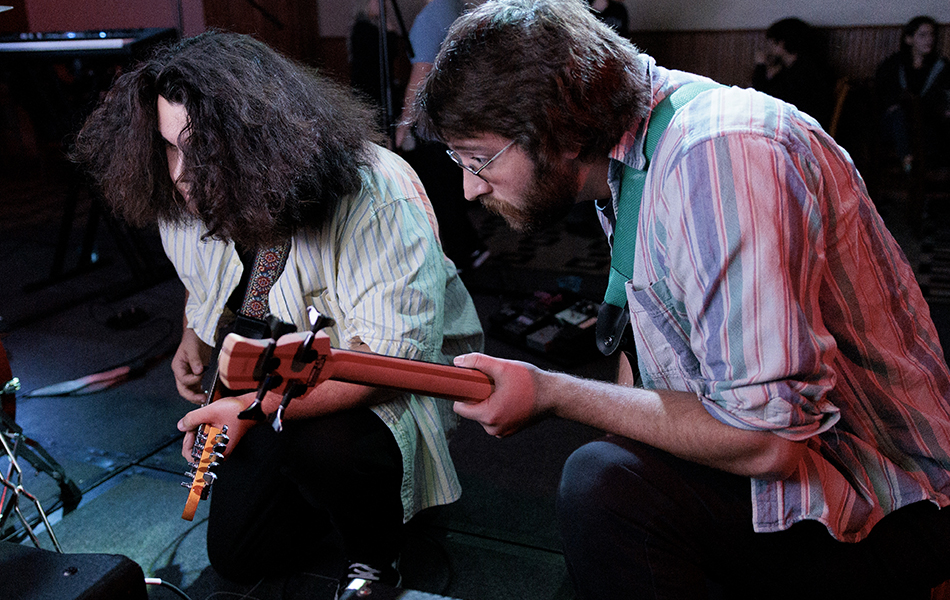
Sound checks can be tough to manage when a lot of people are present because not everyone has good sound check “etiquette.” One way of alleviating the amount of confusion onstage is to stagger the arrival time of the musicians. For example, have the drummer and bassist show up before the rest of the group so you can place mics on the drum kit, patch them and test the lines without everyone else standing around waiting, and possibly making a lot of distracting noise. While it’s tempting to place mics on the drums before the drummer arrives, it can be counterproductive because the drummer may want to move drums or cymbal stands and the mic stands might be in the way, so give the drummer time to settle in before you start putting up mics.
Once you have the input levels set, you can make adjustments to the monitor mixes and house mix. Many live sound engineers build their house mix starting with the drums and bass, but constructing a mix around the vocals is equally effective. Slowly add instruments into the mix one at a time so you can get a feel for how the PA system interacts with the room. If you’re using a digital mixer, don’t forget to save the scene after soundcheck has finished — and back it up to a thumb drive for safety!
6. Be Smart
If you’re using a digital mixer, be aware that there are apps for smart devices that allow wireless remote control over your mix so you can walk around the room and make adjustments to the sound while listening in various locations — even stand onstage in front of a monitor while making adjustments to the monitor mix or ringing it out. There are several free StageMix apps designed to control various Yamaha digital mixers. Some can even be set up with “permissions,” allowing each musician to control their own monitor mix.

7. Make A List
No matter how many gigs you have under your belt, it never hurts to make a list of what you’ll need for the show and tape it to the inside of your work box. It’s easy to forget things like AC power strips, extension cords or extra cables, and you don’t want to be scrambling to find those items at the last minute. A little planning goes a long way in making sure you have a smooth sound check … and a great gig!
Keep reading