Using Scene Memory
One of the problems that faces working bands who carry their own PA is the constant setup and breakdown. It’s bad enough that you have to move all that gear, but then once you’ve arrived at the gig you have to set everything up and dial in your settings. Mixer settings in particular are very important because the console is the hub for all the signals coming from the stage. Fortunately, digital mixers can make your life easier by providing the ability to save and recall scenes (sometimes called “snapshots.”)
The idea of scene memory comes from the old days when live engineers at festivals would take a photograph of an analog console after soundcheck for each band. When showtime came, they’d use the photo as a reference to reset the console to the same settings as the soundcheck. It wasn’t perfect, but it was better than starting from scratch.
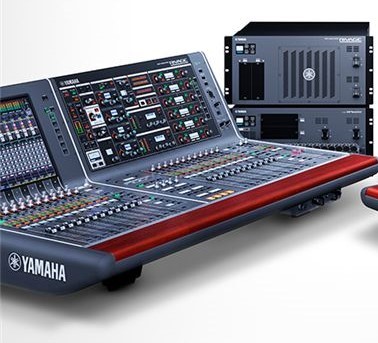
Digital mixers such as the Yamaha TF1 can do this for you because the mixer surface is really just a controller for the software inside — it’s almost like having a big mouse with a lot of buttons and switches. And, just like any other software program, you can store and retrieve files for later use. In modern digital mixers (including all current Yamaha models), scene memory allows you to store every setting for every channel, including mic gain, equalization, compressor and gate settings, fader level, pan position, aux send settings, group assignments, and effect settings. Scenes are stored in the mixer’s permanent memory, so you won’t have to worry about losing your settings in the event of a power failure.
Let’s take a closer look at how this little miracle of modern sound mixing works.
Making a Scene
A scene is created in a digital mixer (you can’t create them in analog consoles) simply by adjusting your settings, then saving them into a library.
All Yamaha digital mixers provide this capability, and even provide scene templates such as General Band and Jazz Combo to get you started. Scenes are accessed from a library, where you’ll see the name of the scene and its creation date:

To store a scene, select a scene number and touch the Store button, then name it using the onscreen keyboard that appears:

Yamaha TF Series mixers provide two banks with 100 scenes each, so you can store up to 200 scenes. Why would you need so many of them? Read on …
Scene Memory Applications
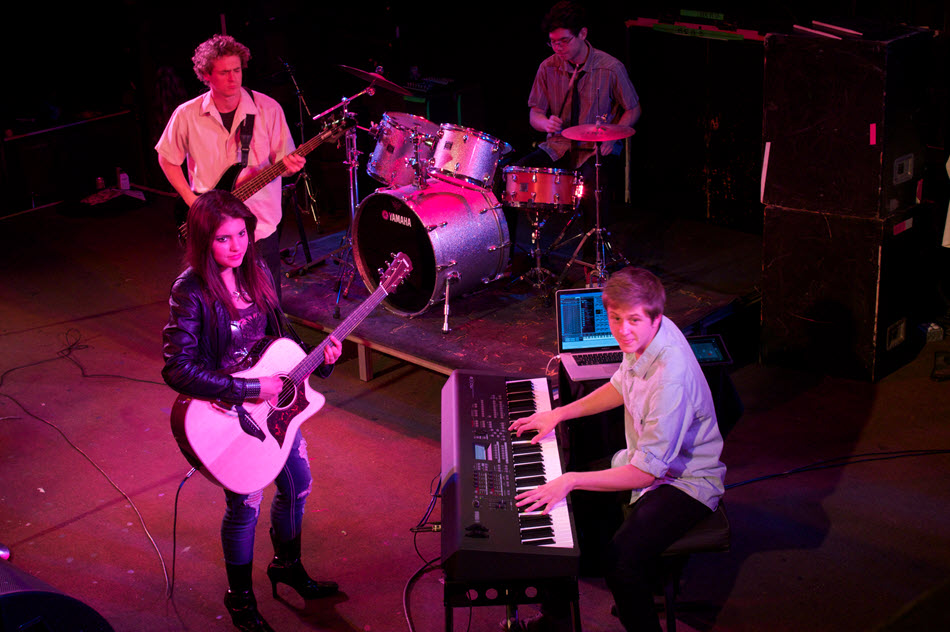
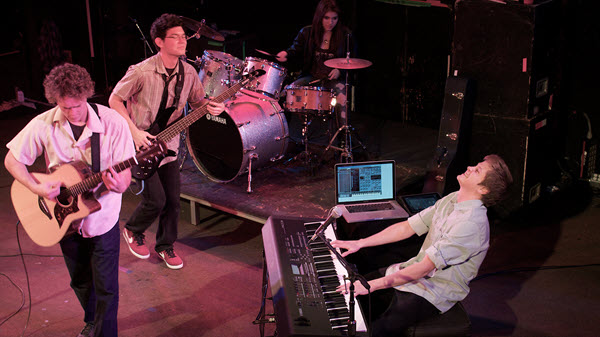
Let’s suppose that you’re mixing a five-piece band with lead vocal, guitar, keyboard, bass and drums. At soundcheck everyone in the band plays while you adjust settings for mic gain, faders, EQ, effects and monitor levels. When you’re satisfied with everything, you store these settings as a scene. And those settings probably include sending the lead vocal to all of the monitor mixes so that everyone in the band can hear it.
But what happens if there’s a song where the drummer sings the lead vocal? In such a case, there will be a lot of changes that need to be made, such as muting or lowering the lead vocal mic in the house mix, unmuting the drummer’s vocal mic, changing the aux send levels for those microphones, adding reverb or delay to the drum vocal, and turning off or resetting any effects in the lead vocal channel. You also may need to adjust the EQ or compression for the drum vocal microphone. That’s a lot to do on the fly! Scene memory enables you to create one scene for use when the lead vocalist is singing, and a different one for when the drummer is singing. Recalling a scene is instantaneous, so you can easily cue up scenes in the library and recall them in-between songs:

If the band performs in a lot of different venues regularly, you can create scenes for each one. Say they perform at a small coffee house during the week where the drummer plays hand percussion and everyone shares one monitor, but at a large club every Saturday night where everything on stage (including a full drum kit) is run through the PA. You can set up a scene with one monitor mix and no drum channels for the coffee house gigs, then have a completely different scene for the large club.
Scene memory is especially useful in House of Worship applications. During the service when the musicians are playing, you’ll want all of those inputs to be live in the PA system, but when it comes time for the minister to deliver a sermon, those channels should be muted. You could easily build a separate scene for the sermon where only the minister’s microphone is open, or perhaps a different microphone is switched on for the minister, and the instrument channels are muted.
Additional Scene Features
Some digital mixers enable you to “safe” or “filter” certain parameters such as a particular channel, so that when you recall a scene, that channel remains unchanged. Most mixers also provide a default or initialize scene that resets the mixer to factory settings so that you can always go back to a clean starting point. In addition, there is usually some kind of mechanism that prevents you from accidentally overwriting scene memory settings. In Yamaha mixers, this takes the form of a little padlock icon next to each scene memory (see the first illustration above); you have to take the extra step of clicking on the icon to unlock it before you can overwrite the contents — a great safety feature.
In addition, Yamaha offers free editing software for the TF Series and the company’s flagship Rivage Series digital mixers, allowing you to work “offline” and create scenes without actually having the mixer in front of you. These scenes can be stored to a USB thumb drive and then loaded into the mixer when you’re ready to gig — saving time for setup and sound check.

In the latest firmware version (4.01) of the TF Series, you can also fade scenes rather than have abrupt changes that might disturb quiet passages; this feature can also be used to fade a vocal microphone, for example. You can adjust the fade times between scenes as well as which inputs are affected.
Scenes allow you to instantly switch between different mixer configurations. Creating and storing them may take a little while to accomplish, but I guarantee they will save you a lot of time and effort in the long run!
Keep reading