Tagged Under:
Better Monitoring for Better Mixes, Part 1
How to choose, set up and get the most out of your home studio monitoring system.
Imagine this scenario: You write a killer song and capture an excellent recording of it, including an awesome lead vocal. Your mix sounds fantastic on the speakers in your studio, and you can’t wait to send it to your friends.
But when you do, instead of the expected compliments, everyone tells you there’s something wrong with the mix. “Nice song, but it sounds weird.”
This is a good indication that there’s a problem with your monitoring setup. It might be because of the speakers you’re using, where you placed them, or how they interact with the acoustics (i.e., the walls, ceiling and floors) in your studio. It might even be a combination of all three!
The ideal remedy would be to bring in an acoustical consultant. He or she would be able to recommend room treatments, suggest the best placement for your monitors, and tell you if you need to replace them.
But that could be quite costly. What’s more, installing acoustical treatments onto the walls and ceiling might not be practical, especially if you rent rather than own your home. But fear not: There are common-sense methods that can help you get much better mixing results, even without any room treatments. In this article, we’ll tell you what they are.
The Difference Between Speakers and Monitors
You’ll invariably get better mix results if you use purpose-built studio monitors. Mixing on the speakers from your home stereo or a computer speaker system is not a good idea. That’s because consumer systems are designed to make music sound good, not necessarily to reproduce it accurately. They may hype the low end and high end in ways that will make it harder for you to accurately gauge frequencies and levels during the mix.
Instead, use a pair of dedicated studio monitors such as the Yamaha HS Series, which includes models with 5″, 7″ and 8″ woofers (the HS5, HS7 and HS8, respectively).
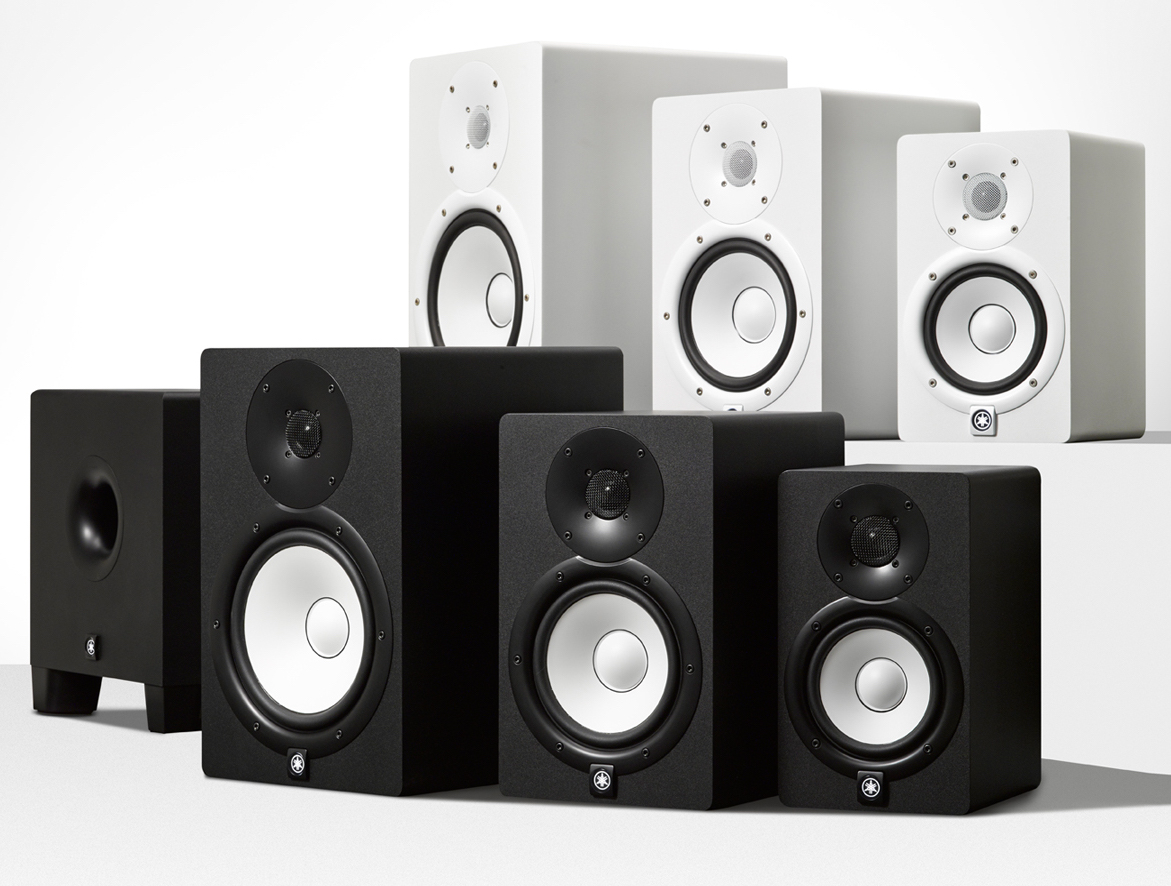
All HS Series monitors are self-powered and biamplified to ensure accuracy over their full frequency range. In addition, they offer EQ capabilities for tailoring their response to the acoustics of your room. For example, if you discover that mixes that sound good in your studio appear to lack bass when you hear them in other places, you can deduce that your room accentuates the bass response. (If you’re mixing in a space that’s exaggerating the bass, you’ll keep it lower in the mix.) In that case, you can use the rear-panel Room Control switch to reduce the low-end response by -2dB or -4dB. Many studio monitors, including all HS Series models, also offer EQ for adjusting the high-end response. These kinds of switches and controls are rarely found on consumer speakers, and almost never on computer speakers.
Monitor Placement
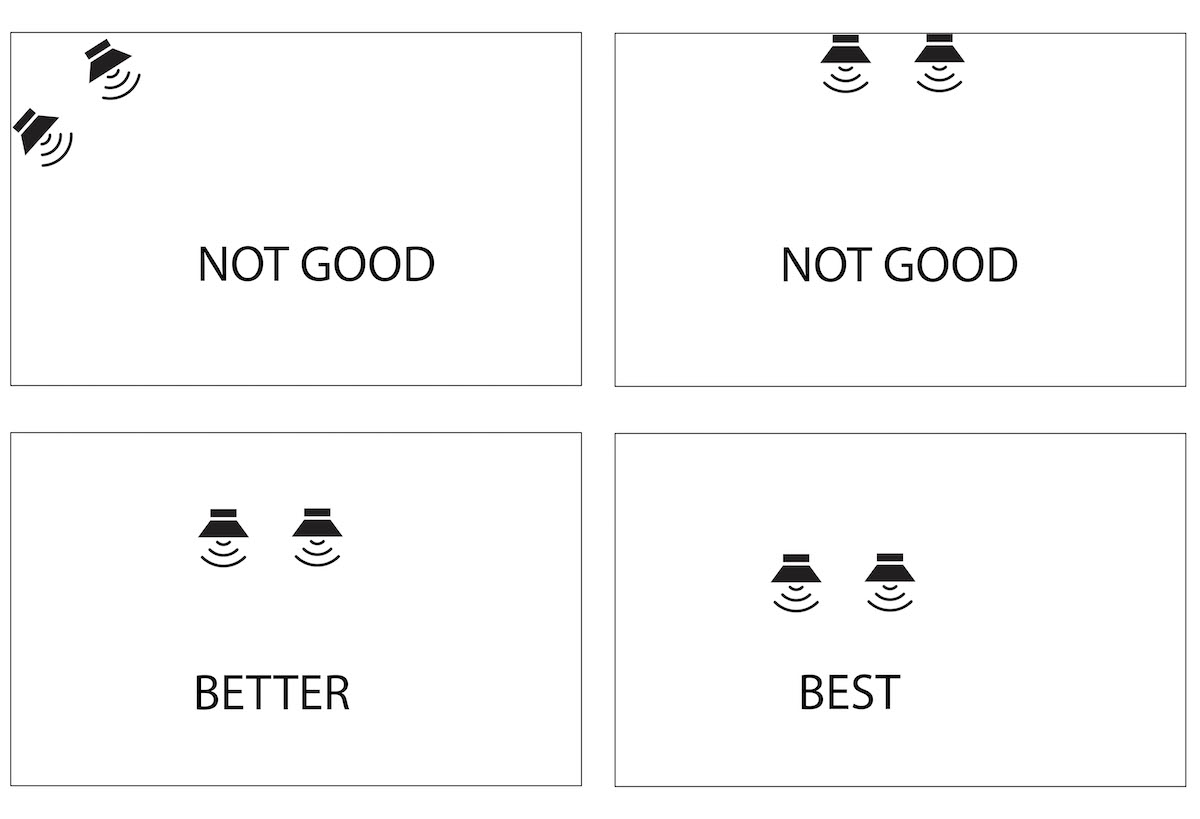
Another very important factor is where you place your monitors. Ideally, they should be kept away from walls and corners, which can interact with the audio to create what are called “standing waves.” These can wreak havoc with bass in particular.
While you can’t alter your room’s dimensions, you can minimize the standing wave issue by placing the monitors away from corners and as far back from the walls as is practical. If your room is rectangular, it’s better to position your monitors along the longer dimension. You should also locate your monitors so that they’re not equidistant to the walls on either side; instead, place them off to one side or the other. The less symmetrical your room and setup are, the less you’ll have to deal with standing waves and other acoustic problems.
Playing the Field
Another way to lessen the impact of room acoustics is to use “near-field” monitors, which are by far the most common type in use today. Because they are designed to be placed close by, near-field monitors allow you to listen at relatively quiet sound levels. This not only serves to maximize the direct sound and minimize the amount of room reflections (which can skew and distort what you hear) but also reduces the ear fatigue that lessens your ability to discern a good mix.
To monitor correctly in a near-field setup, the mix position (where you sit while mixing) should be one point in an equilateral triangle, with the monitors serving as the other two points, as shown in this illustration:

Each of the three points should be roughly three to five feet apart. If you’re using monitors with small (5″ or 6″) woofers, err toward the shorter distance; if they have 7″ or 8″ woofers, err toward the longer distance. Make sure to angle your monitors inwards (this is called “toe-in”) to line up with your mix position. There are apps that can help you in achieving these settings accurately.
In terms of height, it’s best to position your monitors at ear level. Use dedicated speaker stands instead of tabletops to further avoid reflections, and invest in monitor isolation pads to put under each speaker. Such pads are designed to “decouple” the monitors from the surface. Without them, the vibrations from the speaker cabinets can create resonance that distorts what you’re hearing.
Go Big if Possible
Which size monitor you should use depends on how large your home studio is. If you can fit (and afford) monitors with 8″ woofers, they’re usually the better choice. That’s because larger size woofers can reproduce lower bass frequencies, allowing you to accurately hear what’s going on in the low-end of your mix.
As an example of how size and bass response correlate, look at the different sized monitors’ bass response specs in the HS Series: The HS5 goes to 74Hz, the HS7 to 55Hz and the HS8 all the way down to 47Hz.
To Sub or Not to Sub?
Another option for improving bass response is to add a subwoofer, particularly if you plan to mix electronic dance music or hip-hop, where bass instruments commonly extend into the sub-bass frequency range (below 60Hz). A good option here is the Yamaha HS8S — it’s a powered sub that’s compatible with all HS models (as well as studio monitors from other manufacturers) and gives you bass response down to 22Hz.
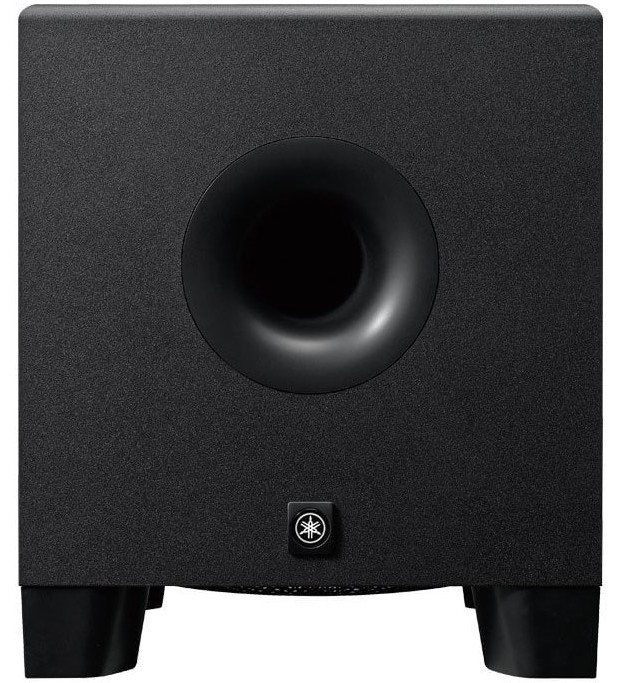
Unlike other kinds of monitors, subwoofer positioning is not critical — you can pretty much place them anywhere. That’s because the kinds of very low-frequency sounds they produce are not especially directional, meaning that the human ear can’t easily discern where they are coming from.
Why Not Just Mix Over Headphones?
Headphones are good for checking details in your mix, but they’re not a substitute for studio monitors. The problem is that you hear things differently when you have headphones on, for two reasons:
1. In headphones, the left and right sides are totally discrete, which is not the case when you listen to music in a room over speakers and hear some of the left signal coming from the right and vice-versa.
2. When you listen in headphones, you’re hearing only direct signal, whereas when you listen over speakers, you’re hearing both direct and reflected (room) sound.
Because many people listen to music on earbuds or headphones, it’s perfectly valid to check your mixes that way. Just don’t do it exclusively, because your mixes will also be heard over speakers.
Click here for Part 2: Tips and tricks for achieving better monitoring.
Check out our other Recording Basics postings.
Click here for more information about Yamaha HS Series studio monitors.


