Top Five DIY Home Audio Projects to Consider This Year
Enhance your entertainment experience in 2025.
It’s that time of the year when we make lists and resolutions about all of the things we want to accomplish in the New Year. Don’t forget about your audio/video systems when you put this list together! There are plenty of small projects or additions that can enhance your entertainment experience in a big way.
Here are some of the improvements you might consider making to your home technology systems in 2025.
1. Add Outdoor Speakers
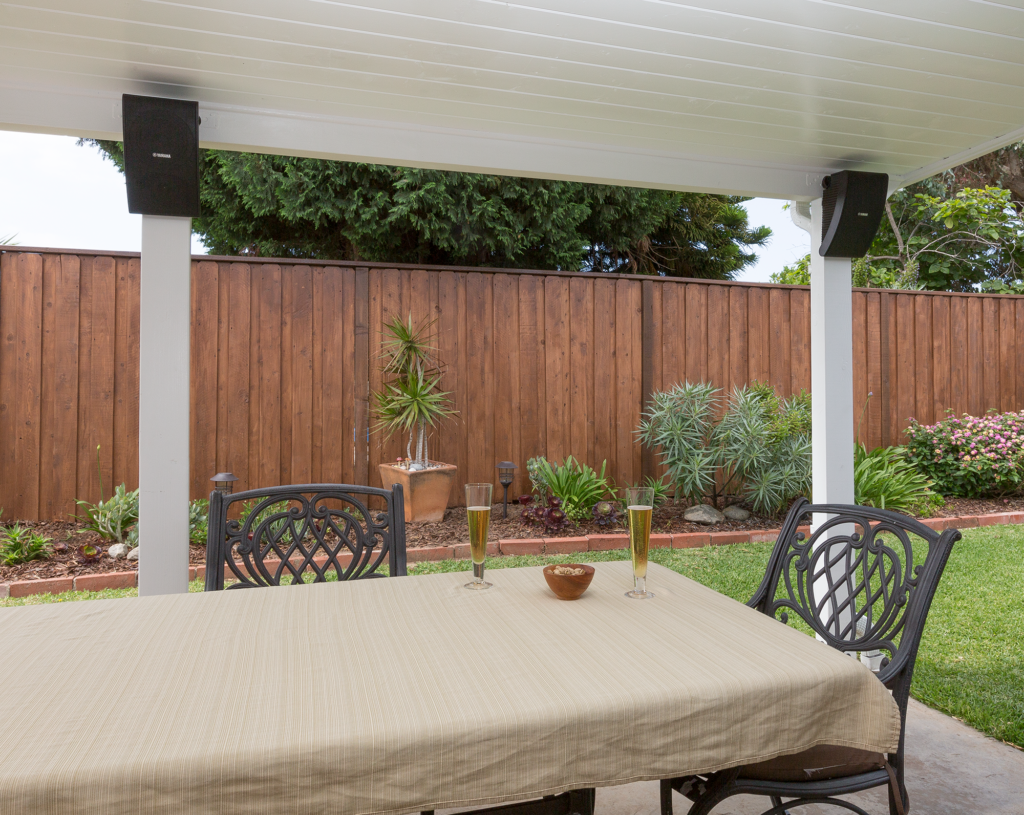
If you spend a lot of time in your backyard, patio or pool, this one’s for you. Don’t mess around using your smartphone to listen to music outdoors! You need a proper set of speakers with some significant amplification to deliver good quality sound and cover a big area … and to battle the ambient noise of traffic, splashing and noisy neighbors.
Difficulty Level: 4 – 8 (Based on a scale of 1 – 10)
First, you’ll have to mount two or more speakers to a sturdy surface. This could be an exterior wall of the home, a trellis, or a post in the landscaping.
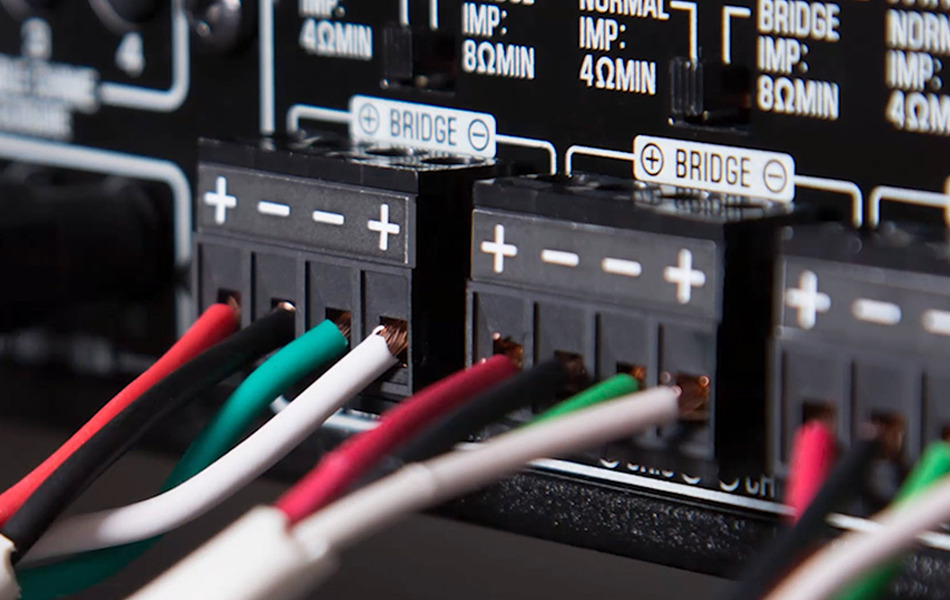
Next, you’ll have to get signal to the speakers. If you’re using a wireless system like Yamaha MusicCast, this is an extremely simple process. If you’re using a wired system, it’s a little more complicated as you’ll need to do a wire run, particularly if you want to hide the wire. In the latter case, you may need to take advantage of crawlspaces or attics to get the wire to the outdoors in a clean fashion. Here, hiring a professional installer might be a good option to consider.
Cost: $$ – $$$ (With $ being least expensive and $$$$ being most expensive)
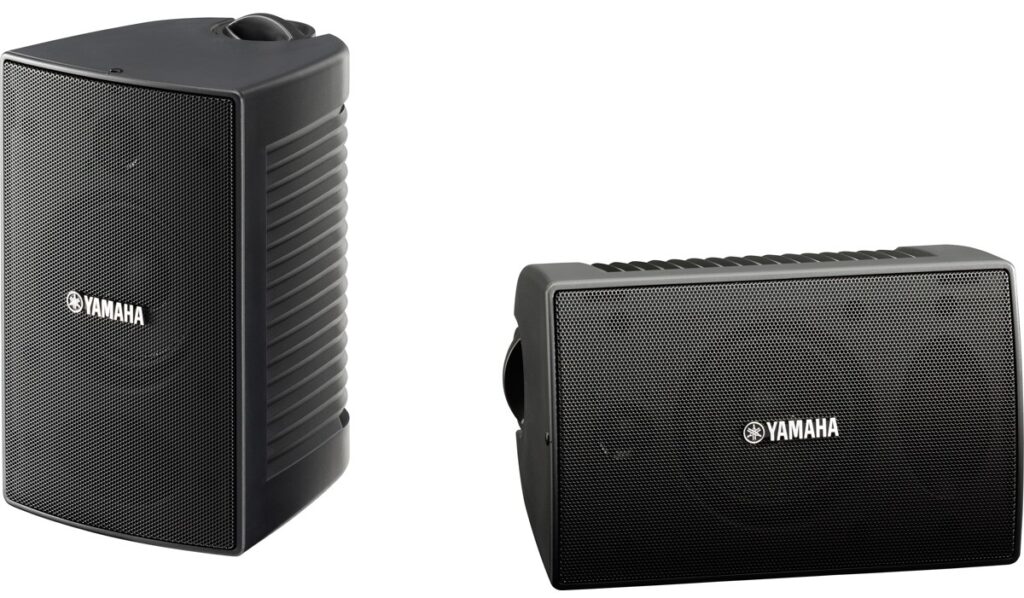
Assuming you already own an amplifier (preferably one with multiple zones, since this allows you to control your music going to your outdoor speakers independently of the music going to your indoor ones), you just need to purchase a pair of all-weather speakers such as Yamaha N-AW194s, along with a sufficient amount of 14-gauge 4-conductor speaker cable. Quality outdoor speakers can be found for well under $200.
Required Tools / Equipment
- Cordless drill
- Screwdriver
- Amplifier (preferably one with multi-zone capability)
- All-weather speakers with mounting hardware
- Speaker cable (if using a wired system)
Ready to take a deeper dive?
Check out these blog articles:
How to Enjoy Great Outdoor Sound without Disturbing Your Neighbors
Enjoy Music Outdoors with Zone 2
How to Create a Resort-Level Audio Experience in Your Backyard
Top Five Things You Should Know When Hiring an AV Installer
2. Add Mounted Indoor Speakers
Maybe 2025 is the time to add music to your office, dining room or master bath. After all, the more rooms with music, the better! Just popping some speakers on a desktop or tabletop is simplicity itself, but if you want the clean appearance of flush-mounted in-ceiling or in-wall speakers, then you have a little project on your hands. Much like the installation of wired outdoor speakers, unless you’re using a wireless system like a Yamaha MusicCast-compatible receiver and speakers, you’ll need to run wire from point A (your amplifier location) to point B (the ceiling or wall of the room you want music in). On top of that, you need to make sure you install the speakers in alignment with lighting fixtures as well as away from electrical wiring and between beams and joists, so this may be something you might want to put into the hands of a professional installer.
Difficulty Level: 8 – 9
Routing wire through a house can be a challenge, as is lining up speakers in a ceiling.
Cost: $$ – $$$$
Most in-ceiling and in-wall speakers are quite affordable, so if you decide to tackle this project yourself, there won’t be much cost involved. If you opt to hire an installer, the expenditure can be significantly higher … but you’ll get a professional job done.
Required Tools / Equipment
- Cordless drill
- Speaker cable
- Drywall saw
- Ladder
- Amplifier
- In-ceiling or in-wall speakers
Ready to take a deeper dive?
Check out these blog articles:
How to Install In-Ceiling Speakers
How to Install In-Wall Speakers
3. Turn Your Home Into a Cinema
With movies being immediately released on streaming services, there is no better time to turn your viewing room into a home theater. Don’t be daunted by this task: You can do it! The toughest part will be getting the wires to all the right places, but using a wireless system such as an AV receiver and speakers with Yamaha MusicCast capabilities (such as the Yamaha RX-A8A AV receiver shown below) makes things much easier.
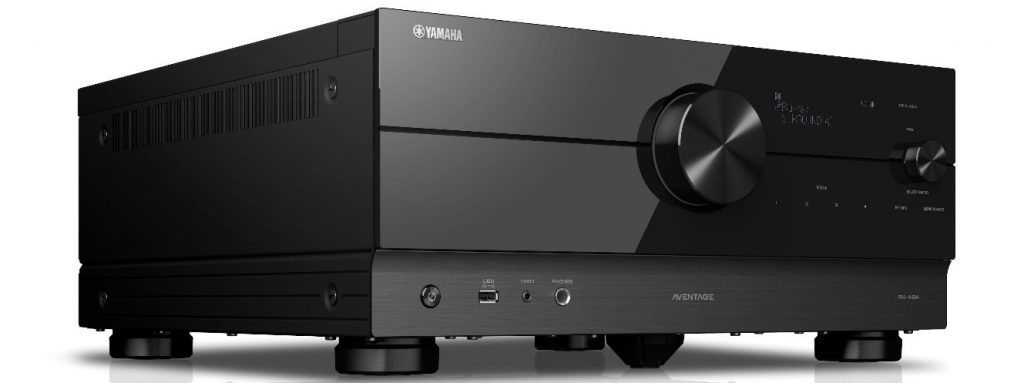
With a simple 5.1 surround setup, you just need to get audio signal to six speakers, but if you are embarking on a trip to cinema nirvana (aka Dolby Atmos, which is supported by the aforementioned Yamaha RX-A8A), then you will need to get as many as a dozen wires to a dozen speakers. A Dolby Atmos system will require three or four speakers in front of you (left, center, right, and most likely a big subwoofer) as well as two additional speakers on the side and two behind you, plus two or four speakers above you, mounted in or on the ceiling.
If you have attic space or a drop ceiling, running and hiding the wires is fairly straightforward. However, if you have to open up walls to get wires around, this can be a bit trickier and may require the services of an installation professional. The good news is that, assuming the video equipment is below your TV, the video wiring should be pretty easy as you’ll only need to get a single HDMI cable from your TV to the AV receiver.
Difficulty Level: 6 – 9
Wire running could be a challenge unless you have an attic, crawlspace or drop ceiling to work with. If you do, the difficulty level could drop to a 6.
Cost: $$ – $$$$
The costs will vary depending on how high-performance you want your hardware to be.
Required Tools / Equipment
- Cordless drill
- Drywall saw
- Ladder
- Large-screen TV
- AV receiver
- Speakers
- Speaker cable
Ready to take a deeper dive?
Check out these blog articles:
Five Reasons Why Home Theater is Better Than Going to the Movies
Building the Ideal Home Theater
How to Recreate the Movie Theater Experience at Home
How to Hide the Wires In Your Home Theater
Four Benefits of Having a Professional Do Your Home Theater Installation
Top Five Things You Should Know When Hiring an AV Installer
4. Make Your Home Smarter
There are a lot of products out there to make your home smarter. Here are a few you might consider adding:
- A doorbell system that rings to your smartphone
- A doorbell camera that shows visitor’s faces on your smartphone
- A smart thermostat that helps you manage your power bill
- An intelligent irrigation system that won’t waste water on a rainy day and automatically adjusts to changes in seasons or weather
You also might consider swapping out your dumb lighting dimmers for some intelligent ones so that you can easily set lighting timers, change the color of the light, or simply reduce your utility bill.
Difficulty Level: 2 – 4
Most of these products are made for the consumer, so installation and configuration is pretty painless for most folks. Swapping of lighting dimmers is the most complex of the ideas listed above, and may require an installation pro or electrician unless you are comfortable with basic electrical wiring.
Cost: $ – $$
A lot of these devices are fairly inexpensive and all are widely available online.
Required Tools / Equipment
You can do almost all of these projects with just a screwdriver.
Ready to take a deeper dive?
Check out these blog articles:
Smart Home Integration — From DIY to CI Guy
The Perfect Pairing: Yamaha MusicCast and Home Automation
5. Add a Sound Bar
Let’s face it: TV sound stinks. That’s because manufacturers are constantly trying to make the TV cabinets as small as possible, with the screens as large as possible, leaving no room for quality speakers. On top of that, the speakers often face the wall behind the TV instead of the listening area. This makes for some really difficult-to-hear dialogue.
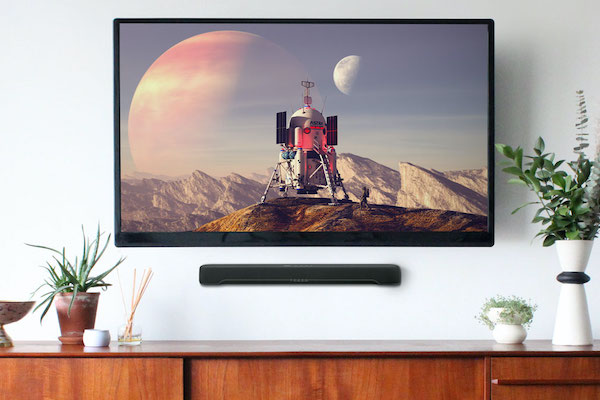
The good news is that there’s a super-easy DIY project that can solve this issue: Just connect a sound bar. Installation is a snap. Connect a cable to your TV, do a fast configuration, and voila: instant way-better sound!
A good choice here would be the Yamaha SR-C20A, which delivers great sound and is compact enough to fit anywhere (on top of or inside an entertainment cabinet, for example). What’s more, handy rear-panel keyholes mean that it can be easily mounted on a wall if you prefer, though this would require running a cable through the wall, which makes the project slightly more complex.
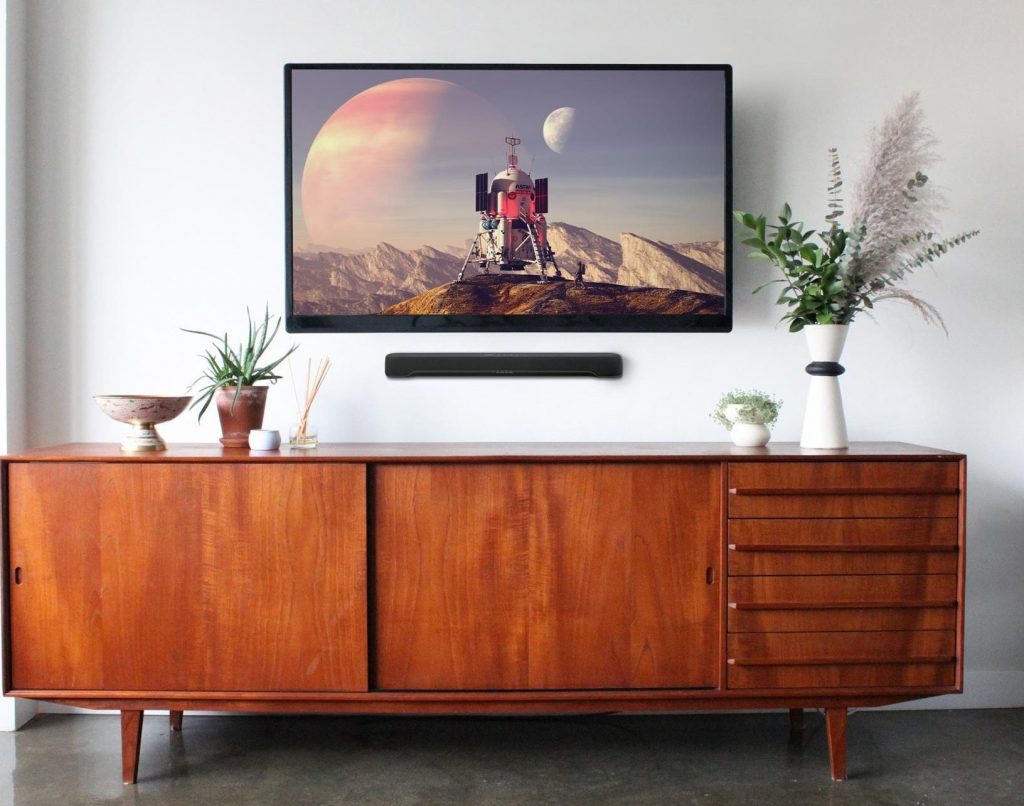
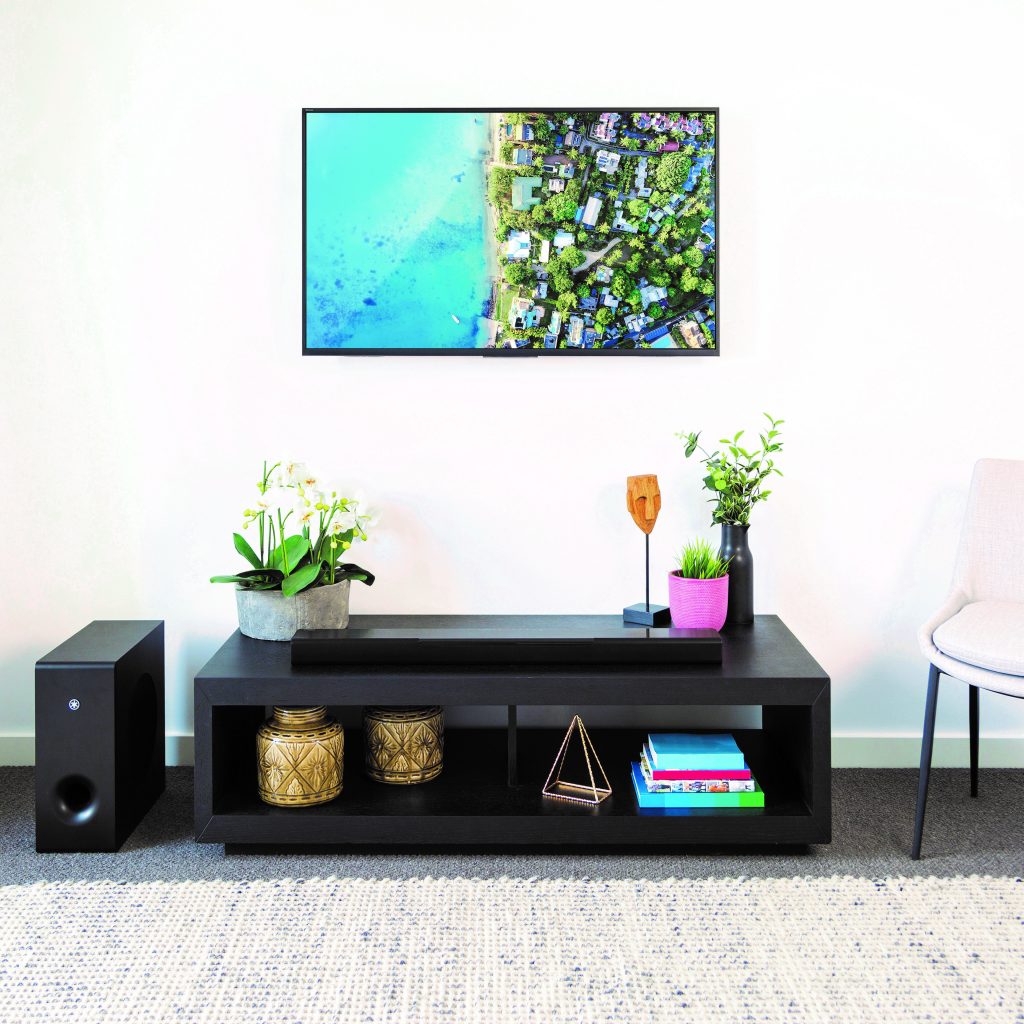
The SR-C20A also provides virtual surround sound capabilities and a built-in subwoofer to bring your favorite movies to life without the need to run any other wires. There are also sound bars that come with separate wireless subwoofers. Either way, adding a sound bar/subwoofer combo is the most painless home audio improvement you can make.
Difficulty Level: 1 – 2
Easy to install, easy to configure. If you want to mount the sound bar on a wall, this requires running a cable through the wall, which makes things a little more involved, but it’s still a simple project.
Cost: $ – $$
Sound bars range in cost depending on the performance you want. There are lots of good options under $200.
Required Tools / Equipment
- Cordless drill (if you want to mount it to a wall)
- Screwdriver (if you want to mount it to a wall)
- HDMI cable
- Sound bar
- Wireless subwoofer (if the sound bar does not have a built-in subwoofer)
Ready to take a deeper dive?
Check out these blog articles:
How to Connect a Sound Bar to a TV Using HDMI ARC
There’s a Sound Bar for Every Space and Budget
Introducing the SR-C20A Compact Sound Bar
Virtual Surround Sound and Yamaha Sound Bars
Click here for more information about Yamaha AV products.


