Electronic Drums 101
If you’re a first-time shopper — or even if you’ve been playing acoustic drums for years — buying an electronic drum kit can seem like a daunting task. But with all of the advances in technology and the multitude of options available today, now is a great time to jump into that arena.
In addition, parts of an electronic kit can be incorporated into an acoustic kit to create a hybrid kit, giving you the best of both worlds. Parents of budding drummers should also bear in mind that a starter electronic drum kit will allow your son or daughter to practice quietly, and then down the road move on to an acoustic drum kit as their skills develop.
In this article, we’ll take a close look at the components of a standard electronic drum kit and talk about the features you should look for when making your shopping choices.
Components
As shown in the illustration below, a typical five-piece kit will include a snare pad, three tom pads and a kick pad, plus two or three cymbal pads and a hi-hat pad. The hardware will typically include a drum rack (with module, snare, tom and cymbal mounts) and the sound module itself.

Sometimes pedals are included too — for example, the Yamaha DTX402 electronic drum kit comes with two of them. All you’ll then need to round things off is a throne (a drum seat) and a high quality set of headphones or a drum amp to hear yourself.
Let’s take a closer look at the main electronic drum features you should look for:
Features
Snare drum and tom pad surfaces will typically be made from a combination of plastic, rubber, mesh or TCS (textured cellular silicone); the latter is used by the Yamaha DTX-PAD. Each surface will have its own feel and degree of acoustic sound (yes, even pads make some acoustic noise, and this can be a factor if you require significant sound isolation), with sizes ranging from 6″ to 14″.
Here’s a video showing the differences between a standard rubber pad and the Yamaha DTX-PAD:
Cymbal pad surfaces will generally be made of plastic, acrylic, metal or rubber. Like drum pads, each cymbal pad surface will have its own feel. Typical sizes range from 10″ to 15″.
Kick drum pad surfaces are usually made of rubber or mesh, but there are also beater-less kick pedals. These operate without striking a pad, and work great for those who have noise restrictions, but if you want the feel of playing on an acoustic bass drum, choose a pad that allows you to use a real bass drum pedal; some will even let you attach a double bass pedal.
Trigger Zones
This refers to the number of areas on a pad that can trigger separate sounds. A one-zone pad can only be used to play a single sound, while a two-zone pad can trigger two separate sounds. Yamaha even makes three-zone pads that can be used to play three separate sounds; the XP80 DTX-PAD also supports open rimshots and closed rimshots, plus you can assign different voices to different zones. This makes highly original performances possible. For example, you can create an acoustic drum sound when you hit the head area, a cowbell sound when you hit the open rim area, and a loop sound when you hit the closed rim area.
Mounting Hardware
Your options here are to use either a drum rack or standard acoustic drum hardware. Whichever you choose, you want to make sure to select hardware that is durable and dependable so you get the most use without having parts break down.
Racks are great if you’re not likely to be moving your drum kit from one location to another very often. However, if you are planning on using your electronic drum kit on gigs, you might want to think about using acoustic drum hardware instead, since it will make it much easier to pack up and transport your rig.

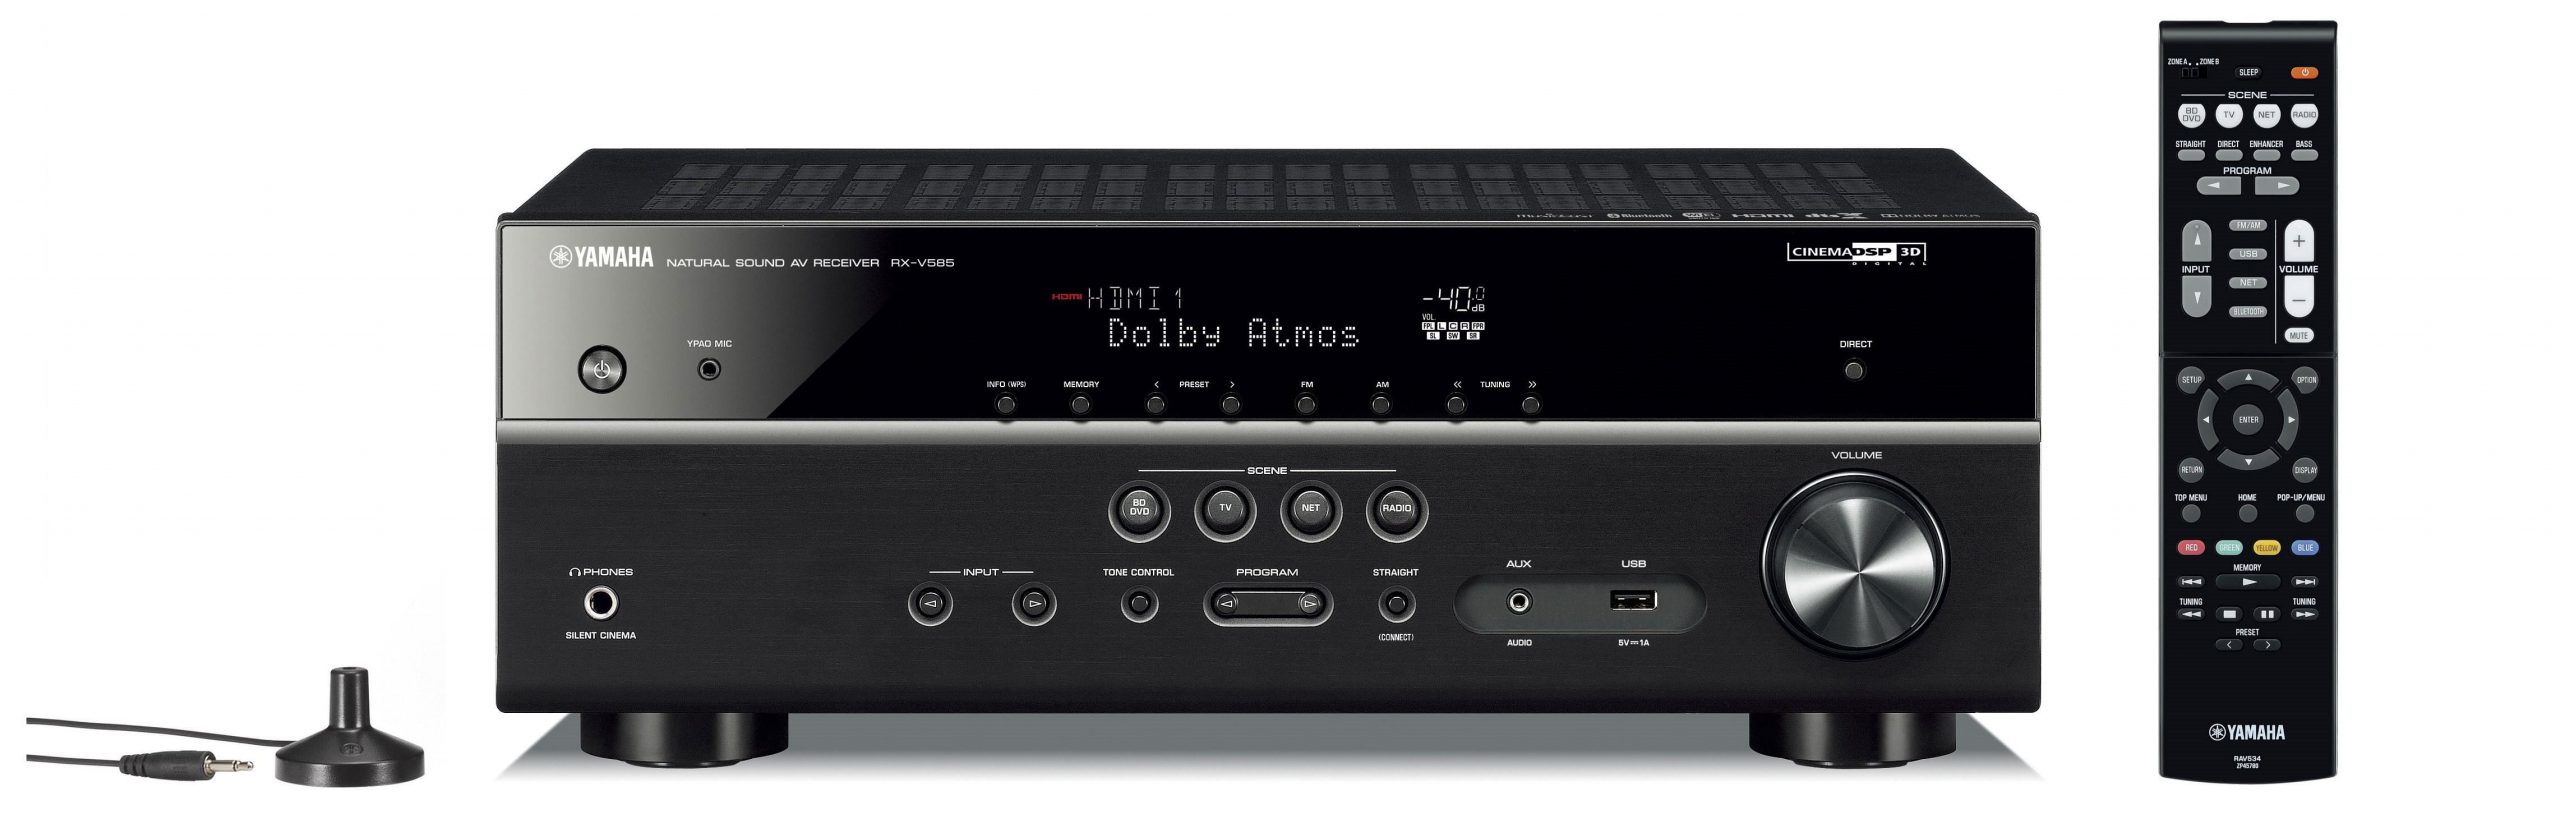
Sound Module
This is the heart of every electronic drum kit. It’s where you plug in your pads or triggers, adjust the trigger parameters, choose which sounds are assigned to each pad and set up collections of sounds (typically called “drum kits”) so you can make fast adjustments from song to song — or even within a song. The outputs of the module are connected to a drum amp, your band’s sound system or your trusty headphones or earphones so you (and your audience) can hear your playing.
Most modules offer the following features:
1. A built-in metronome
2. Recorded songs that you can play along to
3. An auxiliary input for hooking up an audio player so you can play along to your favorite songs
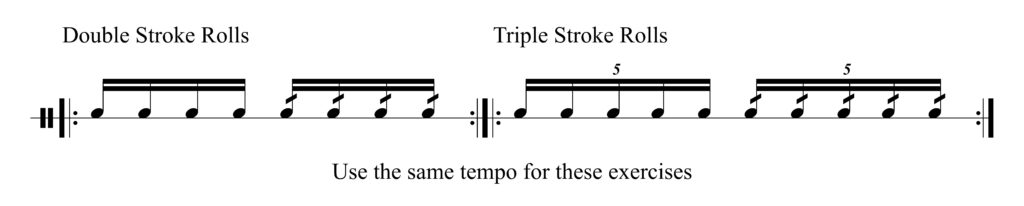
4. Training exercises designed to make you a better player
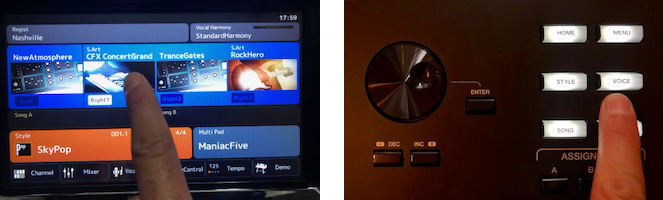
Many electronic drum manufacturers also offer apps that allow you to control the module from your own smart device. Using these kinds of apps makes operation of the module easy and intuitive, while at the same time adding more features. There are numerous Yamaha DTX apps, for example, that allow you to make custom kits, edit sounds, play along to songs in your smart device, set up the metronome, do firmware upgrades right to your module and adjust the triggering parameters for your playing style … all with just a simple swipe. For more information, see our blog article “DTX Apps Make It Easy.”
Additional Features
Like acoustic drum kits, electronic drum kits come in many models. As you move higher up in price, the number of features also generally increases.

Here are some upgraded features to look for:
1. More drum and cymbal pads
2. Larger size drum and cymbal pads
3. Upgraded hardware
In addition, many advanced sound modules will offer additional features such as:
1. More individual sounds
2. Higher quality sounds including samples of real acoustic drums
3. More inputs for adding tom or cymbal pads
4. Individual audio outputs instead of just the standard stereo outputs
5. Sample import so you can load in your own sounds
Above all, you want to purchase a kit that is durable, dependable, and will last you for years. Remember: This is a product that will be beat on and used a lot, so make sure you choose a good quality kit the first time. Taking this approach will definitely save you money in the long run!
Photographs courtesy of the author and Kunhardt Photography.
Click here for more information about Yamaha electronic drum kits.


 “I laid out what I thought we might be able to do at Fossil Ridge, and that resonated with the people who opened the building,” recalls Berard, who had previously been a high school band director for 10 years before working toward his master’s degree in music education and instrumental conducting at
  While the program earned several awards over the years, Berard says he does not solely use those accomplishments to measure the bands’ successes — he also gauges everyday accomplishments during practices and dress rehearsals. “There’s a lot of what the community sees as being really successful,” he explains. “[If] you win a couple of state championships or something for marching band, everybody thinks things are great, which it is, but from the inside, I see it a little differently. The growth of the program is [measured] by having kids rally around achieving this really, really high level, and that sets the standard on a daily level. It was great to do some of these high-profile performances, but what we do every day establishes our opportunity to do some of those bigger things.”
 The skills students learn in band go beyond the music and technical side of playing; they learn responsibilities and lessons that translate both on and off the field, according to Cook. Seeing band students working on homework while riding the bus is a common scene at Fossil Ridge High School because they understand responsibility. The music students have higher GPAs and college acceptance rates along with less disciplinary problems.
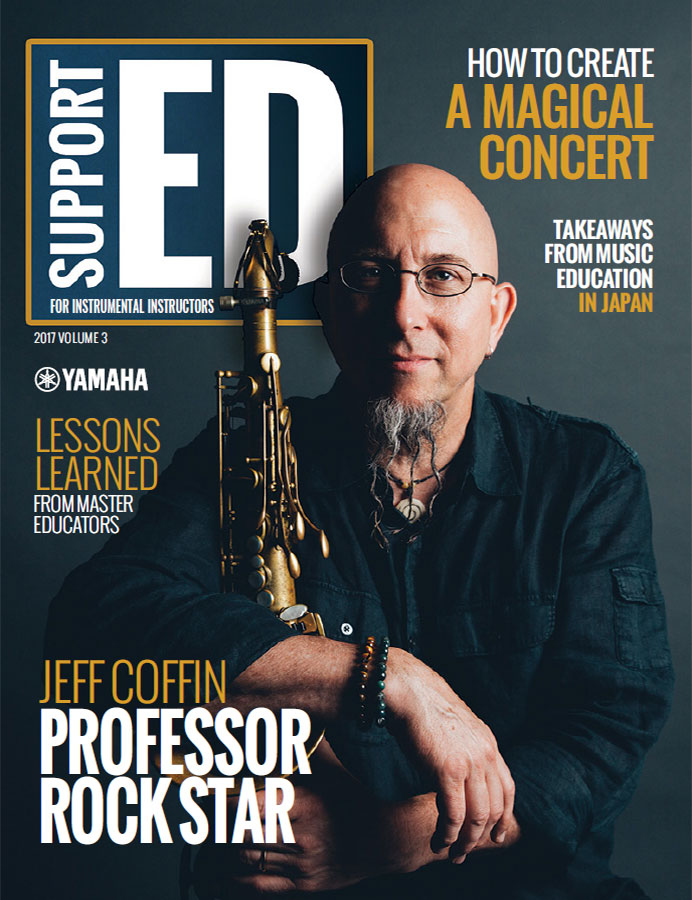
 This article originally appeared in the 2017 V4 issue of Yamaha SupportED. To see more back issues, find out about Yamaha resources for music educators, or sign up to be notified when the next issue is available,