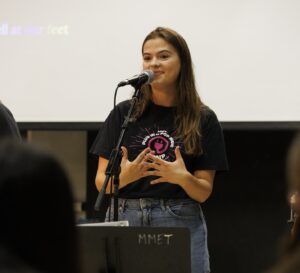
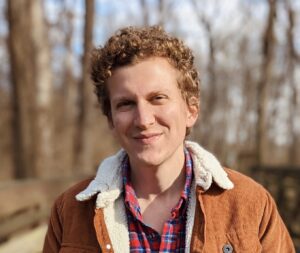
Piano Prodigy Ethan Bortnick on Learning Before an Audience
At age 25, a lifetime of performance and philanthropy evolves into artistry
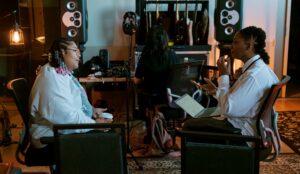
Written by Lisa Battles
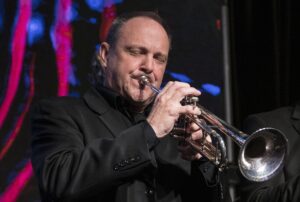
A globally recognized piano prodigy by age 9, Ethan Bortnick performed alongside artists including Elton John and Beyoncé, met almost every major television show host of the era and raised over $50 million for charities. He made the Guinness Book of World Records in 2010 for being the “World’s Youngest Solo Musician to Headline His Own Concert Tour.”
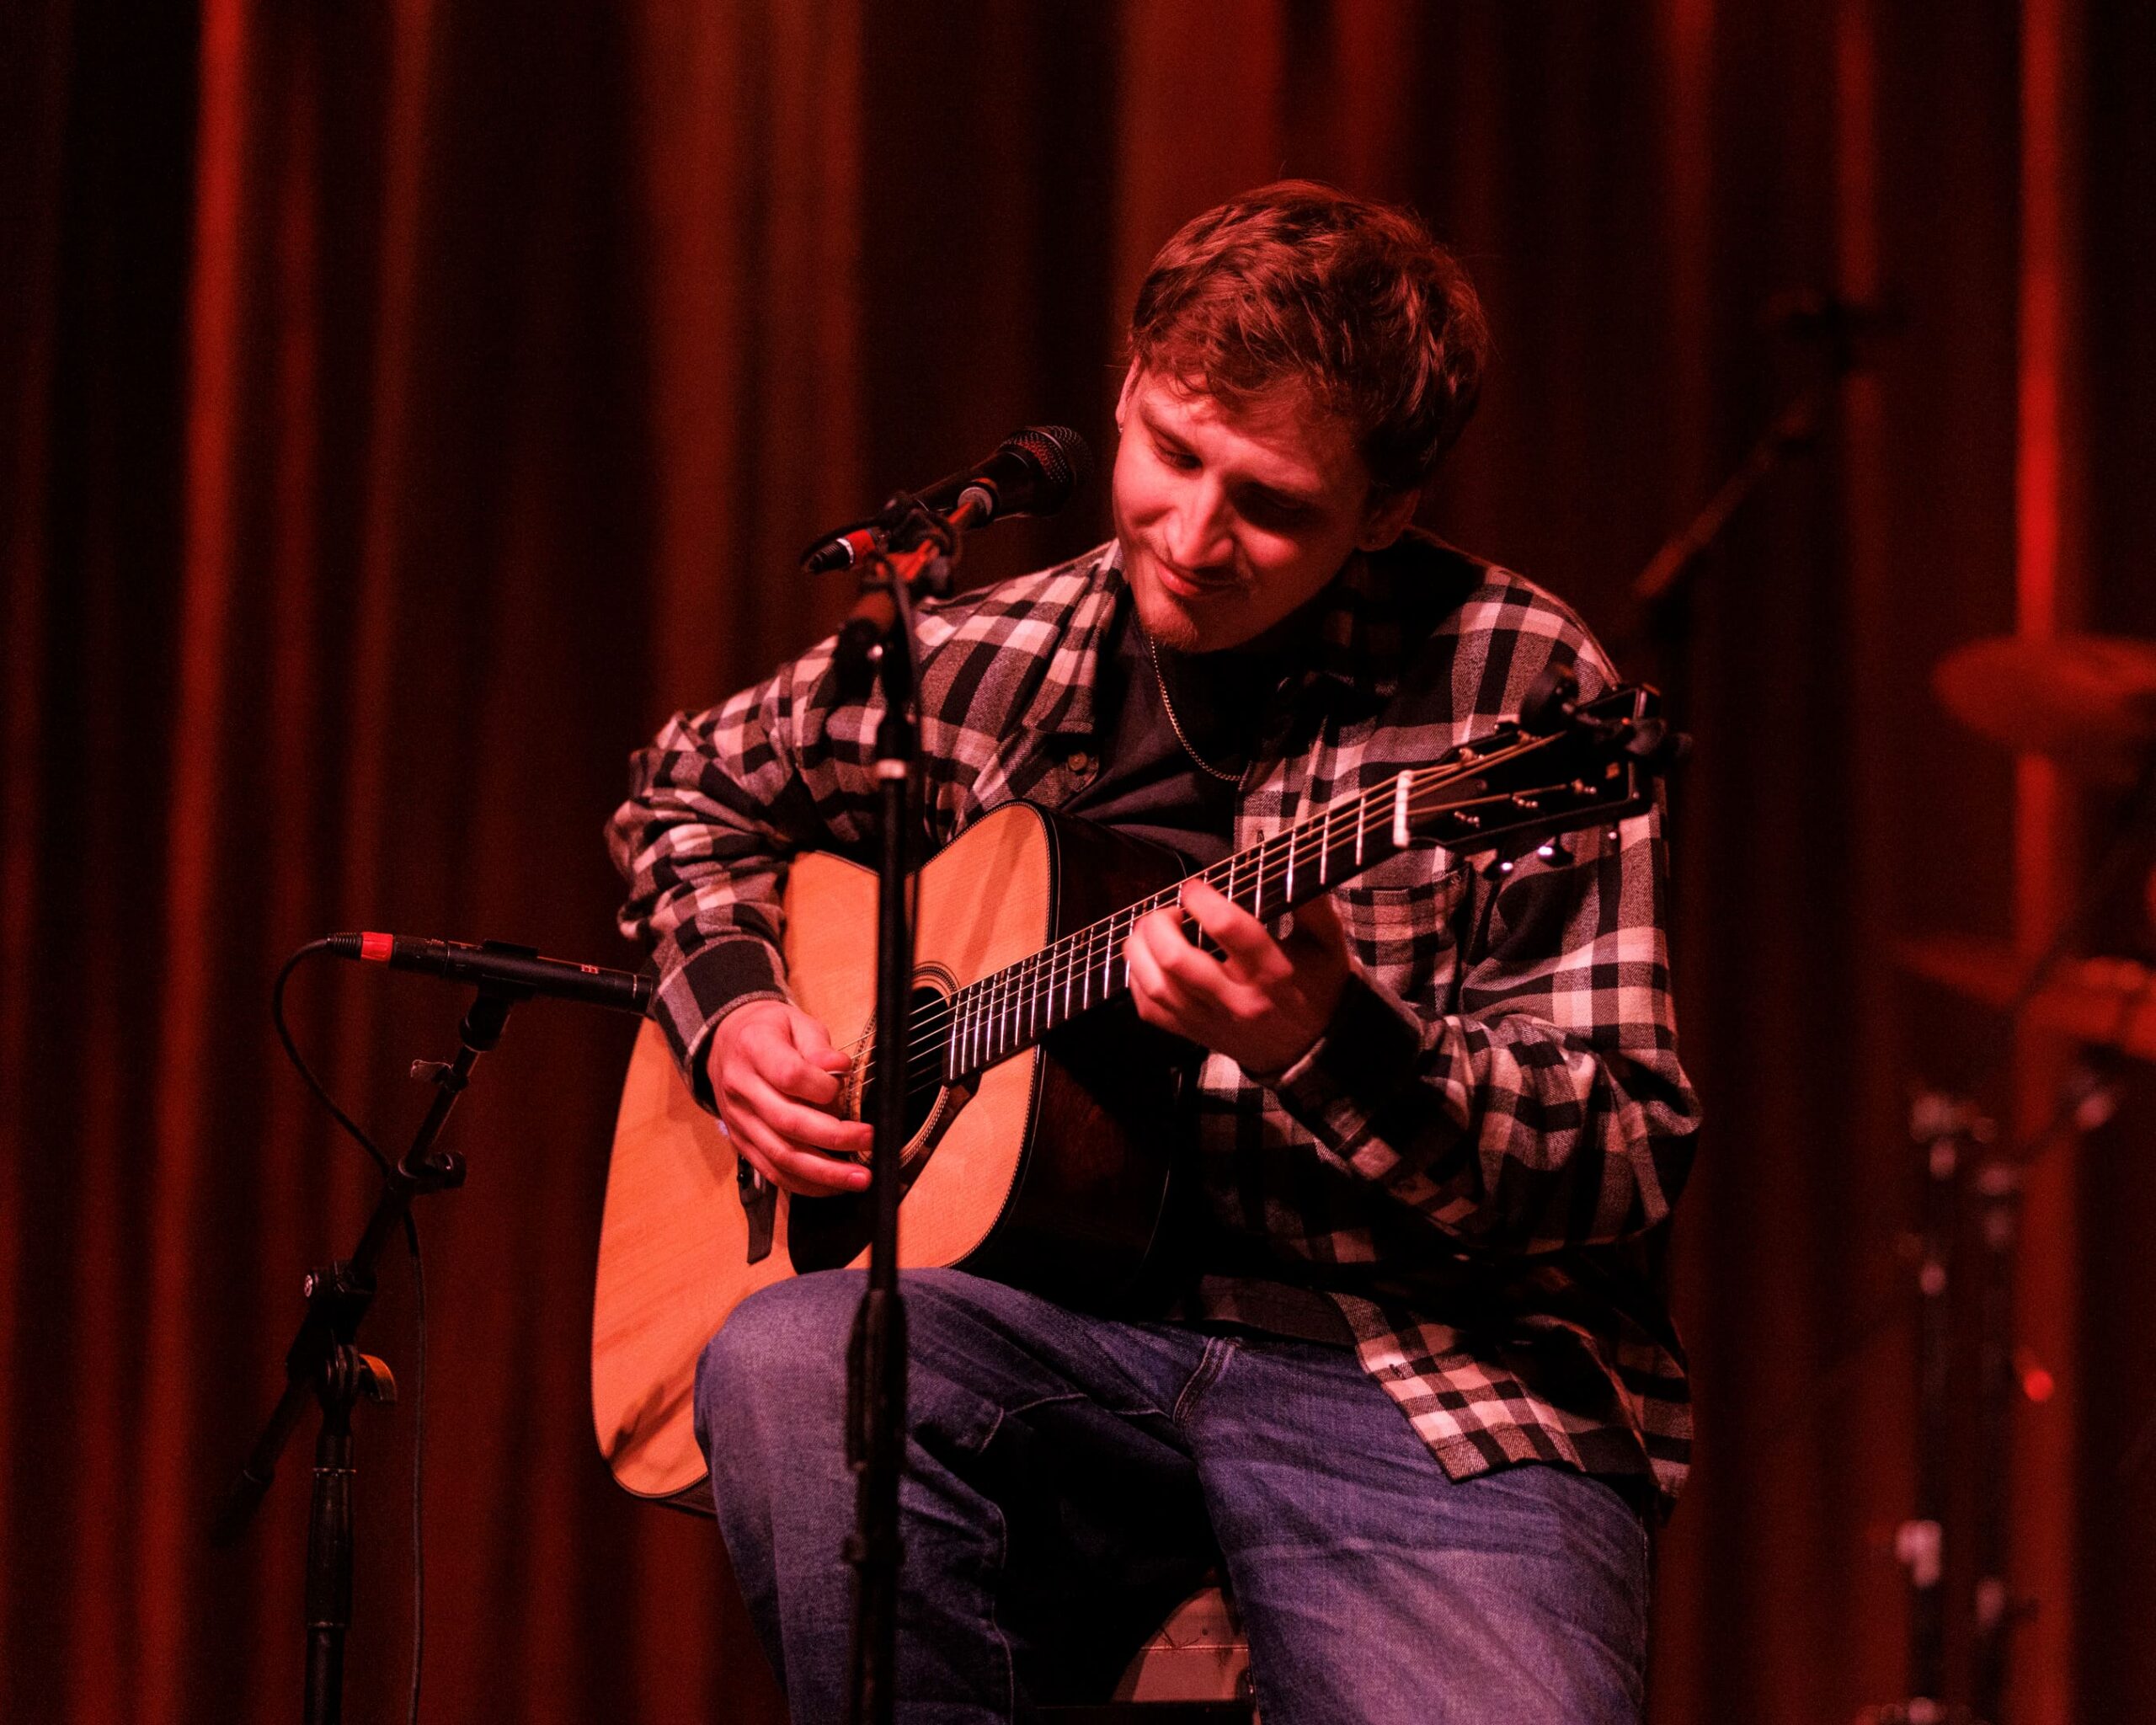
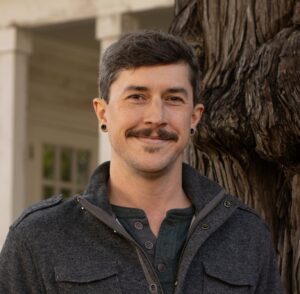
Now, at age 25, Bortnick has developed his repertoire to become a singer, songwriter and producer. With the gifts of perfect pitch and an endlessly supportive family, he’s ever grateful for both and keen on expanding his artistry, always looking up and moving forward.
Over the past five years of his early adulthood, Bortnick has attracted millions of followers on social media. It’s been as natural an evolution as possible for someone who has spent almost his entire life in front of audiences, learning and growing in real time.
What audiences see now is an artist blending introspection and new skills to shape his sonic identity. At the same time, he continues to balance his innate talent with seeking new avenues for expression and applying both toward meaningful ends.
Grounded and reflective about an exceptional life, Bortnick shares with us formative stories that have shaped what he’s up to now and next.
Baby Einstein and a toy piano
Bortnick’s origin story is not in formal conservatories with classical training but in Montessori learning at age 3 and Baby Einstein videos on repeat featuring mesmerizing puppets and music. He began imitating their melodies on a toy keyboard, and before anyone realized what was happening, he was recreating complex passages by Mozart and Beethoven from memory.
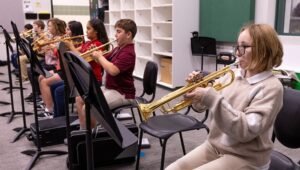
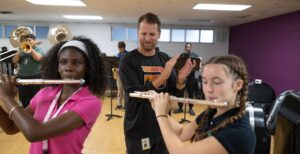
Although his parents were not musical, he says he gravitated toward his aunt, who played and taught piano. While she did not teach children younger than age 5, she made an exception when Bortnick continued to demonstrate his abilities. After a few years, she recommended he pursue more advanced teaching, which he did. During that time, he began playing many recitals and competing, the latter of which he hated. When his parents saw he wasn’t enjoying it, they pulled him out of it.
That discernment and joint decision-making have been recurring themes throughout Bortnick’s life, with his parents listening and honoring his exceptionality while keeping him grounded and preserving his love for music.
“I feel so lucky that I had such a supportive family who didn’t care about anything other than making sure that I was doing what I loved. All I knew of music was that, but I loved performing and playing for people,” he says.
From recitals to The Tonight Show to benefit shows
Although removed from competition, videos of Bortnick performing eventually made their way to “The Tonight Show” producers, who invited him to perform on the show. Then came “The Oprah Winfrey Show,” “Good Morning America” and more.
Requests to perform increased, and he began absorbing a lot of different styles of music to meet the requests. While it became a bit “all-consuming” for an 8-year-old, Bortnick says one thing that resonated instantly was seeing the impact he could make by performing for charity.
Bortnick’s brother, Nathan, was born with a serious heart condition, Hypoplastic Left Heart Syndrome, or HLHS, which means the left side of the heart is underdeveloped. All the while the young musician’s unusual career took off, his brother was undergoing a series of corrective heart surgeries. He seized opportunities to play and raise money toward research and awareness about what his brother and children like him were going through.
“That triggered something in me to where I thought, ‘That’s all I want to do. I just want to do that!’ . . . Nathan’s condition was always at the top of my mind and what really opened my eyes to how much music can change things,” Bortnick says.
Using gifts to uplift others
The benefit shows grew, and at age 8, Bortnick found himself hosting a huge benefit gala and private concert at the former American Airlines Arena in Miami, just south of his hometown of Pembroke Pines. That’s when he performed “Over the Rainbow” alongside Beyoncé and shared the stage with other stars, including Smokey Robinson and Gloria Gaynor. The event raised $12 million for research and programs at Miami Children’s Hospital Foundation.
“It didn’t really compute in my head at 8, but my dad told me how much money we had raised at that event, and when he said it was millions of dollars, it just sounded big,” Bortnick says. “When he told me where it would go and how it would help, I thought, ‘Whoah. This is cool!’”
Bortnick traveled the world early, too. In his preteens, he visited Japan in the aftermath of a devastating tsunami, performing in support of a foundation that helped children who’d lost their parents.
When he was 12, he visited South Africa to support another program that assisted children living through the residual effects of apartheid-era inequities. As part of his time there, he performed a free concert for the children, after which he had an exchange with a young woman that has stuck with him. She confronted him about the song he’d performed, titled “Anything Is Possible,” questioning how he dared deliver that message when she had a dream she couldn’t imagine ever fulfilling, considering she had no family and barely any food, water or clothes.
Bortnick asked what that dream was, and when she replied it was to become a dancer, he invited her onstage to dance, encouraging the audience to film them performing together. Afterward, he apologized for having put her on the spot. Meanwhile, a wealthy foundation sponsor saw the whole thing and committed to paying for dance lessons over the girl’s lifetime.
“I realized that music is really, really moving for people, and specifically on a human level . . . It also informed how political I also wanted to be in my music later on. I have a strong connection with a lot of artists who are, and who I really look up to,” Bortnick says.
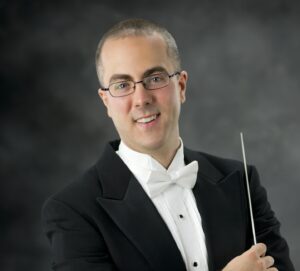
Playing for PBS and performance hall crowds
Following his appearances on TV talk shows, Bortnick also performed on programs including “Yo Gabba Gabba!” and “Little Einsteins,” and there were even conversations about building a full children’s TV franchise around him.
This was another critical time when he and his parents had many frank talks about what that path might mean. To Bortnick, it sounded creatively restrictive, and, like the classical competitions years before, “the opposite of what I wanted from music,” he says.
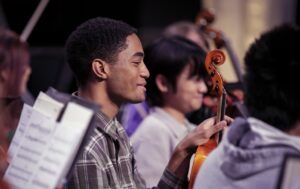
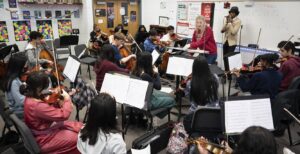
Instead, he committed to PBS specials and drives and gravitated to performing arts centers, often playing to older crowds who listened attentively. He says those audiences became his training ground, as well as PBS pledge drives, which taught him how to hold a room for long stretches. Learning while experiencing became the unofficial theme of his early career, and performing live never felt daunting, he says.
“That started a trajectory that informed most of my career alongside my philanthropic work up until I was about 17,” Bortnick says. “I toured consistently every year, and I couldn’t get enough of it. I must have done somewhere up to a thousand headline shows in those years.”
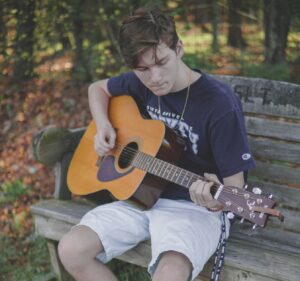
He also began writing music during his teen years, picking up influences quite different from the music he performed on stage. He’d do Frank Sinatra for the crowd, then listen to everything from Death Grips to Paramore to Björk back at the hotel.
Pushing beyond performance
As he matured, Bortnick began to feel a bit restricted creatively, somewhat obligated to stick with the carefully scheduled, familiar and profitable performing arts center circuit. He then made social media an outlet, creating a separate space to experiment outside the expectations of his established audience.
Around the same time, he met collaborator Dylan Edmunds, who joined him on the road as a bass player just after graduating from Berklee College of Music, where he’d studied production. Bortnick credits Edmunds for helping him push through his struggle with songwriting. While he was comfortable with the mechanics of it, writing from a place of lived experience did not come naturally. Growing up on the road had left little room for a typical life, much less situations to fuel relatable storytelling.
He came to realize he was in a bit of a holding pattern, being musically gifted and publicly known, while not yet fully aligned with his own artistic vision.
“Dylan straight up was like, ‘Dude, you’re super boring, low key. We need to figure out what to write about and find an angle because we’re getting into corny territory,’” Bortnick says, laughing. “I was like, ‘You’re not wrong!’”
The duo focused on those angles when the COVID-19 pandemic brought a major shift in 2020, Bortnick says. The long pause made him realize things he’d missed as a teenager, while at the same time, how much he was actively missing not performing and doing what he loved.
“It was almost like a test tube for me, really pushing myself to be as honest as possible and learning a lot about writing music . . .That’s where things started to emerge,” Bortnick says.
The song that ‘cracked the code’
Over one intense week, Bortnick and Edmunds wrote 10 songs, the first of which was “Cut My Fingers Off,” a raw expression of imposter syndrome. Bortnick says it reflects how he felt like he was stepping into a new space without having earned the title of “artist.”
Ironically, that song became the moment he found his sound, he says.
His influences, including Kendrick Lamar’s “To Pimp a Butterfly,” especially, along with the great song storytellers like Joni Mitchell, Bob Dylan and Joan Baez, began to blend into something that’s becoming uniquely his own. He also learned Ableton, which gave him control of production and expanded his capabilities.
When he teased “Cut My Fingers Off” on social media, the response was immediate, and the resonance with people validated what he’d been feeling internally with the drive to pursue his own voice and sound.
“It was the first time that I had felt comfy in a song, comfy performing a song, comfy singing a song, and the lyrics were very true to me. All of it converged into this thing, and then I started doing [more of] that,” Bortnick says.
Looking up, moving forward and keeping family close
Today, Bortnick speaks of still learning and expanding boundaries while refining what he wants to say.
“My goal is to really experiment with where I can go as an artist. I have been trying different ways of writing songs and growing as a songwriter. Part of that was me stepping away from the piano for a bit . . . I think really good artists have a lot of things that people know them for,” Bortnick says.
After that period, he’s been returning to the piano, finding new and creative ways to reincorporate it. He’s even returned to some of his classical music influences while taking it in new directions.
Bortnick toured for part of 2025 and looks forward to returning to the road in 2026. When he goes, most of his family often joins. His grandmother has even been his merch girl on tour.
He wouldn’t have it any other way, and it’s a paramount part of who he is.
“I often say that I attribute nothing to my piano playing or being a musician and everything to them. There are so many talented people in this world, and there are so many people who are a thousand times better than me and a million times just more put together,” Bortnick says. “I feel like so much of the opportunities that I’ve had, the fun that I have had – and this never being like a job for me, is so much because I have my family on the road with me.”
The Three440 Artist Story Series takes you beyond the spotlight and into the real lives of Yamaha Performing Artists. Each story is a window into the creative process, pivotal moments, setbacks and victories that define an artist’s path.