“Going virtual” was something that terrified even the most seasoned and skilled music educators, but it is now a reality for all of us.
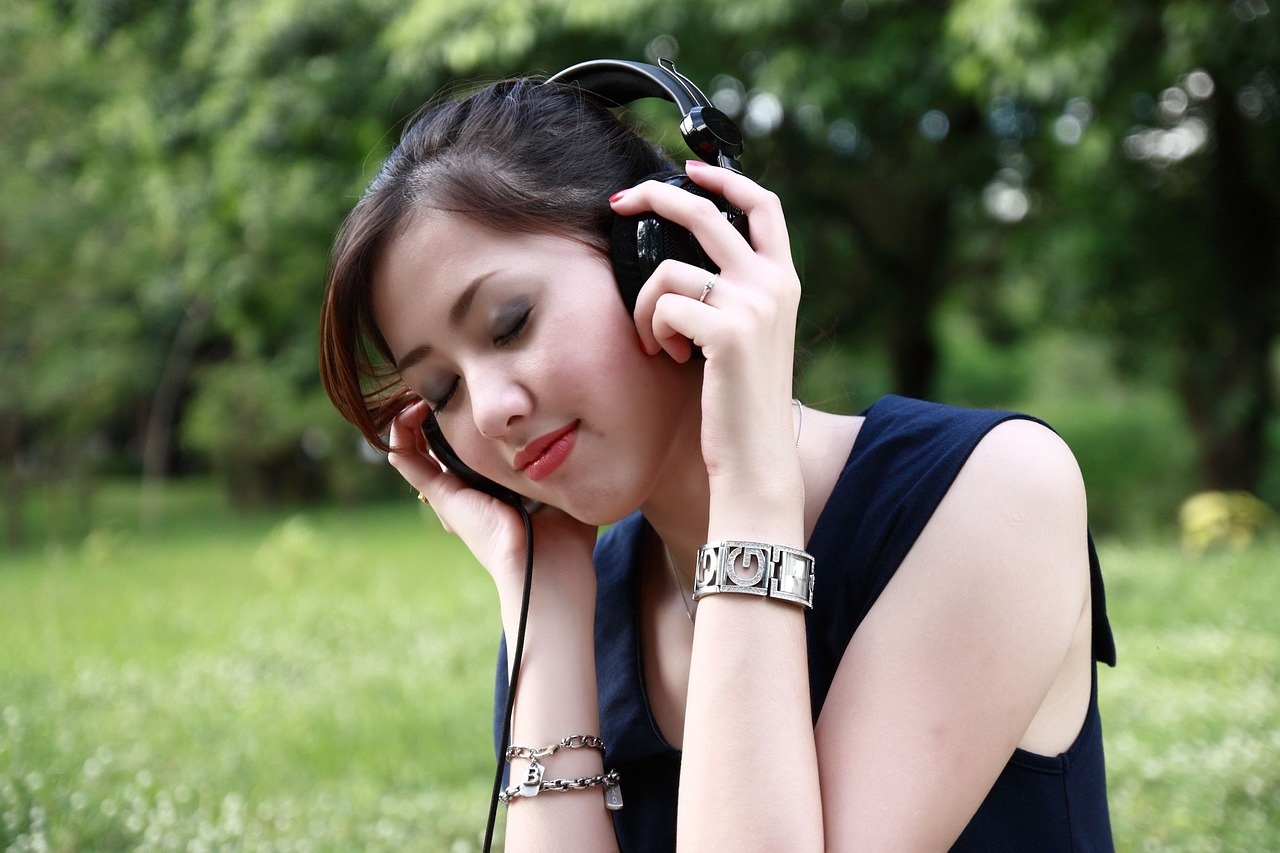
And while most music educators have become proficient in the various online teaching tools to conduct classes, virtual instruction isn’t an ideal way to observe students perform, which limits our ability to provide meaningful feedback. Likewise, it is harder for students to observe us via a computer as their models for performance standards. Streaming services have worked for some, but they do not compare to in-person teaching. As a result, recording performances for feedback has become standard practice for lessons and assessments across our industry.
The quality of these recordings is likely the largest hurdle for students and instructors. Poor quality recordings limit the amount of usable information obtained. Historically, creating audio and video recordings of decent quality required specialized skills and equipment. With advancements in software and technology, creating effective recordings is within reach of most musicians. Below are some tips and tricks to get you started.
READ: Home Studio Troubleshooting Tips, Part 1: Hardware
1. Useful and Versatile Software
Working in a recording-based semester requires the ability to view and manipulate various audio files. Most home computers come out of the box equipped with enough software to get started. However, you may find your device can’t view or manipulate some files the way you would like. To help, there is a myriad of free and economical software to get the job done.
Check out these helpful software applications:
- VLC Player — If your computer can’t open an audio or video file, try this universal, can-play-anything media player.
- K-Lite Codec Pack — Media files are encoded and decoded using codecs. A good codec pack like K-lite can often enable your favorite player to play files it normally wouldn’t be able to. It can also give your player functions it normally can’t perform. In many cases, it can allow media players to access menu options, such as subtitles and language options, in files that have those options within them. While a universal player like VLC Player is typically a simpler solution, the K-lite Codec Pack provides more options and functions while allowing you to retain your favorite media player. There is a higher chance of the codec pack not working compared to a universal player as you are asking two or more pieces of software made by different companies to cooperate on a single task.
- Audacity — This free recording platform is able to do most of what a professional recording software can do. Audacity allows you to record, cut and alter audio files with a greater degree of control than the voice recorder or similar app that typically comes with a new computer, smartphone or tablet.
- Shotcut — What Audacity is to audio, Shotcut is to video. It is a free video editing software that can do most basic video editing and file converting processes. This is helpful for editing videos. Shotcut comes in handy particularly when you have a recording device that only creates files in a format that is exclusive to specific operating systems.
- Windows Media Player — This media player is free and available to Windows users. Although Windows Media Player has recently been replaced by Groove Music as the go-to media player for the Windows OS, it is still useful because of its longevity and compatibility with codec packs.
- iMovie — This video-editing software comes installed on all Apple computers. iMovie provides most of the features of a professional software application with limits in fine-detailed editing.
- Movie Maker – The Windows version of iMovie, Movie Maker is great for getting started as it will let you cut and splice video files together. Its editing capabilities are a bit limited, but it does more than enough for simpler projects.
Many universities and school districts provide software to employees and students for free. In most organizations, you should contact the IT department about software. In some larger school districts, curriculum departments can also provide software to meet educational needs. Often, one department may not know what other departments have, so don’t be afraid to inquire these various avenues within your school or organization.
There will be a learning curve with all software, but luckily you can find tutorials covering just about any process in any software online. Not all advice from tutorials works in all situations equally well. You will need to experiment with the platform to find how it best works for you. Keep it simple and experiment with one or two elements at a time.
Start with small improvements, which will lead to noticeable changes down the road. Like with anything else, discovery and proficiency will come after slow and consistent practice.
READ: Home Studio Troubleshooting Tips, Part 2: Computer and Software
2. Treat Your Recording Space
Many homemade recordings are subpar, which makes understanding their content difficult. Sometimes the audio is too quiet or too noisy. Frequently, the audio sound is boxy, devoid of the dynamics and tone that reflects the actual playing. Most of the time, these issues are because the room creates acoustic problems for the microphone. Thankfully, the solutions are quick and inexpensive.
The most common reasons for bad audio on recordings are the hard surfaces in a room that reflect sound waves, which can fill the room with additional sound that detracts from audio clarity. Flat surfaces can reflect sound waves directly back toward their source, amplifying the issue. Two parallel flat surfaces like the walls of a typical room can ruin your recording. The sound waves bounce back and forth like a ping pong ball across your microphone, which creates harshness, “boxiness” or distortion. Any device that can auto adjust volume levels, sometimes known as auto-leveling, will try to account for this extra sound by adjusting the sensitivity of the recording. Instead of an overall harsher sound, auto-leveling can result in flattened dynamics and a lifeless tone.
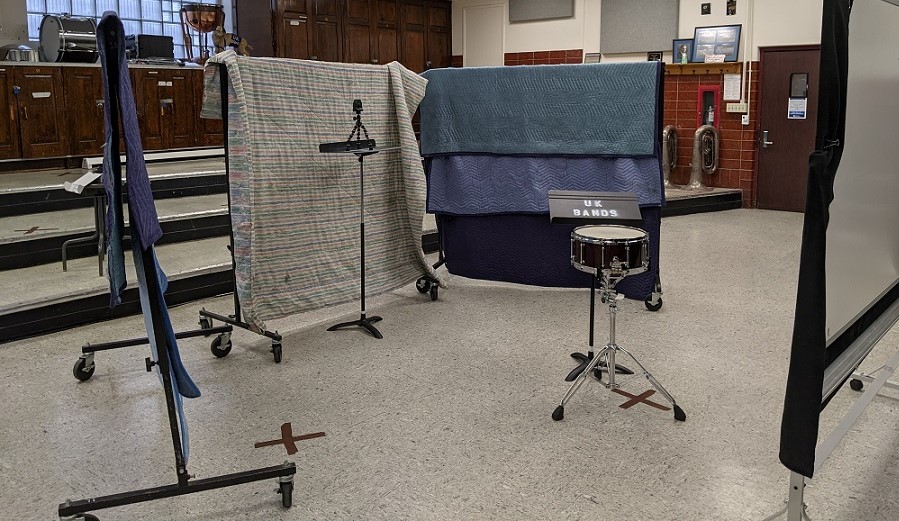 You can negate some of the effects of the hard surfaces in your recording space by placing soft surfaces in front of them (see photo to the right). This is called “treating the room.” These soft surfaces absorb some of the sound waves instead of reflecting them. Where you place the soft surfaces can increase their effect. You can purchase a reflection filter that isolates the preferred sound and minimizes the sound of the room. However, a do-it-yourself, economic alternative is to throw blankets over something tall like an extended cymbal stand or large gong rack. To be most effective, these soft surfaces should be placed either directly behind the microphone or directly in line with where the microphone is pointed, such as behind the performer. Even placing the recording device in front of couch pillows or a towel-draped music stand can go a long way.
Also, try to find ways to break up parallel surfaces. With hard surfaces facing a variety of directions, the sound waves are reflected at more angles. This is known as acoustic diffusion and can be used to create resonance without overloading your microphone. Bookshelves are an easy and cheap way to do — and most people already have them in their home. See NPR’s Tiny Desk Concerts Tiny Desk Concerts for a great use of bookshelves as acoustic diffusers.
READ: Better Monitoring for Better Mixes
3. Use More Space
The size of your recording room contributes greatly to what you can achieve in terms of recording quality. Smaller rooms can be problematic because the walls are closer to the instrument, microphone and each other. This close proximity can exacerbate the negative effects of those walls. It’s also easier to over play the room because it contains less air and gives the sound less space to develop. It’s possible to achieve high-quality results in a small space, but it requires more equipment and skill.
Microphone placement is critical in achieving effective recordings, and a larger room gives you more options of where to place your microphones. Generally speaking, more space leads to a more successful recording.
4. Location of Your Recording Device
The closer the microphone is to the instrument, the stronger the signal. Too close, and you can overload the microphone, leading to distortion or compression from auto-leveling. Too far, and the microphone won’t pick up enough sound to generate a good recording. Also, as the microphone gets farther from the instrument, the room’s acoustics become a larger part of your recording. You need to find the sweet spot that allows for a great instrument sound, but this sweet spot will change based on the microphone and the room.
In the band room at the University of Kentucky, for example, a good snare drum sound can be achieved with a distance of about 6 to 7 feet between the instrument and the microphone when using large diaphragm condenser or laptop microphones. However, with a handheld recording device equipped with small diaphragm condenser microphones, 4 to 5 feet (or four floor tiles) works better. You will need to experiment to find the distances at which your devices provide the optimal audio for different instruments.
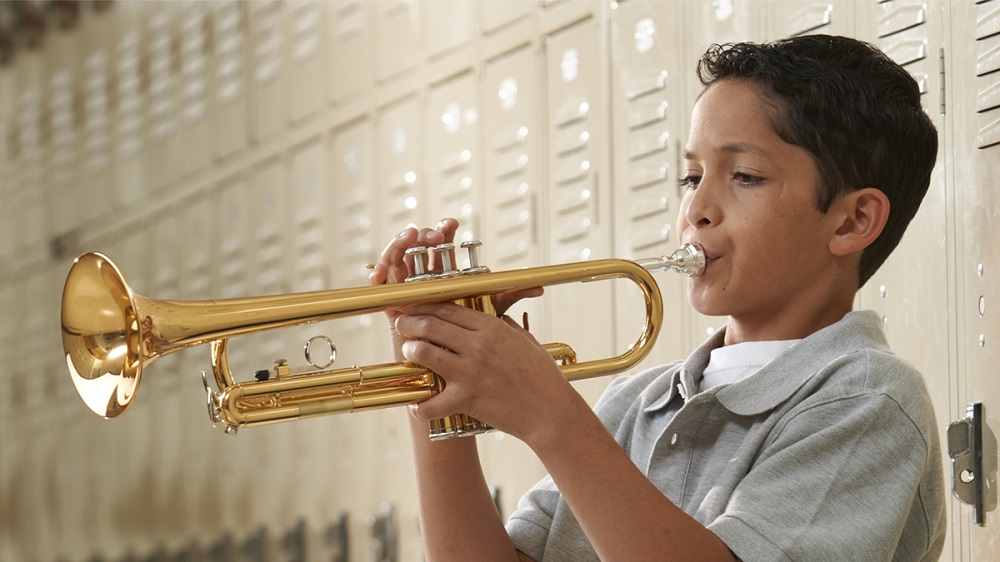
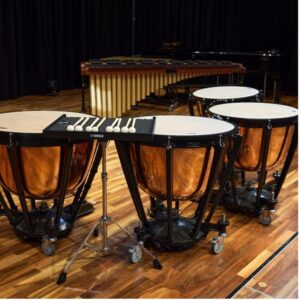
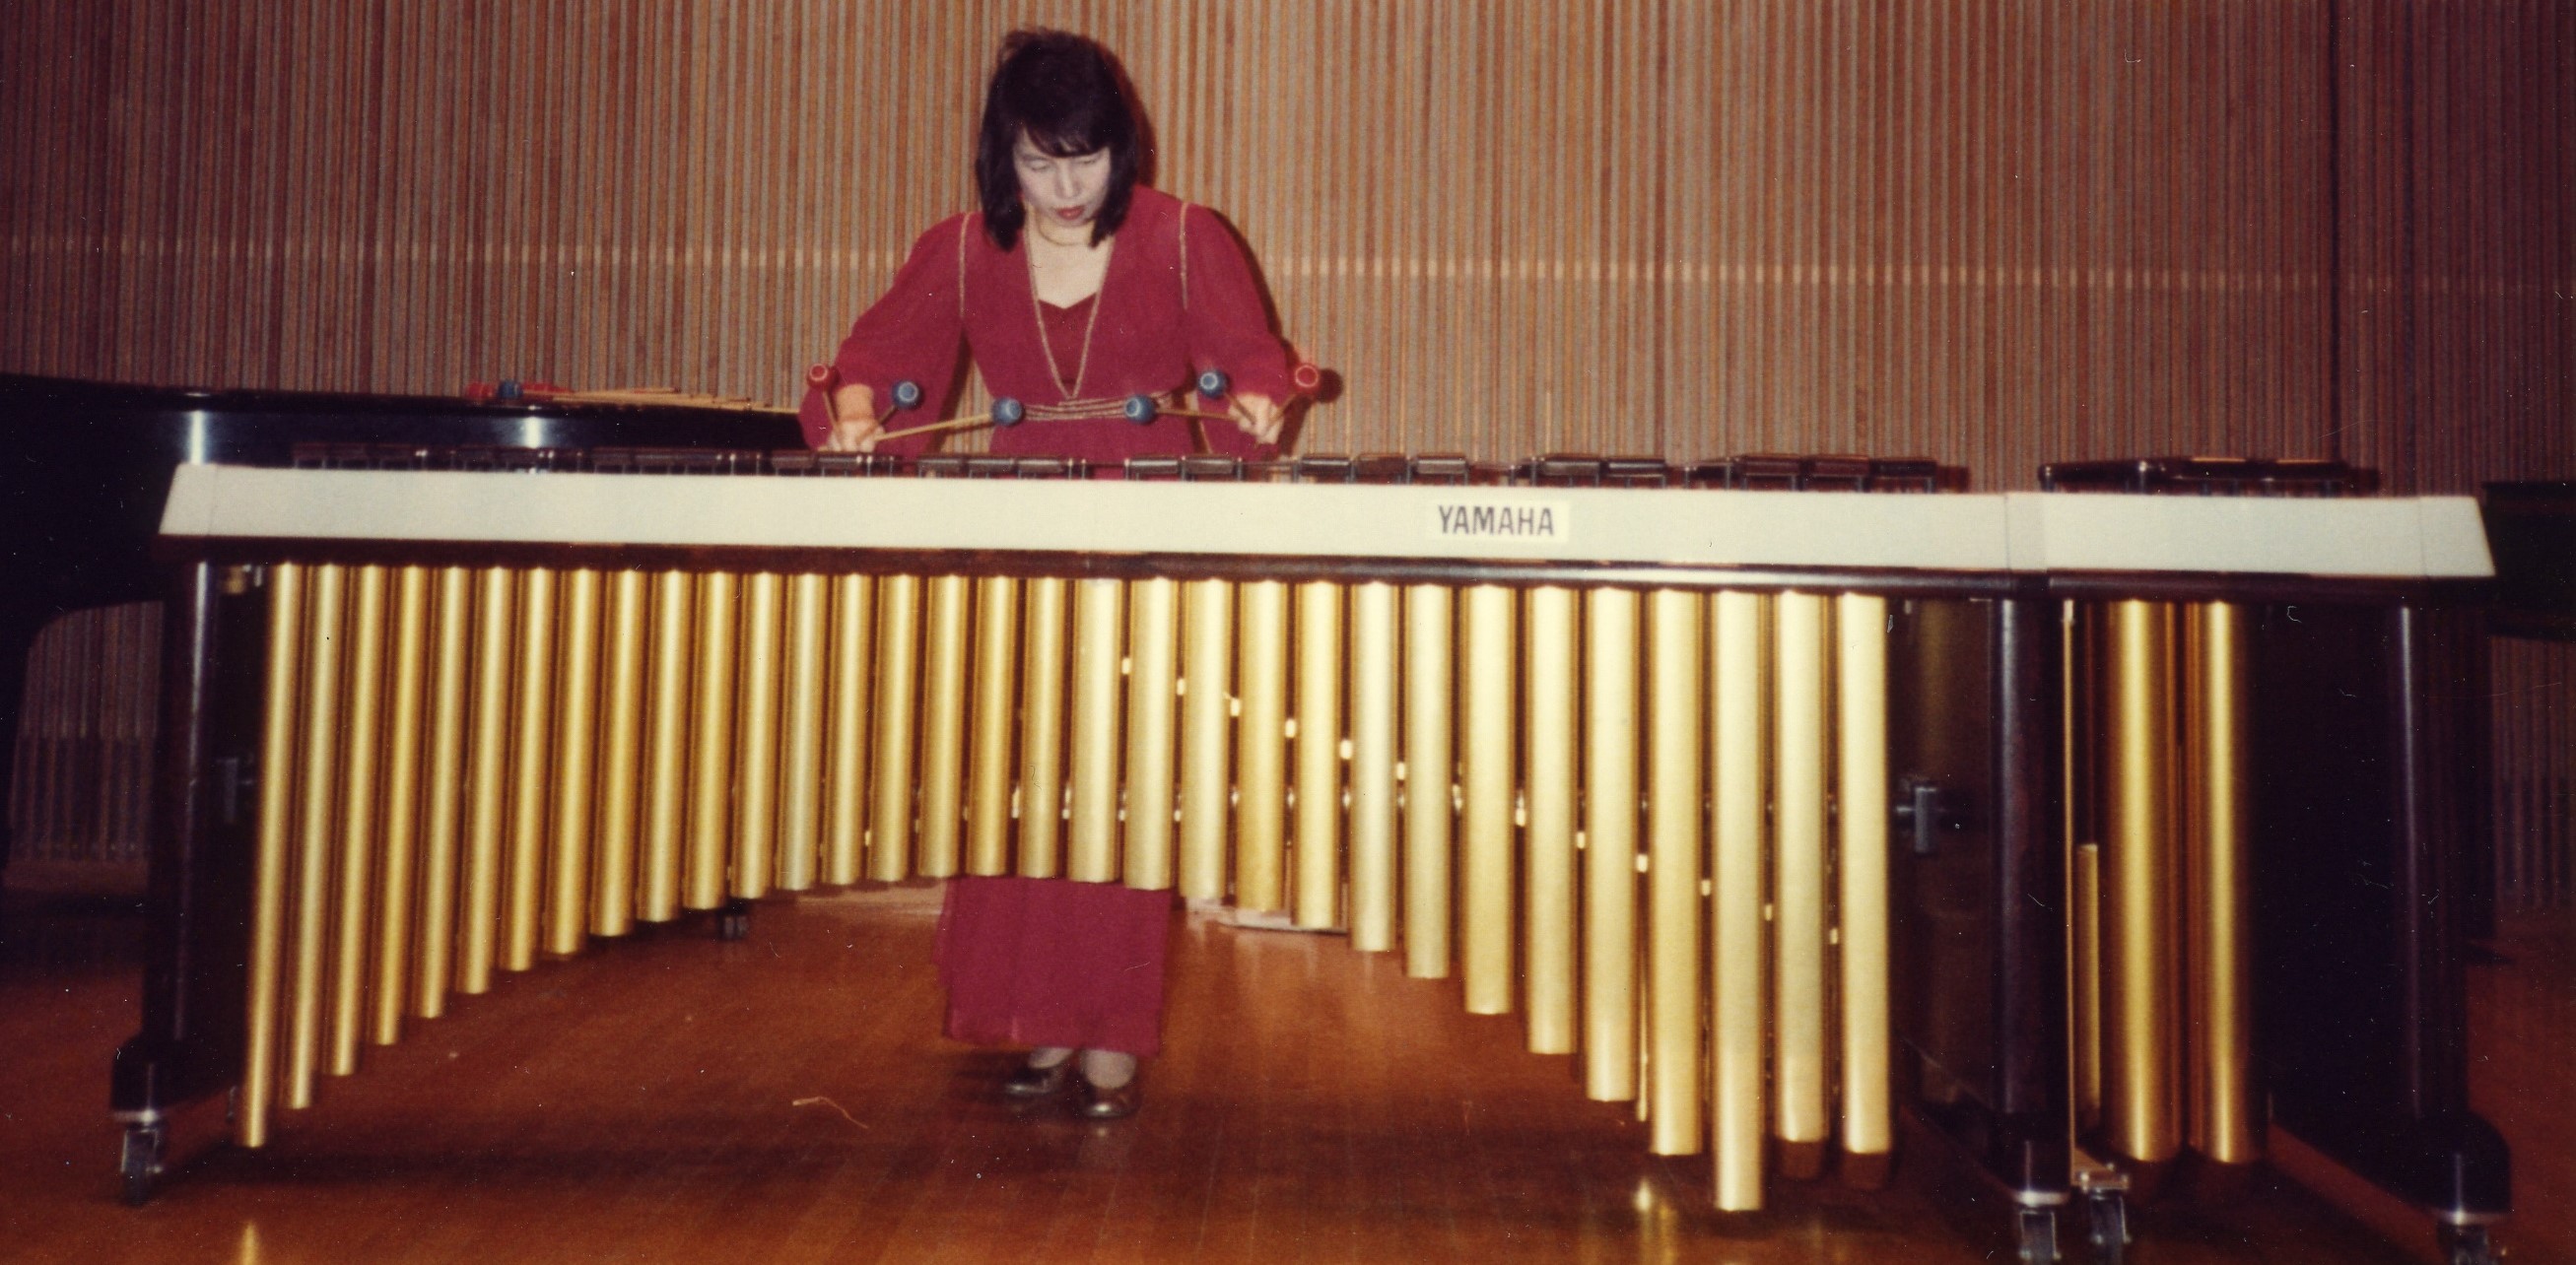
Each instrument projects in a unique manner. Timpani and acoustic keyboards can really benefit from being recorded from above, while the snare drum and trumpet often sound better with the microphone lower and farther away. In addition to distance, don’t be afraid to experiment with the height of the device to record the best sound.
READ: How to Place and Use Microphones Correctly
5. Gain and How to Use It
Recording with a dedicated video recorder or using a microphone will allow you to adjust gain settings, which controls how much sound will be picked up by the device. If gain is too high, you’ll be able to hear unwanted sounds, such as HVAC systems, lights, pedal movements from a keyboard instrument or even people talking outside the room. When gain is too high, it also runs the risk of overloading a microphone, causing distortion.
If gain is too low, the microphone won’t pick up the full tone of an instrument, and you won’t hear as much detail. As of a rule of thumb, louder environments and instruments require lower gain settings. Find the sweet spot by playing the loudest and softest points of a piece, then listen back for the desired tone quality at both levels. When assessing the play back, use headphones to hear details. The speaker on your recording device will not be able to reproduce all the frequencies that were recorded. Headphones allow you to isolate any issues.
Gain and the distance of the microphone from the sound source work in tandem. The farther the microphone is positioned from the instrument, the higher your gain settings will need to be. Every situation requires a unique combination of gain and microphone distance.
Many smartphones and tablets do not give you the ability to access the gain settings. Instead, newer models often have very active auto-leveling, which has led to a huge increase in the quality of audio recordings. Athough these automatic adjustments provide decent-sounding audio, they can lead to inaccurate recording. The device may automatically adjust the gain setting to prevent overloading the microphone, which means the dynamic range of the recording will be altered and misrepresented. The device may also be engaged in dynamic range compression, which adjusts the recording so the quietest and loudest moments fit within a desired volume range. Dynamic range compression can alter the tone quality of the instrument. These automatic adjustments do not render the recordings they make useless. But both instructor and student must be aware of these effects.
READ: Get Ready, Get Set…Mix!
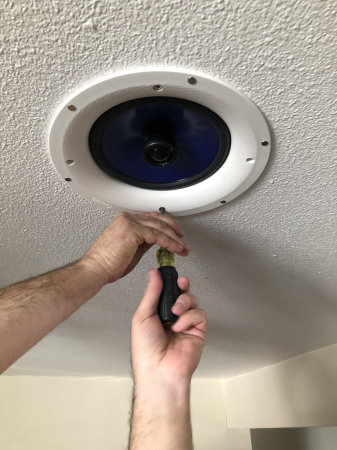
6. The Direction Your Microphone Faces
It is important to know where your device is capturing sound. If you’re using a phone, is the microphone on the front, back, bottom or side of the device? If you’re using a video camera, is the mic on the front? If using a microphone, is it a side or top address mic?
This information is crucial to avoid poor sound quality. For example, if the microphone is on the screen-side of a phone or tablet you are using to record, know that your microphone is likely pointed in the opposite direction of your phone’s best camera. This means you may be inadvertently recording the sound that bounces off the wall behind the camera rather than recording the instrument directly.
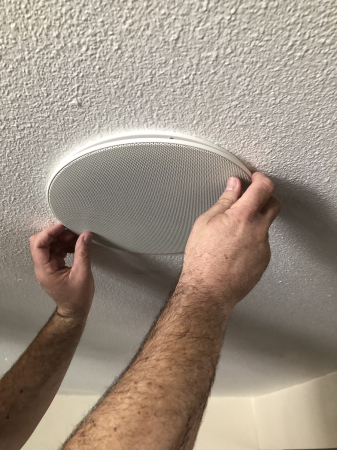
7. Video Tips
 With recording devices becoming more and more automated, obtaining good video is increasingly easy. Nearly all current smart phones are capable of producing semi-professional-level videos and are becoming the camera of choice for those on a budget. However, the recording device can only do so much. You can help make your recording better by giving it good, quality light and good placement compared to its subject matter.
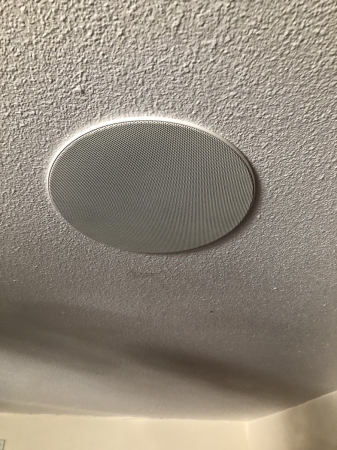
Your camera needs light the way a microphone needs sound. Too much and the images become washed out. Not enough and you lose details, and the images become dark. The angle of the light matters as well. Ambient light is good but supplement it with additional light placed behind and to the side of the camera so that the subject is illuminated more on one side than the other. This can be accomplished by setting the camera in a place that allows a window to supply that extra light.
The quality of the light also matters. Some incandescent light bulbs have a yellow light that can distort the color of the video, which in turn can detract from the clarity of the image. Any attempt by the camera to correct for this color imbalance can lead to reduced clarity as well. With LED lights becoming more common, artificial light is more white — similar to sunlight — and will not negatively affect the color of the image. When in doubt, a window can be a great solution for adding additional light when recording during the day (see photo above).
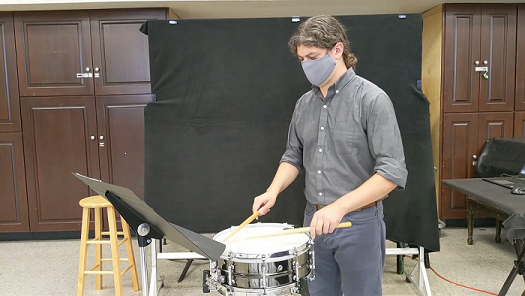 Also, consider what needs to be in the frame. Think of all the elements of your students’ performance that you observe when you teach them in person. Ask your students to do their best to include those elements in the recording — and you must do the same. For example, you will need to see their hands, arms and upper body for just about any instrument. Wind players will need to include their face as well. Asking them to film themselves in front of a solid color that contrasts with their skin tone can lead to clearer images and make up for poor lighting situations. I frequently record myself in front of a black sheet of fleece that acts both as a sound dampener as well as color contrast (see photo to the left).
8. File Sharing
Audio and video files can be extremely large. This makes them hard to store and share, and slow to download. Email attachments have a relatively low size range, making many media files too large to email. Uploading files to a cloud storage system, such as Google Drive or Dropbox, is ideal. Using cloud storage gives multiple people access to files without having to send an actual copy of it through email or transfer it on a flash drive, leading to smoother and quicker access to the files you need.
However, cloud storage services limit how much space you can use. Large files can consume your allotted space quickly if not monitored. Large files also take longer to upload and download.
You and your students must keep file sizes under control. Many devices produce audio and video files in an uncompressed form, such as .wav or .aiff, which can be compressed into a .mp3 or .mp4 file to save space. Agreeing as a studio or class to use specific file formats can help ensure file sizes remain reasonable.
Another reason to agree on specific files formats is the use of restricted file formats, like .mov or .wma. Some of these restricted files can’t be played with the default media player that comes with your device. Converting these file types to a universal format can also be difficult. Again, agreeing as a class to only use specific file formats, such as the universal .mp3 or .mp4, will ensure that your virtual lessons go smoothly.
Rather than sharing actual files and worrying about file formats, students and teachers could use a video-hosting site like YouTube or Vimeo. These sites can provide the smoothest way to share files as the users only need to share a URL. The hosting site takes care of all other details, such as file formatting. However, these services can be a bit tedious to use on the back end of the program with their settings, forms and processing time.
Only you and your students can establish what is best for your class. Agreeing to a set procedure for sharing files limits the amount of “lost” files due to using too many services and methods.
Next Steps
As recording becomes a larger part of what music educators and students do, you may want to take the experiences you’ve developed and take them to the next level. Consider buying a recording bundle consisting of a stand-alone microphone, which can increase the accuracy of your recording sound, and an audio interface, which transfers what the microphone catches onto your computer. Alongside your phone’s video camera, you can have increased control over the sound of your recordings.
There are many brands and types of microphones. Generally speaking, a cardioid condenser microphone is best for ambient recording. Trust brand names because it is easy to obtain low-quality microphones from unknown companies.
Your microphones and interface must be paired with recording and video-editing software (see “1. Useful and Versatile Software” at the beginning of this article) to cut the audio and align it to the video. This is not a quick “shoot-and-send” method and involves a few more steps and considerations. However, it will produce higher quality videos and will be an invaluable skill for our evolving industry.
Please keep in mind that the recording process can be confusing and frustrating. Keep seeking solutions. Experiment with room setup and device settings and keep looking for the best way to share your recordings. All this work will eventually lead to a smoother virtual experience as we strive to refine our virtual instruction.


 This article originally appeared in the 2020N3 issue of Yamaha SupportED. To see more back issues, find out about Yamaha resources for music educators, or sign up to be notified when the next issue is available,
 Her lead teacher at Curtis was the legendary
  Connecting with Students
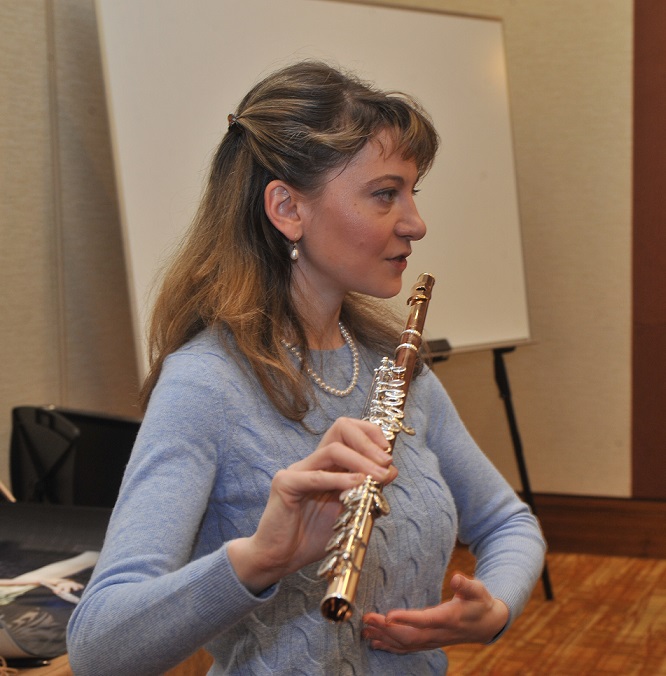
 This article originally appeared in the 2020N3 issue of Yamaha SupportED. To see more back issues, find out about Yamaha resources for music educators, or sign up to be notified when the next issue is available,

 Step 1: Sound the pitch [e.g., piano, marimba, tuning fork, tuner app. I am not a fan of a pitch pipe].


 Be ready for anything, and I mean anything — even a terrible pandemic that shuts down schools across the country! The silver lining is that you will invent new ways for your students to learn and grow without actually being together in person. You’ll digitally host famous performers and artists who will engage your students in conversations. You will work together with your friends and colleagues to create a new teaching paradigm using smaller groups and exploring some of the greatest music ever written.
 This article originally appeared in the 2020N3 issue of Yamaha SupportED. To see more back issues, find out about Yamaha resources for music educators, or sign up to be notified when the next issue is available,
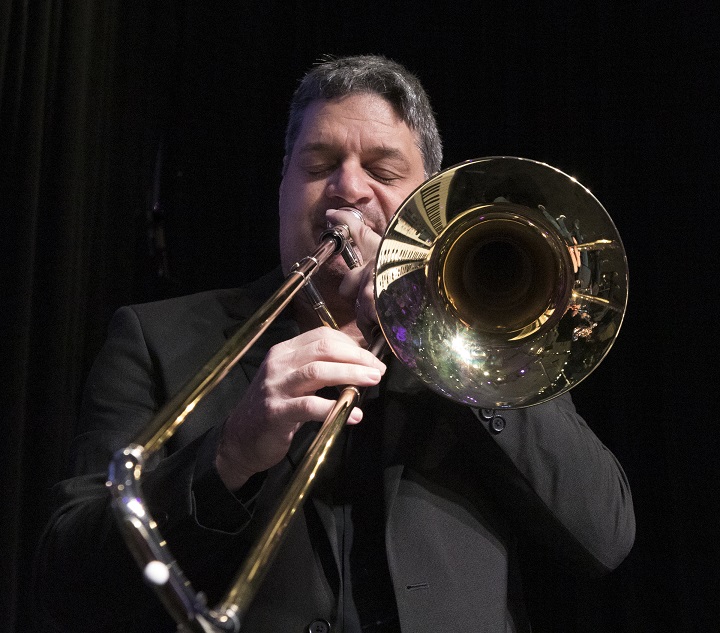 As composer Hector Berlioz said, “The trombone is the true head of the family of wind instruments … it has all the serious and powerful tones of sublime musical poetry, from religious, calm and imposing accents to savage, orgiastic outburst.”
 Another big issue for trombone students is syncing between the slide and the articulation when they play. What makes the trombone unique compared to other brass instruments is how it changes notes or pitch. You change notes on trumpets, French horns and tubas by pressing a key or valve. Trombonists have to deal with a slide to change notes, and we also need to match articulation and phrasing with the other instruments. In many cases, the slide movement is late or slow as players go from one note to the other, or they stop the air (note) to move the slide to reach the next pitch. Either scenario is a big mistake.
 Students with bad posture in band/ensembles may not seem like a big issue, but it is. Posture affects breathing and sound.


 Reset 1: Make it Fun
 Reset 2: Make it Decadent
 Reset 4: Simple Swaps are Powerful
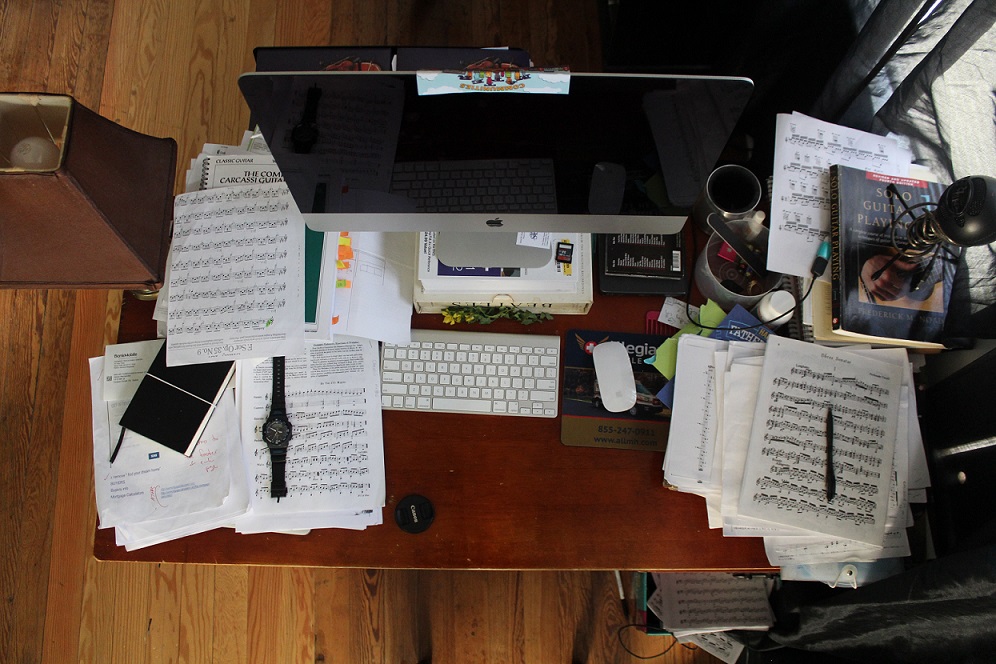


 This article originally appeared in the 2020N3 issue of Yamaha SupportED. To see more back issues, find out about Yamaha resources for music educators, or sign up to be notified when the next issue is available,


 This article originally appeared in the 2020N3 issue of Yamaha SupportED. To see more back issues, find out about Yamaha resources for music educators, or sign up to be notified when the next issue is available,

 This article originally appeared in the 2020N3 issue of Yamaha SupportED. To see more back issues, find out about Yamaha resources for music educators, or sign up to be notified when the next issue is available,
 Due to the pandemic, Vogt and her students had to pivot to remote learning for the last three months of school. Since resuming the new school year in a face-to-face setting, students are adapting to a new set of protocols, such as remaining six feet apart, equipping their instruments with bell covers and rehearsing outdoors. Franklin’s marching uniforms now feature a facial covering.
 Avoiding and Adapting to Budget Cuts
 Vogt says that she’s learning to trust in students. “We’re giving up a lot of control and putting it in the students’ hands,” she says. “We’re saying, ‘Teach us how to help you in this new world that we’re living in.’”
 This article originally appeared in the 2020N3 issue of Yamaha SupportED. To see more back issues, find out about Yamaha resources for music educators, or sign up to be notified when the next issue is available,
 The Strike program has a continuum of levels: 4th and 5th graders can join Lil’ Strikers; 6th through 8th graders can participate in Mini-Strike; and high schoolers can perform in Strike. High schoolers in Strike must also be a part of Caledonia’s curricular band or orchestra.
 The Pipes and Drums band performs locally but with a wide breadth of paid and unpaid performance opportunities. The
 The discussion led
  According to research from the Institute for Composer Diversity, white men wrote nearly 95% of the pieces on suggested repertoire lists for school bands in 23 states. Therefore, state lists should not be the only source for programming ideas, says Liz Love, band director at
  Finding new material and learning to teach it take effort. Some band directors may shy away from unfamiliar musical cultures, styles or composers for fear that “they [might not] have the background, training or knowledge to navigate the musical and cultural content successfully,” Meals says.
 This article originally appeared in the 2020N3 issue of Yamaha SupportED. To see more back issues, find out about Yamaha resources for music educators, or sign up to be notified when the next issue is available,


 But how is this possible for the 2020-2021 school year when the country is in the middle of a pandemic? A large gathering for a musical performance is definitely out of the question.
 MAC thanks


 Introspection
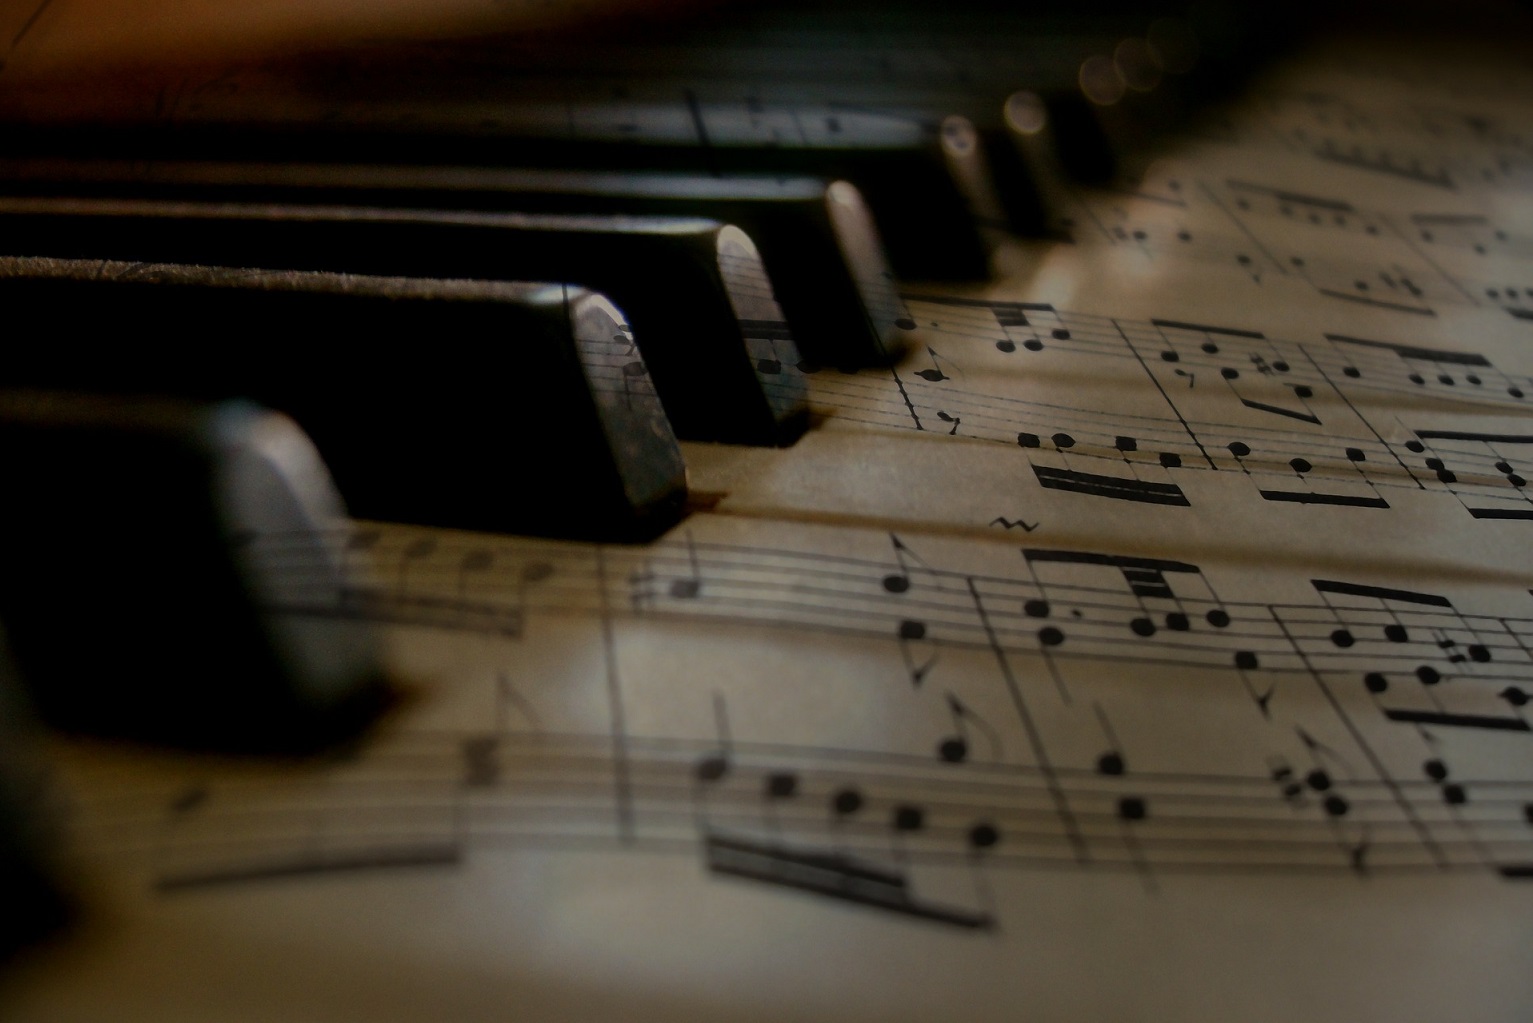 Composer Gatherings