Claudia Taylor “Lady Bird” Johnson High School in San Antonio, Texas, opened in 2008 as the seventh comprehensive high school in the North East Independent School District (NEISD).
I am lucky to be Johnson’s band director since the school opened, and I have worked enthusiastically with our staff and community to grow the music program. I started teaching at Johnson my first year out of college, so I have “grown up” with the campus, and it has been a remarkable journey to see so many lives changed coming through the school’s band program.
Because Johnson was constructed on top of one of the tallest hills in Bexar County, the community dubbed it the “City on the Hill.” The campus is colorful and vibrant to match the wildflowers that Mrs. Johnson shared with the country as first lady. (There’s a Lady Bird Johnson Wildflower Center at the University of Texas at Austin.) The school opened with about 1,800 students, splitting from Ronald Reagan High School after receiving approval from the community in a 2005 bond. I was a student-teacher at Reagan in 2007, the year prior to the split, and helped navigate the transition for Johnson’s band members from Day One with my friend, mentor and colleague, Alan Sharps, who recently retired after 40 years of teaching. Together, we opened and established the Johnson program.
 Looking at an explosion of population on the northside of San Antonio, the NEISD 2005 bond aimed to relieve stress on Reagan, which had a capacity of 3,000 students, but enrollment was approaching 4,000. The initial plans for Johnson provided for a capacity of 3,000 students, but during construction, administrators approved an additional wing that expanded capacity to 3,200. The new campus included a 4,000-square-foot music rehearsal hall.
Because of unprecedented rainstorms in 2006, campus construction fell behind schedule. Johnson opened in 2008, but with only 70% of the campus operational. The cafeteria, athletic fields, auditorium, library and many of the classrooms weren’t functional until Christmas.
However, the show must go on! For our 2008 band camp, the Johnson band rehearsed at neighboring James Madison High School, and we quickly learned that the field was inundated with fire ants. The kids remained positive and had a great sense of humor as they dodged the ant mounds, and the parents worked to eliminate the threat, but the fire ants proved to be worthy adversaries over our two-week camp.
Through most of that first school year, students worked through the challenges of continued construction and a less-than-smooth transition to their new campus, but they maintained the very best attitude. I think the challenges of Johnson’s first year created our culture of flexibility and adaptiveness, which, 12 years later during the COVID-19 pandemic, proved to be invaluable traits to help the band win its first state championship in the face of tremendous adversity.
Less than 10 years after Johnson opened, the school’s music program had grown so much that it required a new hall. During this time, the campus had doubled its instrument inventory but needed more, and music staff expanded from three full-time band directors to four.
Johnson successfully received community support, and in 2018, construction began on an additional $2 million, 3,500-square-foot band hall next to the campus’ existing facility.
Gain Support by Educating Administrators and the Community
When pursuing anything that involves asking for funding — additional facilities, equipment, staffing, etc. — I find that the single most crucial piece of the puzzle is to patiently educate stakeholders. Administrators and parents may or may not realize your needs until they can see them spelled out clearly with facts and supporting data.
By examining other districts with similar demographics and learning from others, we were able to entice stakeholders to see the value in our proposal. We shared good news about our program’s accomplishments and demonstrated the value of the financial investment, which helped support a growth-minded vision. We began the process by sharing facts and evidence and then followed up patiently and consistently. With time, the Johnson band directors successfully made their case for expansion.
District’s Guiding Principle: Equity
NEISD is a socioeconomically and ethnically diverse district that spans over 144 square miles on the northcentral and northeast side of San Antonio. The district was formed in 1950 and has grown from one high school to seven, 14 middle schools and over 40 elementary schools that serve nearly 68,000 students.
Equity is the guiding principle for the school district. Whenever the district builds a new school, it also targets one of the older schools for additions or demolition and reconstruction. Over the last two decades, NEISD has rebuilt from the ground up two of its original high schools and significantly added to or remodeled four other schools, including Reagan, which opened in 1999.
The district has also torn down and reconstructed several aging middle schools to provide new academic wings, and fine arts and athletic facilities. District planners and leaders meet annually with campus administrators and community members on the (CBAC) to identify new or replacement construction priorities and plan a vision for these subsequent upgrades. In other words, by the time construction is wrapping up on one bond, the district is already preparing to float another to address needs and improve the experience of its students.
Traditionally, when floating a new bond, the district approaches a “wish list” that focuses on seven categories, five physical construction and two related to bond management:
- Safety and security
- Instructional technology
- District operations
- Extracurricular Programs (athletics and fine arts)
- District Facilities
- District Bond program management (financial management)
- Bond Global Contingencies (financial management)
Johnson’s new band hall fell into category #4. Here is the breakdown and project list from the NEISD 2015 bond.
The 10-Year Growth of Johnson’s Band
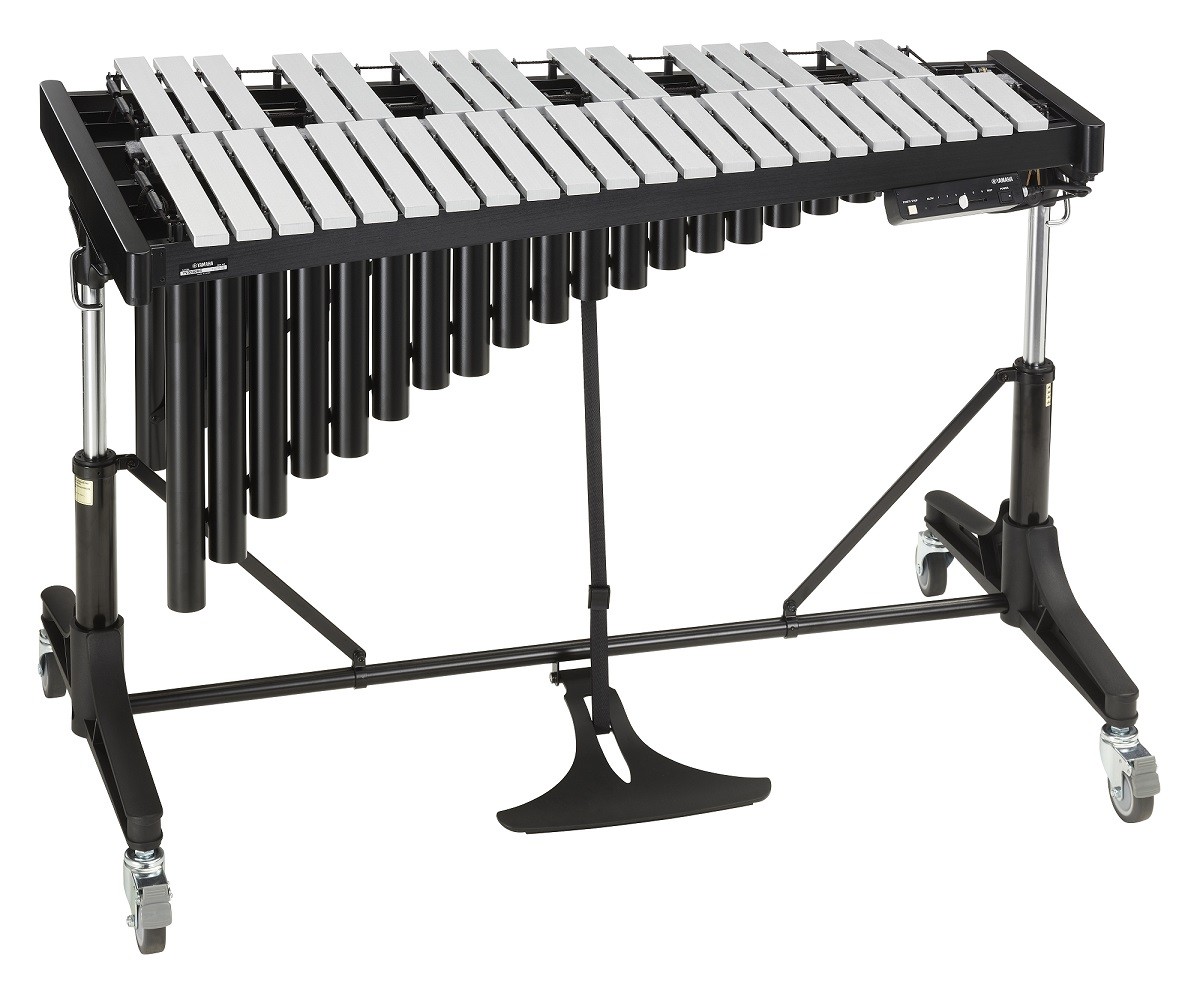
When Johnson opened in 2008, the band hall was built based on the model used in other district high schools. The 3,904-square-foot building had a capacity of 195 students. Johnson also boasted a smaller “ensemble” classroom with an additional capacity of 38 students. The facilities were adequate for the band size of 150 in 2008 and could comfortably accommodate up to 200-250 students.

Year 1, 2008-2009 — 150 students in band: The band opened with smaller junior and senior classes that were split from Reagan, a heathy-sized sophomore class (40-50) mixed from Reagan and and a strong incoming freshman class from Tejeda Middle School (50-60).
Year 2, 2009-2010 — 190 students: With a small senior class graduating from the year before, the band added another healthy freshman class and rapidly approached 200 students.
Years 3 to 5, 2010-2013 — 220 students: With a single middle school feeder, the Johnson band stabilized at around 220 total students with four full classes that ranged in size from 40 to 60 students in each grade. Growth had stagnated in the North San Antonio area due to the economic downturn of 2008-2009, and the school enrollment remained flat at around 2,500 students.
During the fall of 2011, NEISD narrowly passed a bond that included the construction of the district’s 14th middle school, which would be a second dedicated feeder for Johnson. The construction of the new middle school was controversial because several of the middle schools surrounding Johnson had plenty of capacity, and growth in the North San Antonio area was reasonably flat to negative.
Fortunately for the Johnson band, the construction meant a new infusion of numbers and talent. Instead of 300 students in a single middle school band, future projection models showed 550 to 600 students in two middle school bands.
Years 4 to 8, 2013-16 — 260 students: As the economy recovered, construction of new homes in the Johnson attendance zone began to grow gradually. Tex Hill opened in the fall of 2014, just three years after the bond passed to build the campus.
In the fall of 2013, the Johnson band exceeded 250 students, and rehearsing the entire marching band together indoors became impossible. The band started utilizing orchestra, choir and any available spaces in the fine arts wing during the school day.
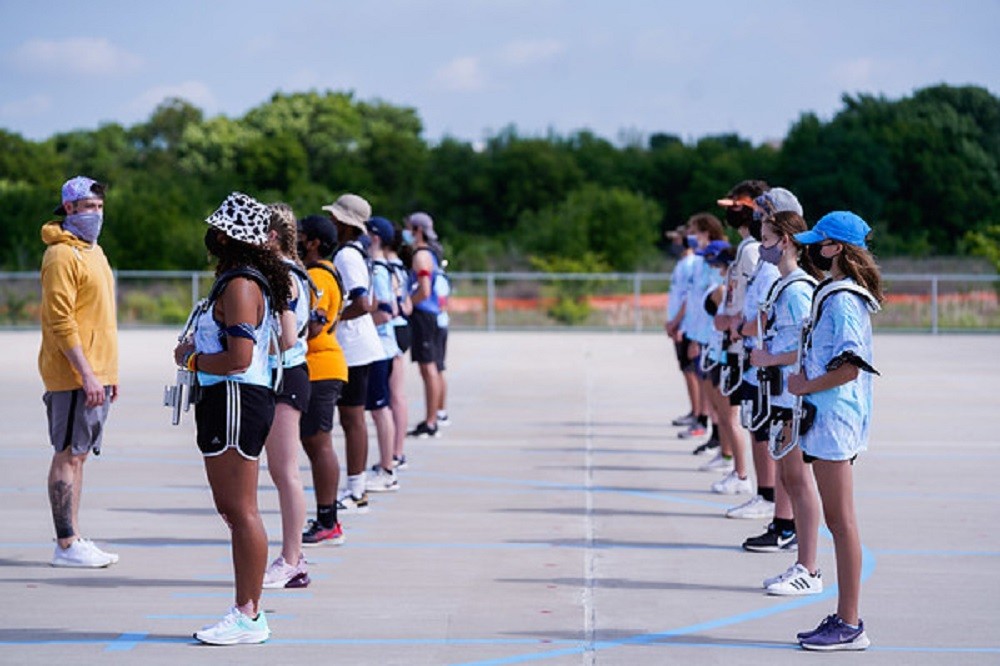
Our color guard numbered 40 members for the 2013-2014 school year, and the entire team could not rehearse inside the current band hall due to space constraints. With the campus growing, gym space was at a premium, and our color guard often had to split into two groups to rehearse. Half of the flag students would be inside with the color guard director; the other half was outside, rehearsing with student leadership and a band director supervising.
After Hill opened, Tejeda continued to flourish, and projections based on retention and the 2014 size of the sixth-grade class between the two middle schools showed that the Johnson band would reach 350 students within three years.
We shared the 2014 projections that forecasted that the incoming 6th-grade band class would nearly double — from 100 beginners to 200 — and demonstrated the down-the-line impact on Johnson High School’s band program.
We initially requested a portable for additional rehearsal space during the day. But, as the CBAC was meeting in the fall of 2014 to discuss floating another bond in 2015, we began to discuss the idea of expanding the band hall capacity at Johnson and other campuses in the district that were seeing similar growth.
 The CBAC identified Reagan, Johnson and Winston Churchill high schools for band hall expansion projects on the 2015 bond. Legacy of Educational Excellence (LEE) and MacArthur High would also receive upgrades to their band and fine arts facilities, but not additional capacity, with bond funds. Theodore Roosevelt High School had already received a new fine arts facility in 2008, and Madison welcomed a new fine arts facility as a part of the 2011 bond. In the end, the district listened to its teachers, band parents and administrators and significantly improved the fine arts facilities at all seven high school campuses.
Year 9, 2016-2017 — 303 students: The Johnson program surpassed 300 students in the band as projected.
Year 10, 2017-2018 — 350 students: Contractors broke ground on Johnson’s new band hall at the end of the school year in 2018 and completed the project in the summer of 2019, in time for the 2019-2020 school year. The new facility added nearly 3,500 square feet of space and an additional capacity of 175 students. It included a small classroom for instruction, a new office, a new storage room and additional instrument locker storage. The original architect for Johnson High School also designed the addition to provide for continuity. The addition looks like it was there from Day One.
The larger Johnson band has benefited tremendously from the additional capacity granted through the 2015 bond. With the new facility, the capacity at Johnson is over 400 students now. All band students also have enough locker space for equipment.
With COVID-19 challenges, the additional space was invaluable as we split bands into smaller groups. Band enrollment dipped to 310 due to the pandemic, but numbers have bounced back, and we are currently sitting at 335 for the 2021-2022 school year.
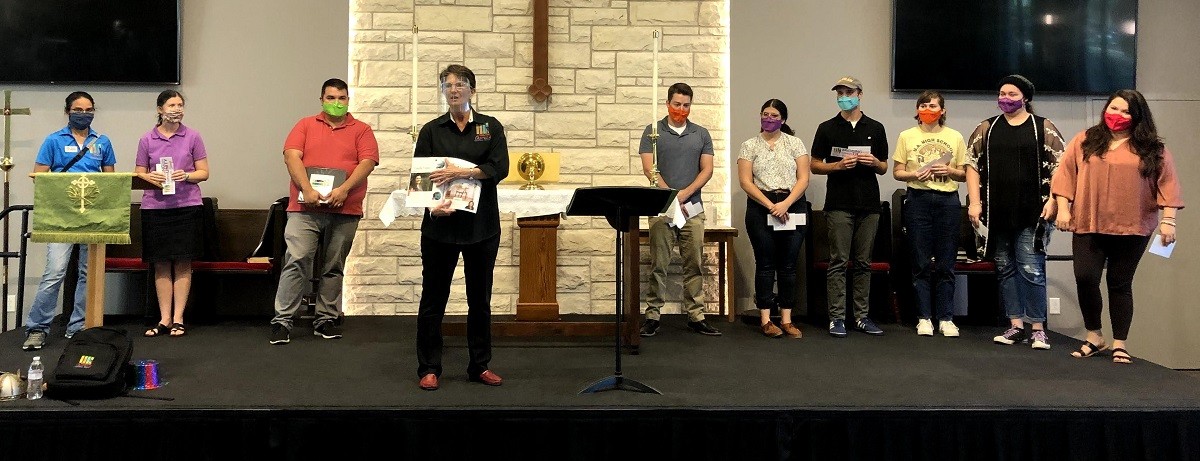
 with the Johnson High School drum majors showcasing their state champion trophy at UIL State in December 2020. This was Johnson's first title and the first time a San Antonio band won the title since 1986.")
Staffing and Team Teaching
As we approached an enrollment of 300 students in the 2015-2016 school year, we met with our principal and requested hiring a fourth band director. Our orchestra program was also growing, so administrators decided to support both disciplines and hire a single director who would split time between band and orchestra. The additional staff member was a blessing in managing the transition from 290 students to 350 in the band and the orchestra’s growth to 150 students.
The four directors at Johnson work together closely, but each has a defined role. I am the Head Director, which is like the CEO of a corporation. I chart the overall course for the program, manage communication, coordinate fundraising and engage with the middle schools daily to recruit and retain students. I also conduct the wind ensemble/honor band and direct and program the marching band. The Associate Director, which was the position Mr. Sharps held, is the eyes and ears of the program and has his/her hand in everything the Head Director does, but also focuses on the jazz program and co-conducts the wind ensemble/honor band.
The two Assistant Directors manage the inventory and music library, and they conduct the non-varsity and sub non-varsity concert bands. The Assistant Director for Percussion teaches percussion for grades 6-12 and manages building events/facilities. The Assistant Director for Band and Orchestra co-conducts the full orchestra and teaches music theory.
We team teach all the concert bands, even though someone will ultimately conduct them at University Interscholastic League (UIL) Marching Band Contests. By taking this team approach, our students benefit from the strengths and personality that each director brings to the table.
If it’s not possible to have a team of directors at your high school, or if you’re limited to one assistant, try to team teach as much as possible with other music teachers in your district or department. Bring together choir, orchestra and band, or team teach with the middle schools. Band directing can be lonely, and having one or more partners is powerful.
Growing the Instrument Inventory
When the Johnson campus opened in 2008, the construction project was over budget due to the additional G-Wing added to the campus midway through. This resulted in across-the-board cuts to equipment purchases, including musical instruments, chairs, stands and more.
The band opened with enough instruments for a program of 150-175 students and shared equipment with Reagan. As Johnson’s program grew, administrators promised to allocate monies each year to purchase additional instruments to bring the equipment capacity to match the 350-member Reagan inventory before the split.
As other schools in our district saw their band programs declining, administrators permitted Johnson to borrow out-of-circulation instruments from those campuses. From 2008 to 2015, Johnson slowly added to its inventory while continuing to borrow from other campuses to meet our needs. By 2015, the band inventory matched the one at Reagan, and we began to focus on replacements and upgrades.
We constantly communicated with administration and other band directors to borrow out-of-use instruments on other campuses and maximize the use of resources. Today, this practice continues in our district as schools regularly share equipment to save money and apply toward replacement and upgrades. We have been careful to service, clean and maintain our original inventory since 2008 so that instruments did not fall into disrepair. Now, we work with our middle schools in our cluster to identify needs that will benefit all three schools before we purchase additional instruments.

Pay It Forward
Our earliest goal was for Johnson to serve as a shining “City on the Hill” full of positive energy for music education. We realized the unique privilege afforded to us by our community and that our challenges were unique to our situation. But our hope was to share what we learned through the process of building a successful program from scratch and to drive conversations about the “what ifs.”
Mr. Sharps and I are both non-native Texans — we did not grow up in the UIL or Texas band culture, but we came here to learn and be a part of it. I believe that Johnson has benefited from our desire to bring together multiple schools of thought from all over the country, and I encourage band directors to learn from great programs in every city and every state. In our view, success is not dictated by trophies or accolades. Often our greatest success as music educators is rooted in the small “gems” that we learn from one another’s programs.
Johnson regularly engages four to five student teachers each year in hopes of giving back to the music education community and ensure that we support the future of our profession. We are always open to visitors. We share our ideas and give generously as so many have helped us, and we hope that the ideas we have provided will help someone else grow and improve their music program.


 The North Carolina Music Education Association conference gives us an opportunity to connect with all of you and to remind you that Yamaha is your partner in music education, not just through our great instruments and professional audio products but also with resources, support and professional development. We know how difficult this past year has been as we have navigated through these uncertain times, and we want to express our appreciation and gratitude for everyone involved in making this conference possible. We want to continue to hear about your programs and learn about you and your specific needs to see how Yamaha can partner with you to help.
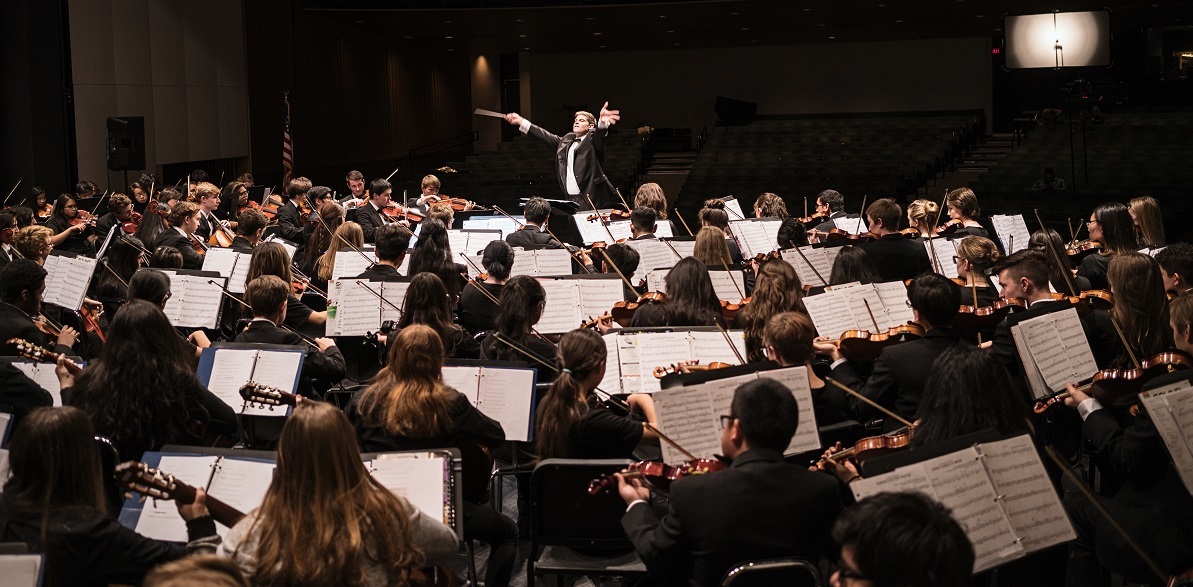


 To help the board understand the value of the capital expense, Gibb-Clark has invited its members to performances and provided updates on participation, competition results and equipment use. In fact, all the audiovisual equipment bought by the show choir has been used for the other choirs and musicals while the sound system has also been utilized at graduation. “It was an investment beyond the show choir,” Gibb-Clark says.
 At Highland, each ensemble focuses on different musical genres and gives students different learning and performance opportunities. For example, the madrigals sing at the


 Cox has a dual role at Crosby, directing 6th, 7th and 8th grade choirs as well as teaching digital music classes that are part of the school’s overall STEAM (science, technology, engineering, the arts and mathematics) program.
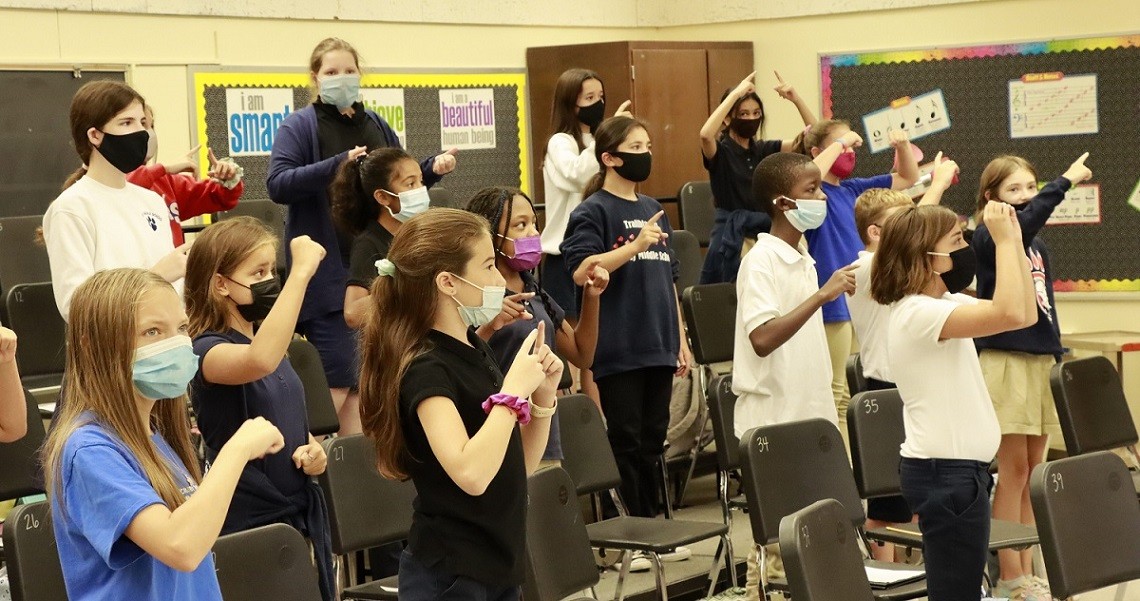 She’ll also use visual cues, perhaps requesting that students touch their noses when they can identify the first dynamic change or use
  They also participate in three to six formal evening concerts for family, some in collaboration with the high school choir from nearby
  Beyond just teaching the mechanics of singing, Cox strives to create a community where everyone values each other’s contributions. Each choir class elects several officers who help with taking attendance and mentoring new students. “Sometimes my strongest leaders are not necessarily the strongest musicians,” she says. “I’m looking not just for musical leaders but [also for] leaders in how to rehearse or … students who are really encouraging of their peers. … I try to find and identify one area in which they’re really strong and try to foster that area.”
 In Cox’s digital music courses, students come from all parts of the school. Some have performing arts classes while others don’t. “It’s nice that they can get a different approach to the arts,” she says.


 Joining a 22-year leader — Kevin Bennett — at the helm, Bock did not want to rock the boat. “Any time you go into a program as a second director, you don’t get a clean slate to just change it to whatever you want,” Bock says. “Kevin definitely established an amazing culture. But you always want to make the program feel a little bit more like your own. … It was really important for me to identify what my vision was — what do I bring to the table in this already established, successful program?”
 Then, Bock created a leadership training program using developed techniques from authors and well-known music education advocates,
  With 250 students in a band program comprising four concert bands, four jazz bands, two woodwind choirs, a marching band (with about half of the students), two winter guards and a concert percussion ensemble, Bock believes that there are hands-on roles for at least 100 students.
 When students resist change, Bock is comfortable with letting them stick to the status quo. For example, Bock had considered assigning low brass instruments to students for greater efficiency, not realizing that they felt a special tradition with picking out their own, almost like a “Harry Potter” wand-selection moment, she says.
 Bock took over as head marching band director in 2020, and for the future, she hopes to build on the excitement of the Hawaii trip to get more students and parents involved in the program, perhaps by hosting a competition.
 Traditional RPG systems have three fundamental components: describe, decide and roll. To begin, the description is given by the
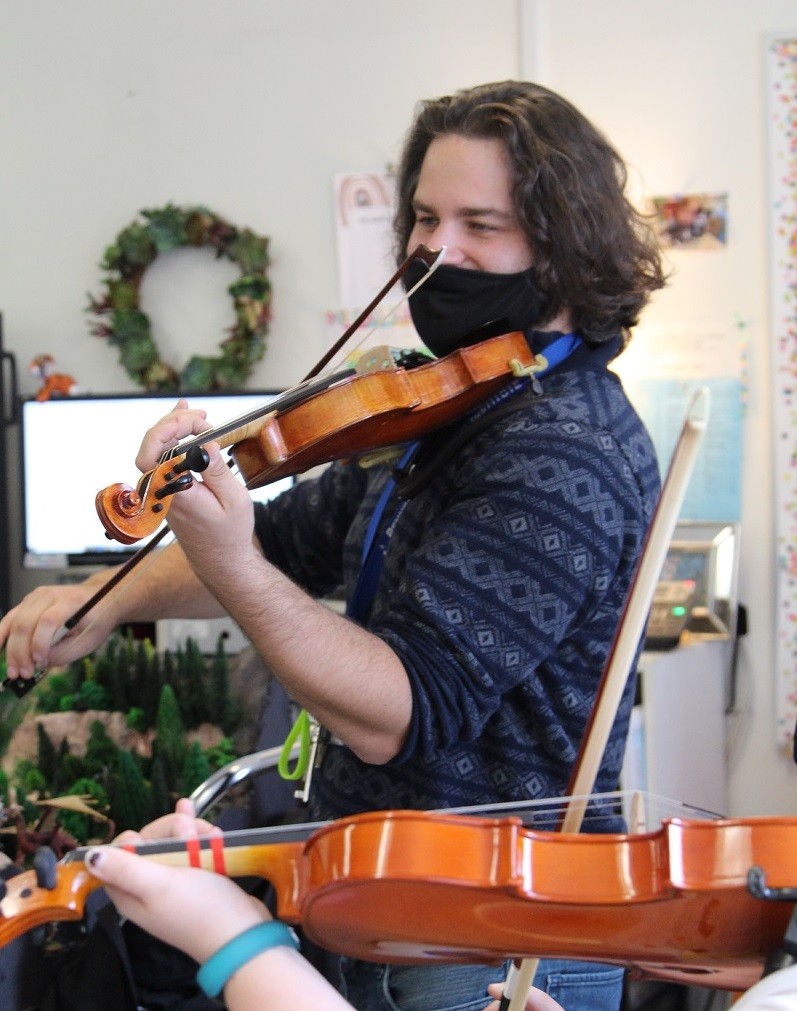
 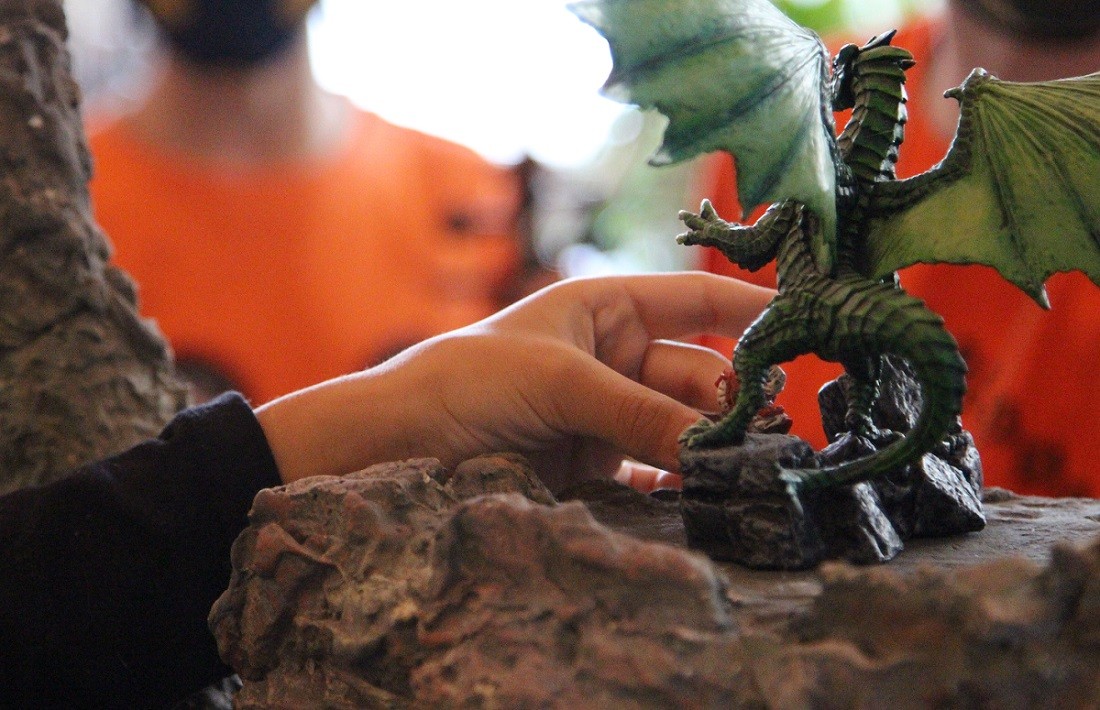 Using an RPG to deliver my violin content and curriculum through a world of wizards and mystery was just the escape that my students and I needed. As RPGs are built from the perspective of the GM, it’s easy to manage a classroom while delivering the story and teaching the lesson. Because the RPG community is so welcoming, I found an incredible wealth of resources that helped a GM novice like me build a world my students connect with and allow me to deliver my curriculum effectively. It is easy to do, and the results are among the most rewarding I’ve experienced in my teaching career.
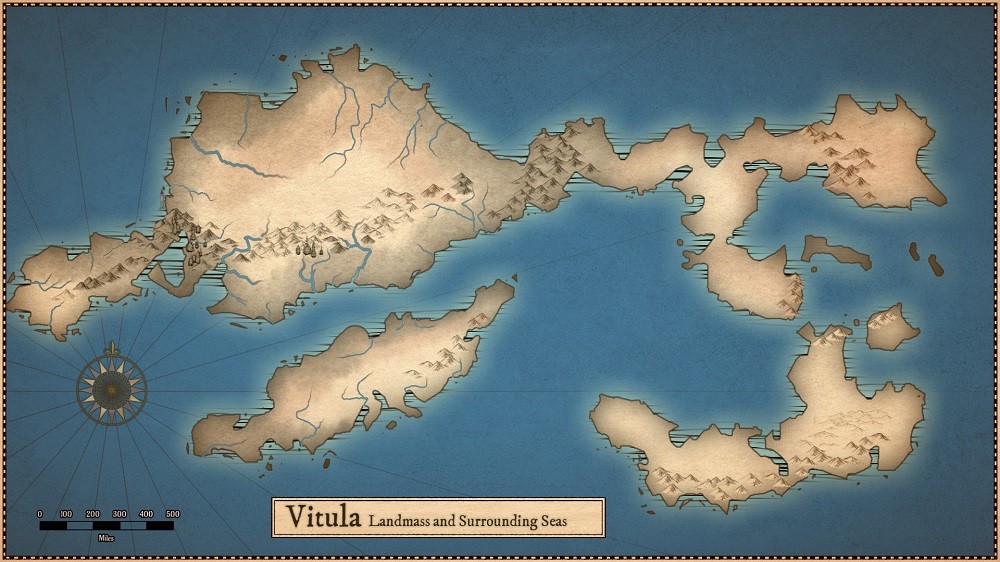 I named the world Vitula, which is the medieval Latin name for the group of instruments that ultimately became the violin family. In building the framework for Vitula, I needed a fantasy realm that allowed me to be spontaneous, creative and flexible. I love manipulatives and designing sets for theater, so I constructed a world that required diorama components to describe it. By incorporating digital elements, I connected the experience of the classroom with our online students to illustrate that they are integral in our community.
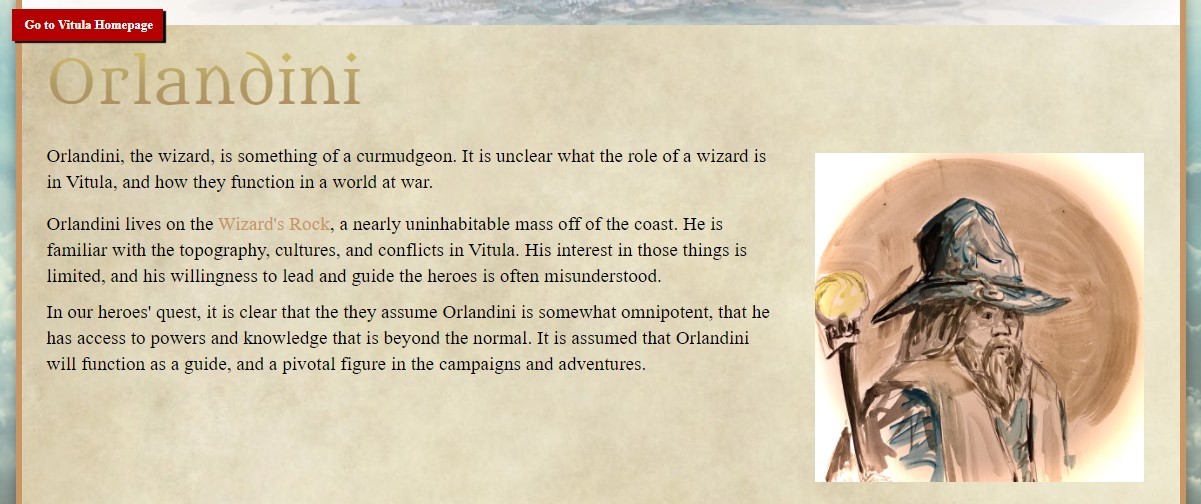 The first two years (known as “books”) of the story are completed. Book 1, entitled “Which Side Are You On?,” introduces the conflicts, factions and varying perspectives of individuals within Vitula. Students interact with fictionalized versions of musical figures and locations, including Val di Fieme, Ole Bull, Il Canone and the wizard Orlandini (named after an Italian luthier).
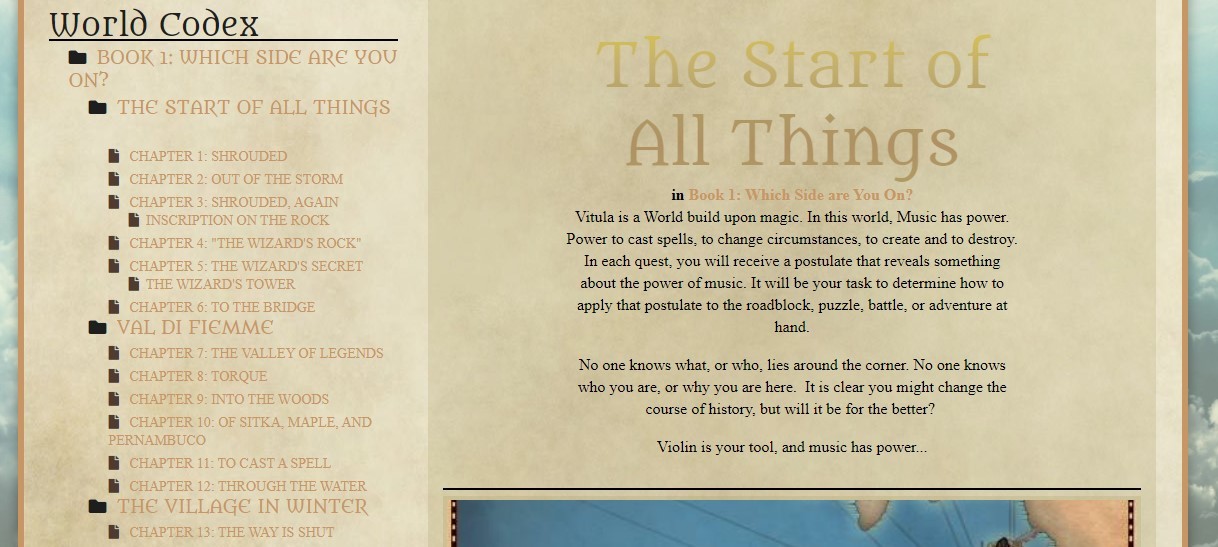 credibly populate my world. I did not pick specific characters that already existed because I wanted the freedom to develop my own.
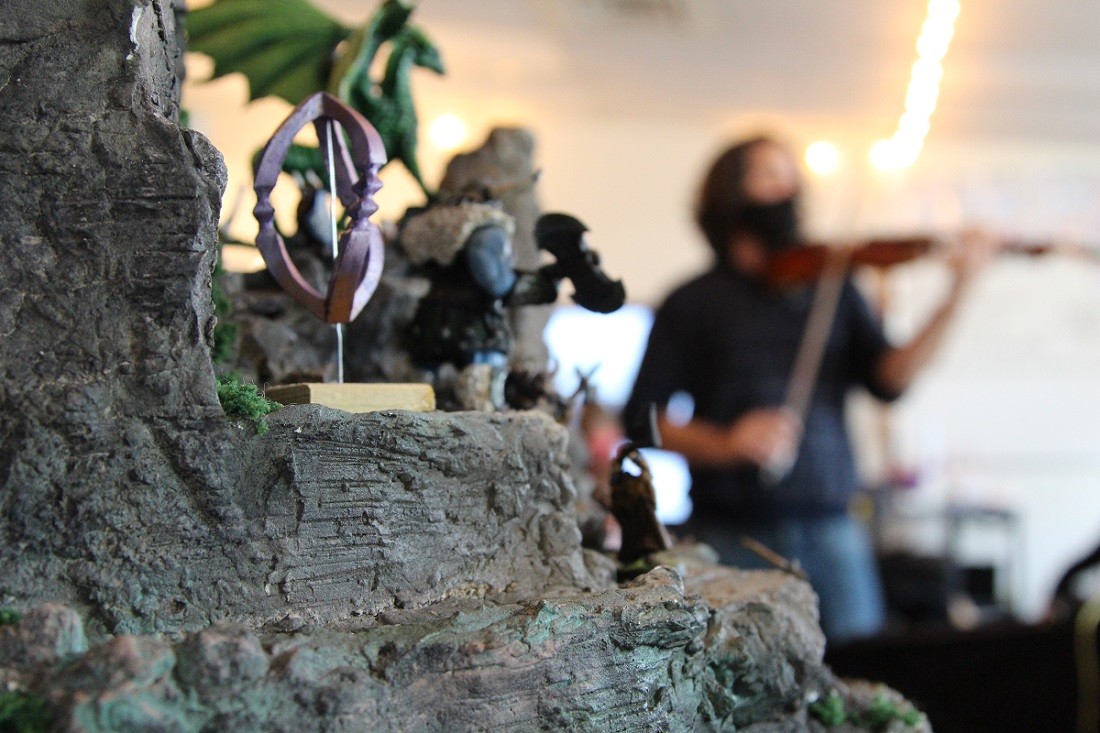 When all of this is achieved, the true power of the RPG is unleashed. By using an RPG in the classroom, I share about our real world and teach music in a way that builds wonder, respect and joy as well as increases skill level. It feels great to finally hear a beginning violinist plead, “Mr. Gamon, will you please teach me to play a scale?”
 Switching flutes to French horns, on the other hand, works quite well. Here’s why:
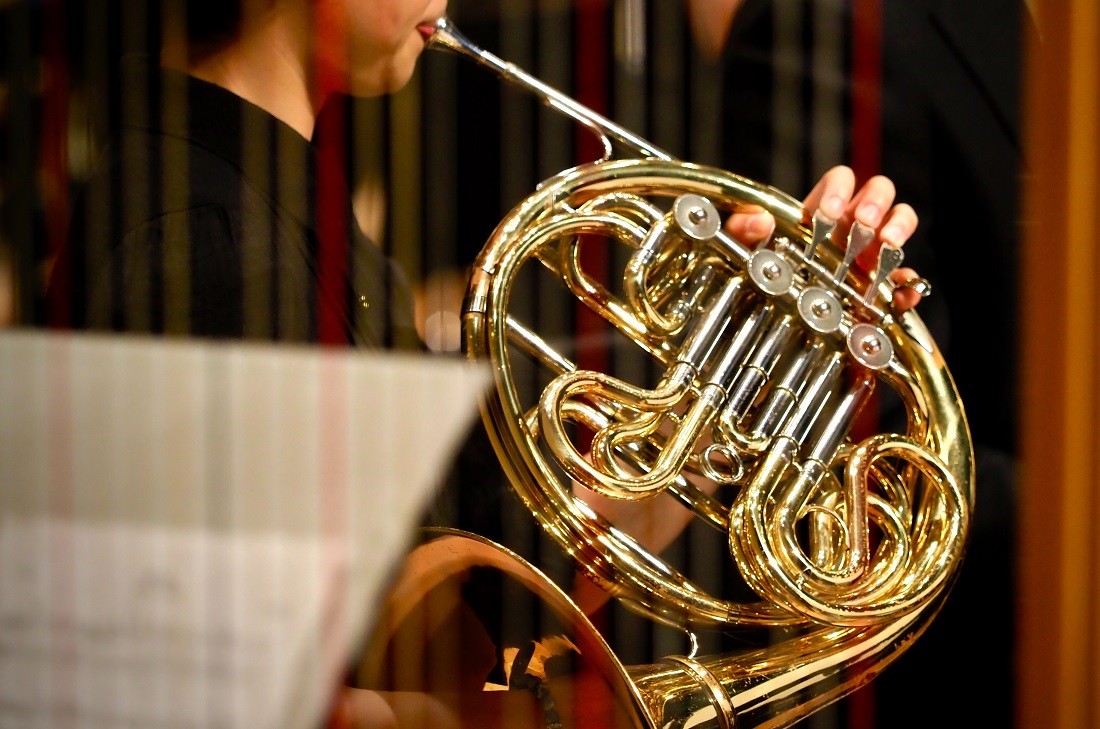 Before you have flute students play horn in band, allow them to take a loaner home and try it out for a week or two. This will prevent them from feeling lost in the middle of a rehearsal. When the time comes, be direct with your class and mention the switch during announcements. This will keep classroom management in check and prevent any whisperings of “Why is Susan on the horn now?!”


 Villanueva, who graduated with dual bachelor’s degrees in music education and jazz studies from
 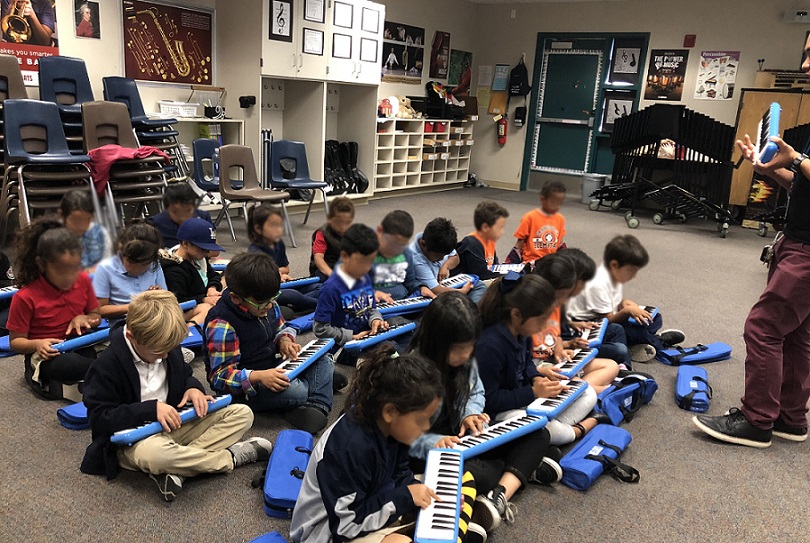 Villanueva teaches all 600 students at Orange Grove. Each grade is divided into several classes that meet for 30 minutes per week for TK and 1st grade, 45 minutes for 2nd through 4th grades, and 90 minutes for 5th and 6th grades. During the 2020-2021 academic year when the entire school was virtual until April, he met with 6th graders twice per week.
 Villanueva specifically wanted melodicas, a combination wind instrument and keyboard, for younger grades. “I got the idea of incorporating melodicas after seeing some videos of children in Japan,” he says. “Plus, it’s louder than electronic keyboards, so for performance purposes, it’s great to project. It’s also a good segue into 5th grade and 6th grade when students have to learn to use their air. Not only are they developing keyboard skills, but they’re also learning breathing skills.”
 In past years, Orange Grove students participated in the
  Villanueva brings more and more new ideas to his classes because he is constantly learning through his recent master’s program as well as during freelance gigs, professional development classes such as Little Kids Rock educational events, and side work with the
 To help with YCCT’s launch, we selected an eclectic board of directors with a passion for children’s singing. Current board members include local public-school music teachers, Baylor music education faculty members, parents, choral musicians and community advocates. We also employ a business manager (CPA) and have an attorney who volunteers advice when called upon.
 Interns act as small group facilitators for practice pods. Older choristers are spaced strategically among younger singers to ensure all have helpers nearby to aid with tasks like finding their place on the printed page, marking scores and, most importantly, providing a vocal support and encouragement. We are aware of when and how we employ the use of the “surrogate” teacher.
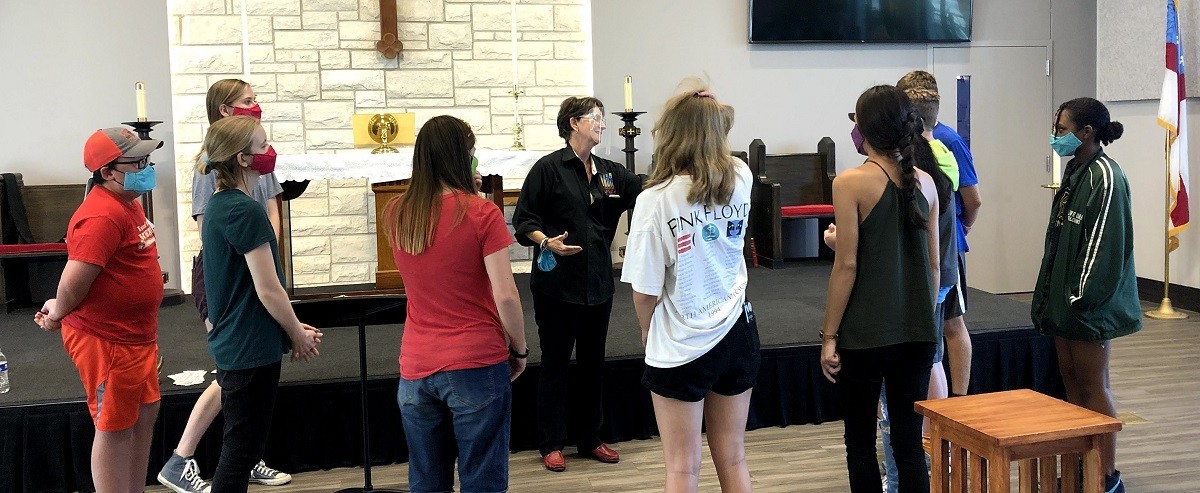 One thing we have discovered is that if the older singers are always asked to serve as models for their younger peers, their own needs are not served. Therefore, we ask the collegiate interns to model for the older chorus and, in turn, the staff models vocal and teaching techniques for the interns. Each rehearsal begins and ends with a brief staff meeting and debriefing that especially focuses on interns’ needs and questions.
 Upgrade the Sound System
 Once your phone or tablet is connected to a sound system via Bluetooth, you can utilize your phone’s voice memo taker as a recording and playback station for your classroom. Record a difficult passage with your phone and play the recording back while speaking directly to the students who need your help. Moving the phone around the room will allow you to capture the moments that the students may not be hearing. For instance, recording close to the students who are out of tune might help you segue into the importance of listening and tuning without calling out specific students. Let the recording be the bad guy.
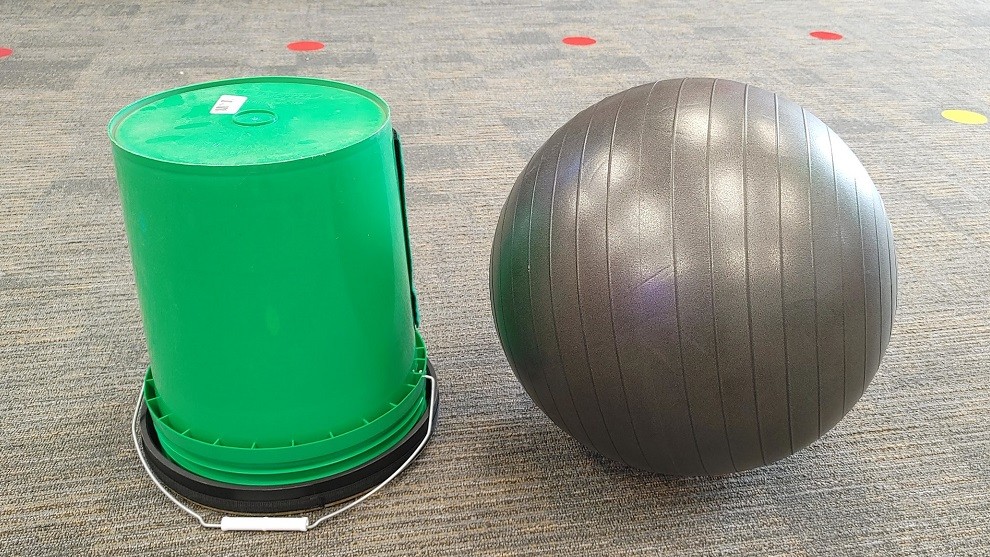 Apart from technology, seating and staging have a large impact on how students act in the music room. Though traditional seating is important for posture and performance, is there space in your room for a non-traditional seating area?
 Elementary music classrooms utilize yoga balls, buckets and even


 Depending on your school setting and policies, the simplest solution is to open a window or door if you possibly can — even for short periods during cold-weather months. (Be sure the window is screened and or secured in a way that it will not create a fall risk for students.)
 Beyond simple fresh air, consider what else students might be inhaling and strive for a cleaner indoor space.


 One week, I taught 10 classes the same singing game called “
 What helped me become more confident was understanding the science about voice and sound. I never enjoyed hearing my singing or speaking voice, and I learned that there was a reason for this. It’s called voice confrontation.


 I bought a tripod for my cell phone and a green blanket so I could record instruments and remove the background on the computer. That was all I needed to make a majority of my instrument lesson videos.


 Our initial step was to have students learn a short etude that was well within their ability level for a pass-off due on a certain date. We told the students that they collectively had to decide benchmark dates prior to the due date and how much of the etude needed to be learned and performed by those benchmarks. This is where we left it as we wanted the ownership of their backward planning to be solely on them.
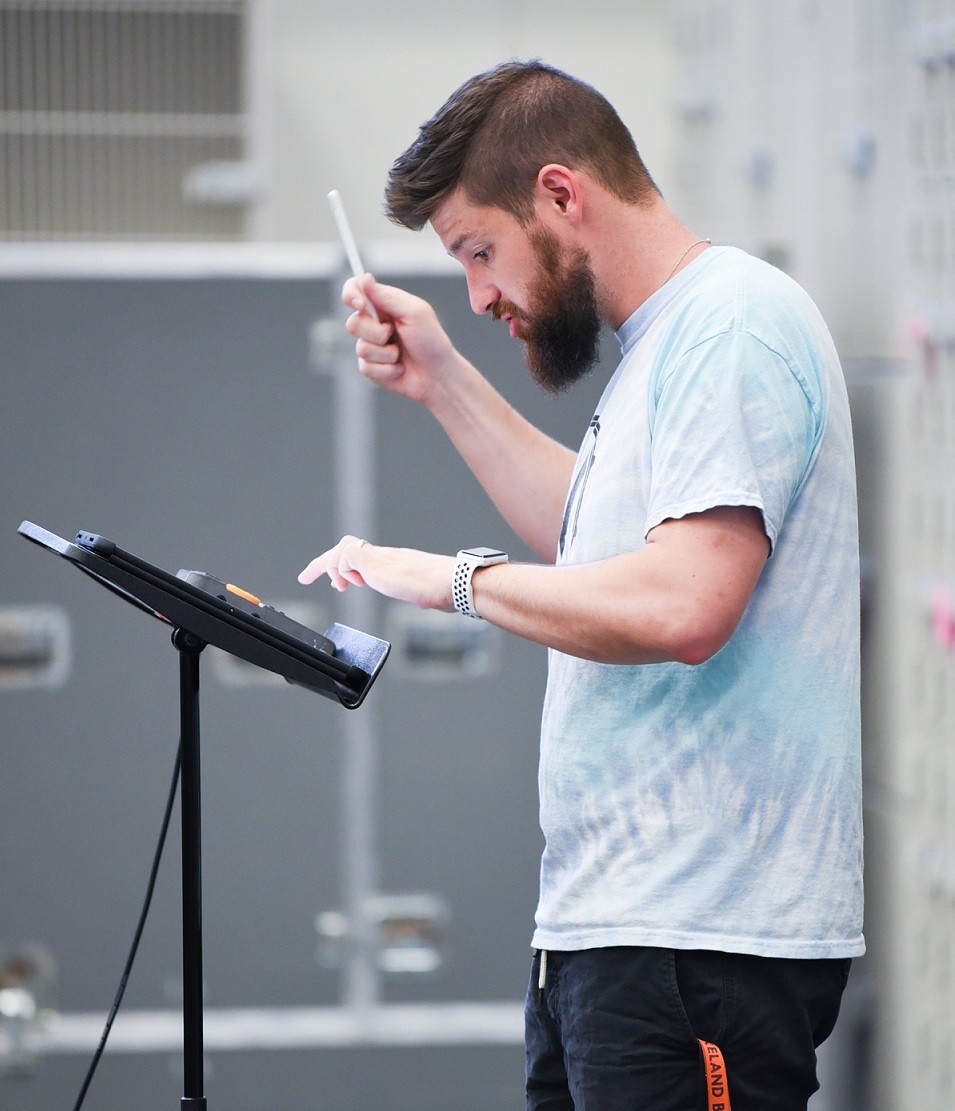 Students at the higher level had not necessarily been taught how to practice, but they were achieving at an adequate level solely because of the overall time they spent on their instrument. Students were mindlessly practicing by repping a piece over and over again until they, by pure repetition, memorized the music — oftentimes with errors and limited musicality.


 Direct parents into your new classroom: Parents tend to bypass “Specials” classrooms like music during after-school events. At my first open house, I greeted a few parents toward the beginning, then nobody came to my classroom for the next three hours. Yikes! If you’re new, do a bit of advertising. Make a poster with your name and subject on it and add a few bells and whistles like ribbons and bright colors. Maybe even play a little bit of soft music to make your room more welcoming. You’re going to want to meet your students’ families long before the musical or (even worse) the end of the grading period.
 4. Build Rapport with Students


 When Cox noticed a high staff turnover, poor retention and low skill levels in the middle school band program from her five feeder schools, Cox recruited her students involved with the
 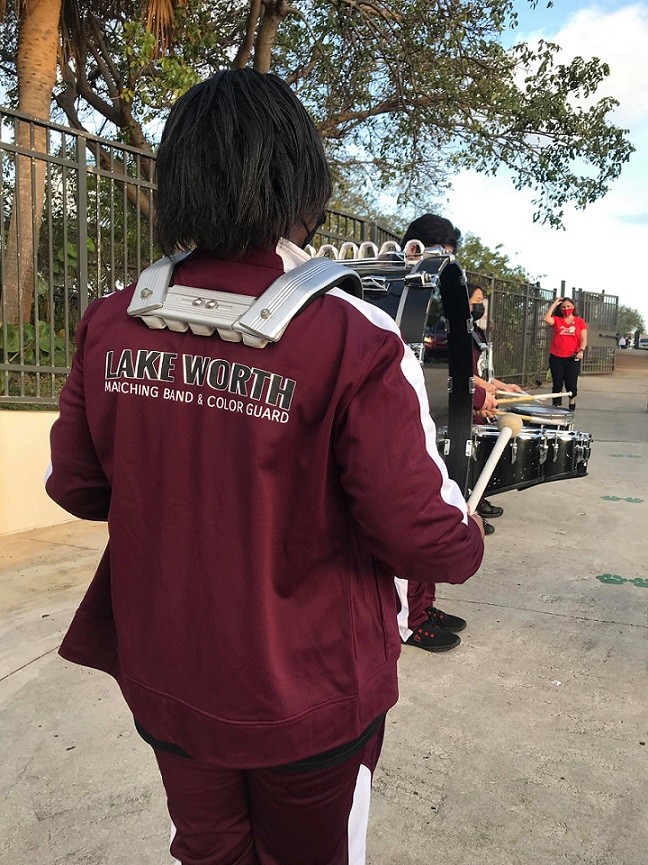 In addition, with her background teaching general elementary music prior to becoming director at Lake Worth, Cox regularly goes to the elementary schools. Because the closest elementary school is within walking distance, Cox brings her high school musicians to perform there several times a year. The drumline plays on the first day of school as buses arrive; a pep band performs during the elementary school’s Halloween parade; and band students also host a standardized testing pep rally.
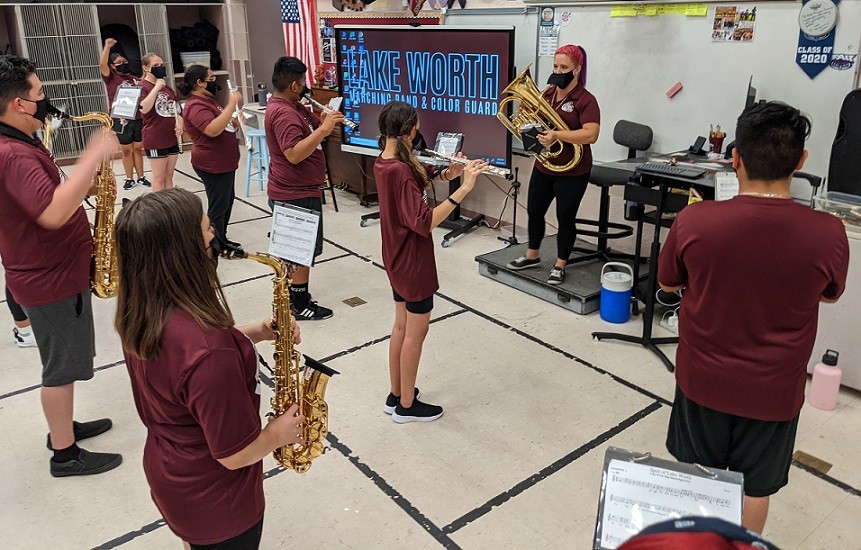 After a few years at Lake Worth, Cox had noticed that students were joining high school band as freshmen, sophomores and juniors, and then quitting. “It was a cultural norm for kids to go to work and support the family,” Cox says. “It’s been a challenge to teach the kids that band is a four-year thing.”


 You’ll have a much easier time reading your SARC if you understand the terms used. Some words and phrases are self-explanatory, but others can be confusing. Most SARCs have a reference guide or glossary. The


 It was impossible to do the necessary legwork during the school year, so my husband, Kris Antonetti, and I worked in the buildings during the summer when the air conditioning was not turned on. At the time, we only had desktop computers — no laptops or tablets — so we started in the hot storage room, writing down instrument model numbers and serial numbers on a yellow legal pad. Then we went back to my office to input this information on my computer. We spent hours doing this.
 We started with the problems I faced and then gathered ideas from other directors to see what was needed most. Many of our music education friends faced similar challenges in their classrooms. We wanted to focus on the inventory aspect of organization, so we started developing instrument and uniform management as well as the ability to check these items out to students and to organize students into ensembles.

 Fix It: Mallet Placement and Equal Right-to-Left-Hand Involvement


 Populations in rural communities tend to be stable. Many of your colleagues and your students have years of community and institutional knowledge. Many students have had the same educator group since kindergarten. They will be curious about you, and the more comfortable you are answering their questions, the more successful you will be. I start every year at


 The Happiness Mix Project
 Once students can tell a sad song from a scary song from a happy song, he says, “I would say, let’s recognize we can use songs to feel better when we feel sad, and start asking the ‘why’ questions.”


 Thankfully, our district had recently made the music librarian the de facto music coordinator for the district, so I went to him and asked for his help and support. Additionally, I came up with several plans of my own. I was not allowed to charge band participation fees, but I could charge instrument rental fees. We have some instruments in the district rental pool, and some instruments at the schools. For the school instruments, I could charge the same rental fees as the district, and I used that money to fund a repair and supply budget. This went into effect almost immediately.
 To recruit students for the beginning band at Meadows Elementary, I made sure to talk to all 5th graders on the third day of school along with the elementary strings teacher. She played her instruments, and I played several winds instruments including clarinet, trombone and trumpet. We answered questions and handed out interest forms, which also helped with instrumentation as we could assign students to their first or second instrument choices.
 With each year of experience, I have gained more confidence as a music educator and have found better ways to be effective, efficient, and to challenge and support my students in the classroom. I have brought in guests from universities and local businesses to talk to my students and broaden their understanding of music. I have commissioned new works for my band as part of a consortium. I have taken my groups to festivals, tours and on trips to enrich their band experience. I just want to continue to challenge my students and let them experience life through the power of music.


 In past years, Zeilinger has even taught hand bell and steel drums when students express the desire. “When I see the interest, I’m going to go down that path because I want my students’ high school experiences to be memorable. … My program is really focused on developing the desire among students to pursue something they’re passionate about.”
 Starting in the 2021-2022 school year, students will have the option to participate in the academy and benefit from a field trip to the


 Often, teachers are intrinsically driven to make the favored ensemble from their past the highest quality possible because they have such a clear picture of what they want, they know what success looks like, and they have a strong connection to that particular ensemble.
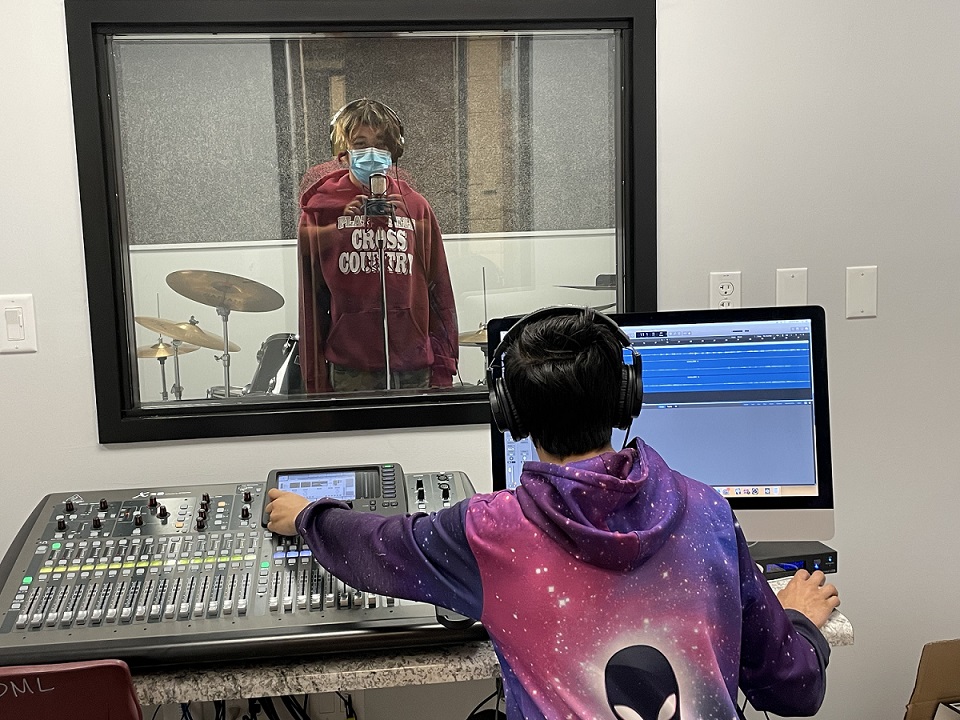 In the fall of 2019, after two years of learning, consulting and writing grants, we had a recording studio in our school! I remember feeling confident that I knew what I didn’t know on the first day of my Digital Audio Production class. Little did I know that I was peering into a doorway of doorways!
 For instance, our marching band went from a three-set to a 60-set show and started participating in the