The Song Remembers When
I was born in 1966, the same year that “Eleanor Rigby” and the album Revolver went to Number 1 for The Beatles. I grew up listening to (arguably) some of the best music and songwriting we will ever know. To me, artists from that era seemed to capture who they were in their songs, with a unique sound that could be identified immediately, from the very first listening. In those days, record companies, management and publicists invested considerable time into developing an artist’s craft, their songs and image to try to build a lasting career and a legacy of timeless, classic recordings.
I also feel very fortunate to have experienced music in pretty much all of its deliverable formats. (Okay, I wasn’t around for Edison wax cylinders.) Vinyl records — singles and albums — were played at home, while eight-track cartridges provided a way to listen to your favorite tunes in your car … until cassettes came along in the 1970s. (They were used at home as well as in cars.) I remember playing my cassettes over and over again until they were worn out. The audio quality wasn’t great, but the songs and the emotions they represented for me as a teenager outweighed the playback deficiencies.
The “Big Bang” of the digital audio revolution started in the early eighties with the release of the Compact Disc (CD). Audiophiles argued that digital music sounded sterile and cold in comparison to the “warmth” of vinyl and other analog-based formats, but CDs won the day and became extremely popular for nearly three decades.
We now consume our music through digital download or streaming services. Hard copy of musical artistry has taken a back seat to binary files that we cannot hold or enjoy in physical form. I used to love looking at cover art and reading the album liner notes on a vinyl record or CD booklet. I’d study the studio locations and credits to see who wrote and played on the songs. Holding a physical product in my hands gave the music and artist more value to me. I’d invested my hard-earned wages in these tangible items and was proud to have them in my collection.
Putting Together Your Repertoire
For my live performances, I’ve adopted a repertoire of songs that most audiences know and love. These include “Tracks Of My Tears,” “My Girl” and “Midnight Train To Georgia” from the MotownⓇ songbook; “Mainstreet,” “Shooting Star” and “Free Fallin’” as classic rock selections; and pop culture favorites “Say,” “Sweet Dreams” and “Shallow.” I want to keep these incredible songs alive in the hearts of my audience and allow them to re-visit the moments in time when those tunes were popular and an integral part of their lives. As Tricia Yearwood so beautifully put it, the song remembers when.
I was told one evening by an audience member that I’d made his and his wife’s vacation by playing their favorite song (“Drive,” by The Cars) on their anniversary — obviously a very special moment to them, all wrapped up in the melody and lyrical sentiment of that song.
Give Each Song Your Personal Spin

As an artist, I like to take a classic song and craft my own version of it. That way, you can bring your own personal melodic and harmonic sensibilities to the table while still paying homage to the original version. I’ll never be able to sing like Smokey Robinson or Tom Petty, and I’m pretty sure my audiences don’t expect me to. However, they do appreciate hearing new interpretations of hit songs by the artists they love.
I find the best way to approach this is to begin by learning the chords and harmonic structure of each section and then re-harmonizing the progressions with small changes to the original voicings. (I always sing the melody over the new changes to make sure it still works.) Re-harmonization can be as simple as taking a Major triad and changing it to a Major 7th chord, or substituting the Major triad for its relative Minor triad. (For more information, see my two-part blog posting about Major Scale Modes.)
Obviously, there are many ways to re-harmonize a chord progression — too many to detail here. The important thing to remember is that you don’t have to necessarily play the guitar parts exactly as performed on the original recording. Just learn the chords and begin crafting your own version of the song. If you’d like to play the signature hooks, riffs and melodies, you can work those into your arrangement at a later date. Personally, I like to continue refining my versions of classic songs over time. I let them evolve in the same way that I evolve and progress as a musician.
The Video
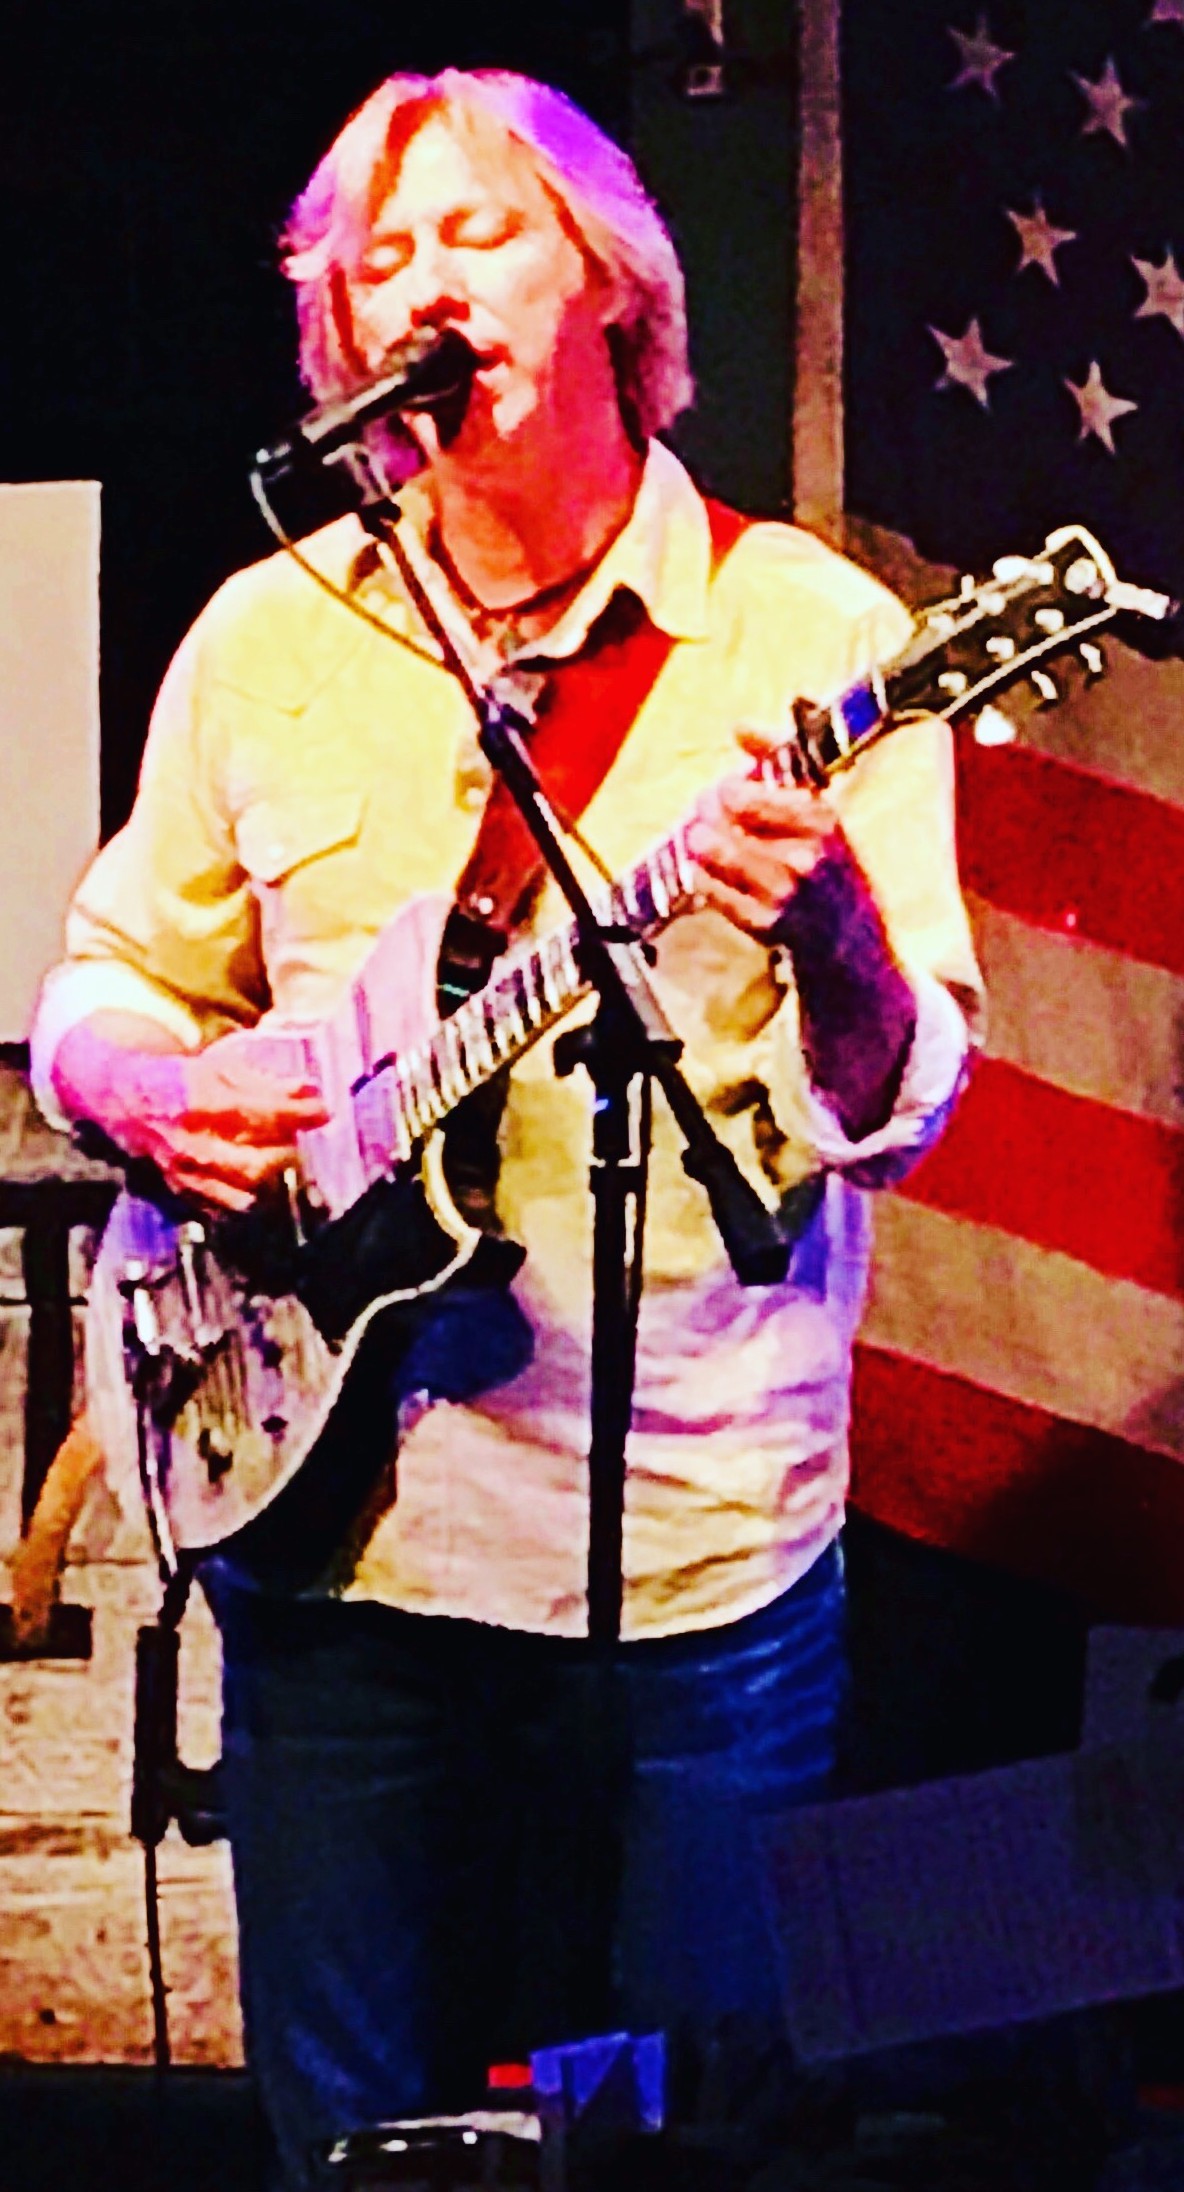
This is my version of Bill Withers’ “Ain’t No Sunshine,” as performed at a recent Yamaha Guitars clinic at Replay Guitar Exchange in Tampa. If you’re familiar with the original, you can tell that I’ve taken several liberties with the chords, key, tempo and melody … yet I’ve still retained the essence of the song. You’ll also notice that I reference the vocal melody at the beginning of my guitar solo (and again in the reprise) to give the listener a smooth transition into an improvised section.

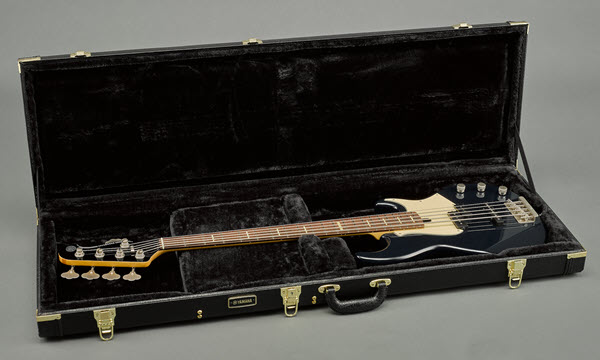
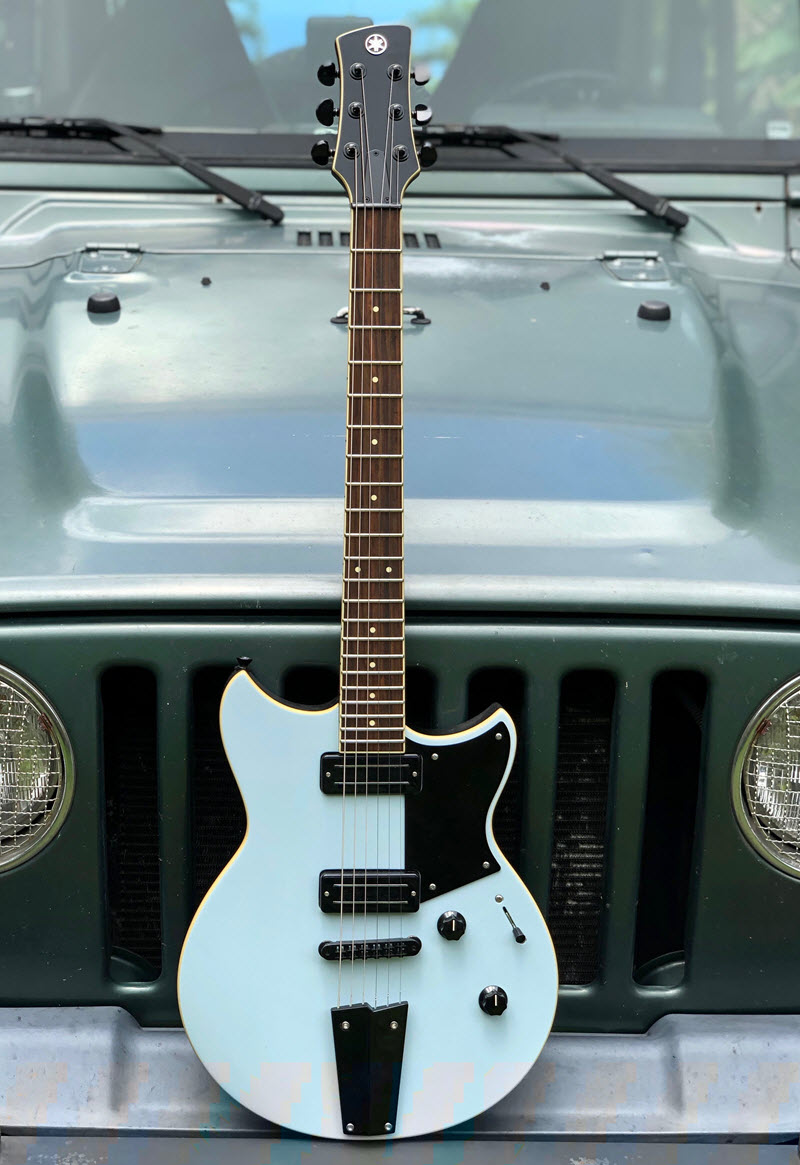
I have to confess that I fell in love with the Yamaha SA2200 guitar that I’m playing in the video. This is one of the company’s classic custom-crafted archtop semi-acoustic guitars, made in Japan. The SA2200 has a long pedigree and fine tone quality, with Yamaha Alnico V humbucker pickups and coil-tappable tone pots. It has a sycamore top, body and sides and a soft maple center block, with a mahogany neck, an ebony fingerboard and your choice of two gorgeous sunburst finishes.
The Wrap-Up
Music and the way we listen to it continues to go through a constant evolution of delivery platforms. Nostalgia for the retro wave of vinyl releases from new and old artists alike is increasingly popular, and the classic songs of a bygone era remain fondly within our hearts. Yet there is, and always will be, a place for great new music!
In a similar way, guitar aficionados continue to appreciate vintage designs even when delivered in a modern package, as is the case with the SA2200. I hope we get to see more of the same for a long time to come.
Photographs courtesy of the author.
Check out Robbie’s other postings.
Click here for more information about the Yamaha SA2200.